My Grandma’s Red Velvet Cake recipe (from scratch) was handed down to me 45 years ago and has been a delicious family favorite ever since!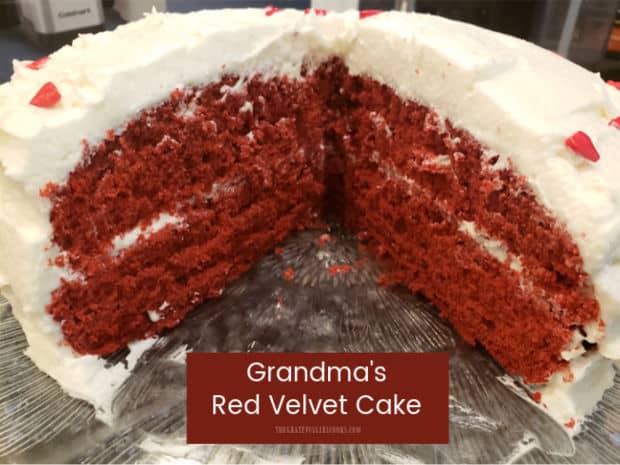
For the past several years, red velvet cakes have been all the rage, and that makes me happy. For me personally, red velvet cakes are a part of my heritage. My Grandma Grace in Texas made them, then gave her recipe to my mom (her daughter-in-law), who then gave me Grandma’s recipe over 45 years ago. Talk about handing down traditions! Grandma’s red velvet cake has always been special to me, because my mom made them for our birthdays when I was growing up. Guess what? I loved them then as much then as I do now.
There’s just something about seeing that gorgeous red color in each slice that flood my heart with so many wonderful memories! A lot of red velvet cakes nowadays top the cake with cream cheese frosting, but my Grandma’s recipe uses a fluffy white frosting (without cream cheese). It takes just a bit longer to make the frosting, but that’s part of the charm! Plus, it’s delicious! Today I want to share my recipe for Grandma’s red velvet cake with you, and hope you will enjoy it, too. Here’s how to make it:
Scroll Down For A Printable Recipe Card At The Bottom Of The Page
Prepare the Cake Batter
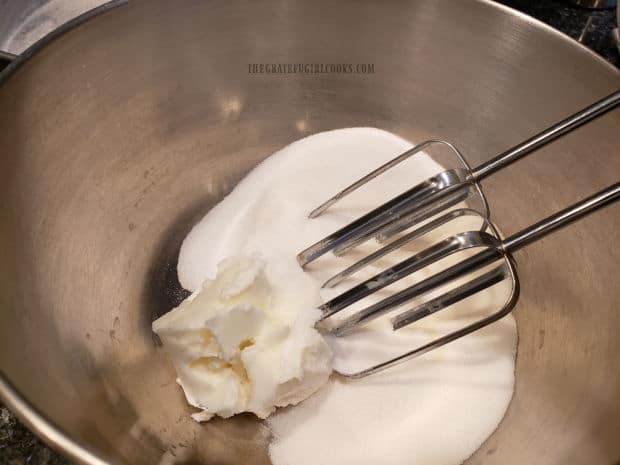
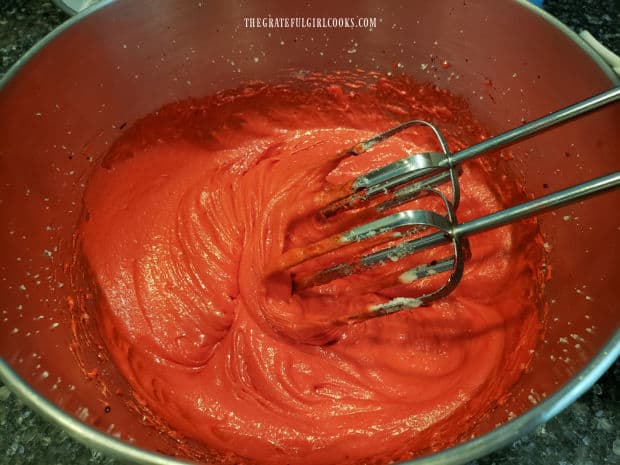
Using an electric mixer or stand mixer, cream together granulated sugar and vegetable shortening until well combined. Add the red food coloring and two eggs. Continue mixing until the batter is deep red in color and creamy in texture.
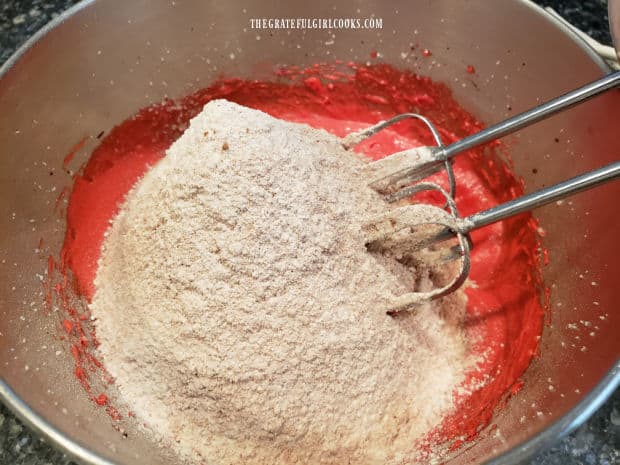
In a separate bowl, SIFT together flour, salt and cocoa powder. Add these dry ingredients to the batter, and beat on low speed until the flour mixture has been fully incorporated.
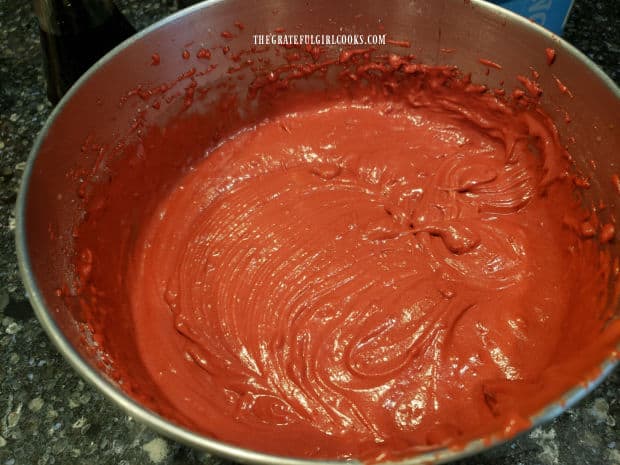
Mix buttermilk and baking soda together in a separate bowl, and fold them into the batter. Next, add the vanilla extract and vinegar to the batter and stir until combined. This is the batter for Grandma’s red velvet cake.
Bake Grandma’s Red Velvet Cake
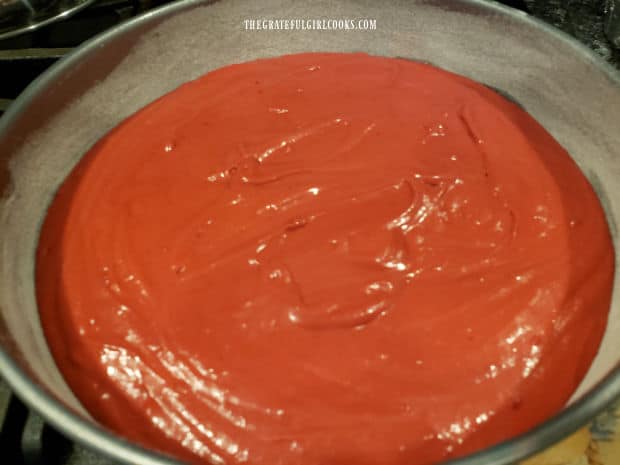
Now it’s time to bake the cake. Generously grease and flour two 9″ round cake pans OR a 13×9″ baking pan on the bottom and sides, and then pour the batter into the pan(s). If using two round cake pans, evenly divide the batter between them.
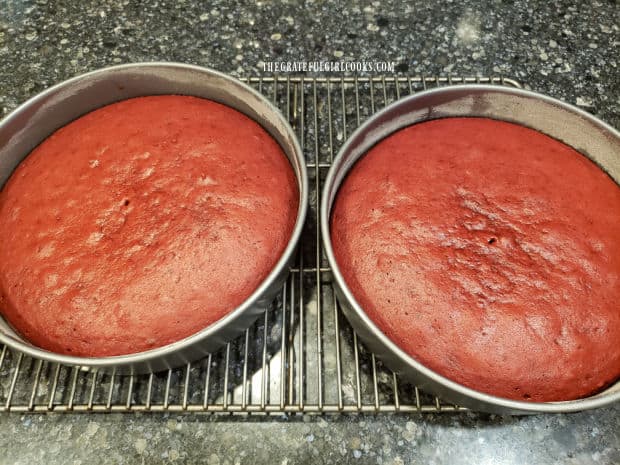
Bake in a preheated 350°F. oven (on middle rack) for approximately 25 minutes, or until a toothpick inserted into the top of the cake comes out clean. Once done, transfer the cake pans to a wire rack to cool.
Make The Frosting For The Cake
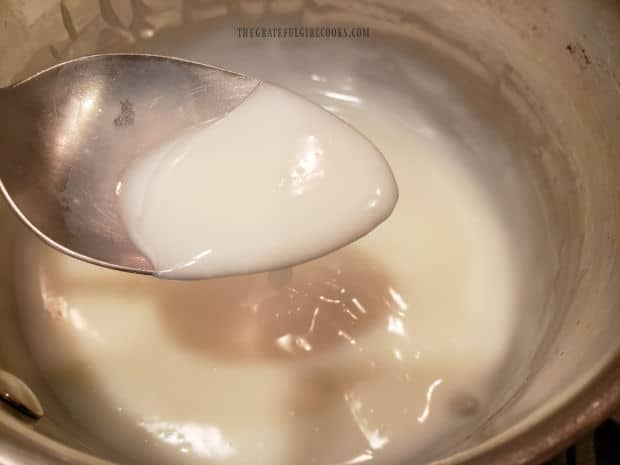
While the cake is baking, you can make the fluffy white frosting for the finished cake. Mix milk, cornstarch and salt in a saucepan. Cook this on low heat, stirring often until the mixture thickens. Remove the pan from the heat, and set it aside to cool.
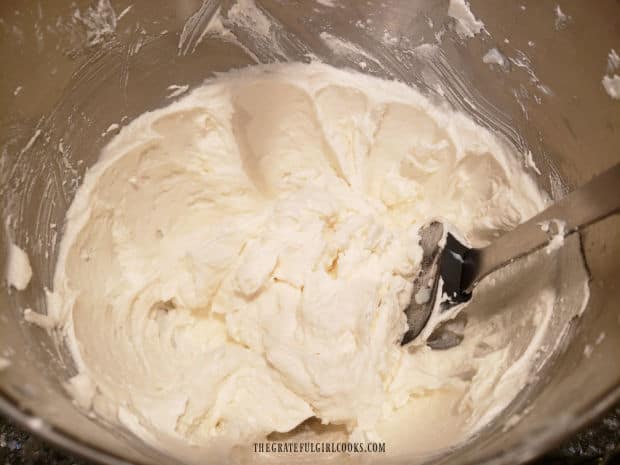
In a separate bowl, (or stand mixer bowl) place vegetable shortening, butter, granulated sugar, and part of the powdered sugar (2/3 cup). Beat these ingredients really well for 15 minutes (yes… 15 minutes!). When done, the sugar will have dissolved and no longer be “grainy”, and the mixture should be light and fluffy in texture. Add vanilla extract and the cooled, thickened milk mixture. Beat well, then add the remaining cup of powdered sugar, and mix well, until combined. This is your fluffy white frosting.
Frosting the Cake
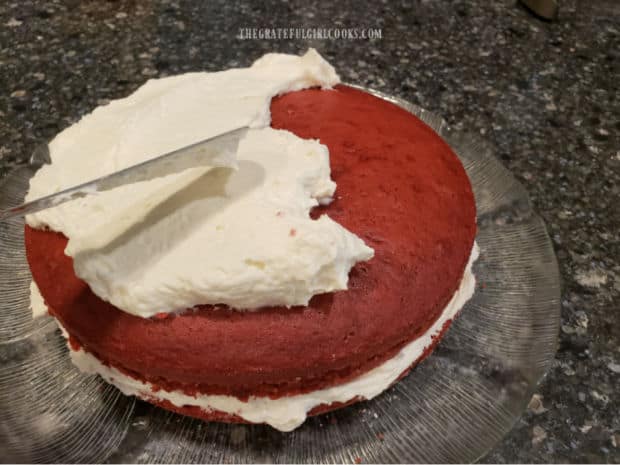
If you baked this in a 13×9″ baking pan, you are ready to frost the cake (in the pan), once it has cooled completely. If you are using two round cake pans, you will need to remove them from the pans (by inverting pan upside down), once they have cooled completely. Place one layer onto a serving plate, and frost the top.
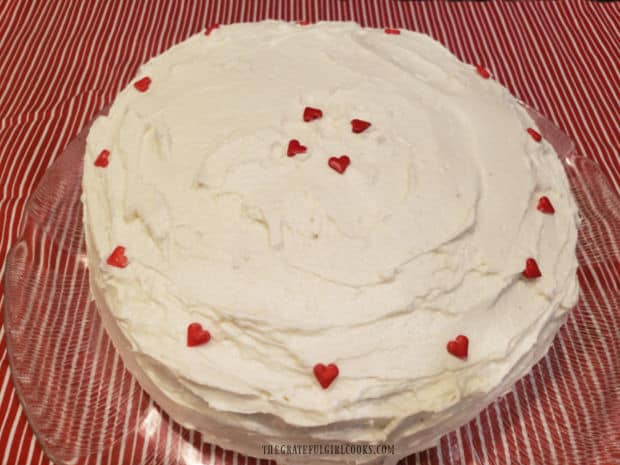
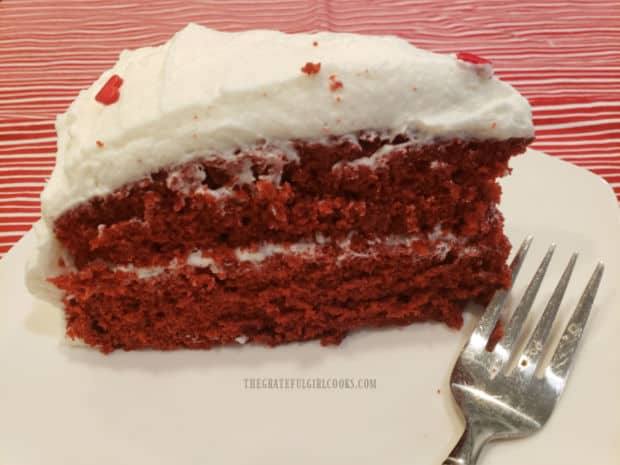
Lay the second cake layer on top of the frosting. Continue to frost the cake on top and and on all sides. Garnish or decorate the frosted cake any way you wish once fully frosted. This time I went simple, as you can tell from the photos below.
Time For A Slice of Grandma’s Red Velvet Cake!
All that is left to do is cut a nice big slice of Grandma’s red velvet cake, grab a fork, and dig in! The fluffy white frosting is a nice, light touch that contrasts well with the beautiful red hue of the cake. Grandma’s red velvet cake is so yummy, moist, and RED! Sure hope you enjoy it, too!
Thank you for stopping by today. I really hope you have the opportunity to make this delicious dessert for those you love. Please come back again soon for more recipes. Have a wonderful day.
Looking For More CAKE Recipes?
You can find all of my recipes in the Recipe Index, located at the top of the page. I have quite a few cake recipes you’re gonna love, including:
Interested In More Recipes?
Thank you for visiting this website. I appreciate you using some of your valuable time to do so. If you’re interested, I publish a newsletter 2 times per month (1st and 15th) with all the latest recipes, and other fun info. I would be honored to have you join our growing list of subscribers, so you never miss a great recipe!
There is a Newsletter subscription box on the top right side (or bottom) of each blog post, depending on the device you use, where you can easily submit your e-mail address (only) to be included in my mailing list.
You Can Also Find Me On Social Media:
Facebook page: The Grateful Girl Cooks!
Pinterest: The Grateful Girl Cooks!
Instagram: jbatthegratefulgirlcooks
Original recipe source: my Grandma, Grace B.

My Grandma's Red Velvet Cake recipe (from scratch) was handed down to me 45 years ago and has been a delicious family favorite ever since!
- ½ cup vegetable shortening
- 1½ cups granulated sugar
- 2 ounces red food color
- 2 large eggs
- 2 cups all purpose flour
- 1 teaspoon salt
- 2 Tablespoons cocoa powder (for baking)
- 1 cup buttermilk
- 1 teaspoon baking soda
- 2 Tablespoons vanilla extract
- 1 Tablespoon white vinegar
- 1 cup milk
- 1½ Tablespoons cornstarch
- 1 pinch salt
- ½ cup vegetable shortening
- ½ cup butter , softened
- ⅔ cup granulated sugar
- 1⅔ cups powdered sugar , divided use
- 1 teaspoon vanilla extract
Preheat oven to 350°F. Generously grease and flour two 9" round cake pans or one 13"x9" baking pan on bottom and sides.
Using electric mixer or stand mixer, cream together granulated sugar and vegetable shortening until well combined. Add red food coloring and eggs. Continue mixing until batter is deep red in color and creamy in texture.
In separate bowl, SIFT together flour, salt and cocoa powder. Add this mixture to the batter; beat on low speed until fully incorporated. Mix buttermilk and baking soda together in a separate bowl; fold them into batter. Add vanilla and vinegar; stir until combined.
Pour batter into prepared pan(s). If using two round cake pans, evenly divide batter between them. Bake at 350°F. (on middle rack) for approximately 25 minutes, or until a toothpick inserted into top of the cake comes out clean. Transfer pan(s) to a wire rack to cool.
Mix milk, cornstarch and salt in medium saucepan. Cook on low heat, stirring often until mixture thickens. Remove pan from heat; set aside to cool. In a separate bowl, (or stand mixer bowl) place shortening, butter, granulated sugar, and 2/3 cup of powdered sugar. Beat really well for 15 minutes (yes... 15 minutes!). When done, sugar will have dissolved and no longer be "grainy"; frosting should be light/fluffy in texture. Add vanilla extract and cooled, thickened milk mixture. Beat well, then add remaining cup of powdered sugar, and mix well, until combined.
If using a 13x9" baking pan, frost the cake (still in the pan), once it has cooled completely. If using two round cake pans, remove them from the pans (by inverting pan upside down), once they have cooled completely. Place one layer onto a serving plate, and frost the top. Lay the second cake layer on top of the frosting. Continue to frost the cake on the top and and side. Once cake is completely frosted, decorate it any way you want. Slice and enjoy!
Here’s one more to pin on your Pinterest boards!


Do you use regular milk or canned milk in the frosting?
I’m making the frosting right now, still sugary crunch after 20 min. What am I doing wrong?
Not sure why it is taking that long, but hoping it worked out for you. Yes… it does take awhile to break the sugar down.
This looks to be just like my grandmother’s recipe! I can’t wait to try it this weekend. She made it every year for Christmas as it’s my dad’s favorite. One of the things I always loved about it is the icing. The icing would be “dry” to the touch and when you cut into it, it would be so soft and tender. I have never been able to find a recipe that does this. Does this icing recipe do the same?
This looks like the ORIGINAL Waldorf Astoria Red Velvet Cake thats been in our family almost 60 yrs!! The best!
We really love this cake too, Nilah! It’s scrumptious!
This is the same recipe that my husband’s aunt made for him every year on his birthday until she passed and then I made it until he passed. It’s always a joy to make it as it brings back so many memories. I made it today for a funeral dinner for a dear friend I know everyone will love it thank you so much for sharing your very special recipe
Will this frosting hold up in the heat?
It should be just fine.
We don’t like to use artificial coloring in our foods (I’m aware it is RED velvet lol). Do I need to replace the 2oz with water or something else I f we choose not to add pure red dye? Thank you!
No… you can just omit it, if desired. Have a great day!
Will be making this cake very soon. Thanks for sharing recipe.
It is soooo nice to see a printed recipe for the initial “Red Velvet Cake”. While the version with cream cheese frosting is okay, nothing beats the right one so says my grown children.
Thank You.
Thx, I like the frosting recipe, a good change from the cream cheese.
Thanks so Very Much for Sharing the Recipe for Grandma’s Red Velvet Cake.I Am going to Make that Delicious Cake.Fannie J.🌷
Hi, Fannie! Thanks for writing. I truly hope you enjoy the cake. We sure do!