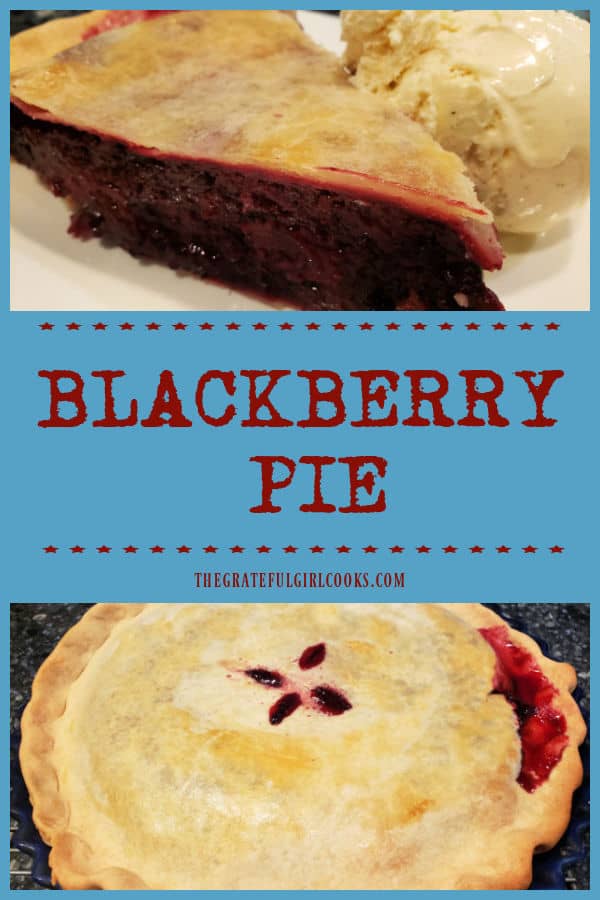
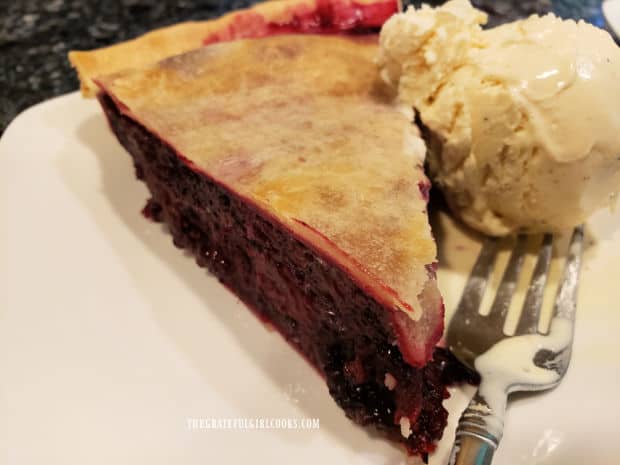
Use fresh or frozen blackberries to make a delicious classic blackberry pie using a homemade or purchased pie crust! Summertime at its best!
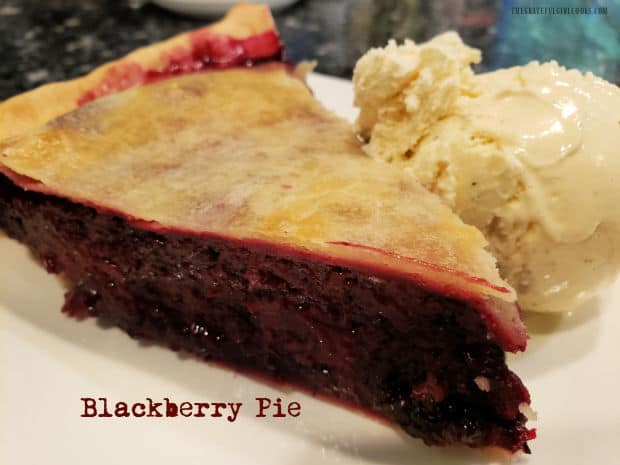
If you’re looking for a real taste of summer, try this yummy recipe for blackberry pie. Simple to make, using store-bought or homemade pie crusts and fresh or frozen blackberries, this is a delicious dessert that can be enjoyed year-round.
Where we live in NW Oregon, blackberries grow wild practically everywhere. Sometimes in the summer I can even pick a big pail of blackberries while out walking our dog (he is patient while I pick them!). I figure… why waste a perfect opportunity to get some FREE fresh blackberries! I’ve made so many great recipes using them over the years, from muffins, to syrup, jam, cobblers, crisps, etc. that I can’t wait for them to ripen each summer. This blackberry pie is another way to use a bunch of fresh or frozen blackberries to make a delicious PIE. Here’s how to make it:
Scroll Down For A Printable Recipe Card At The Bottom Of The Page
A Word About The Pie Crust
This pie requires a top and bottom crust. You can use your favorite pie crust recipe OR buy a 2 crust package at the store. NOTE: If purchasing pie crusts for convenience, do not buy the premade pie “shells” in the freezer section. Buy the type of pie pastry dough that you unroll from the pkg. then manually roll out and place in pan (Pillsbury has this in most grocery stores in refrigerated section).
For your convenience, I’ve included my homemade pie crust recipe and instructions (to make two) in the printable recipe card, but feel free to use whatever pie crust recipe you enjoy. The rest of this post will show you how to make this pie, assuming you already have the pie crusts made or purchased.
Make The Pie Filling
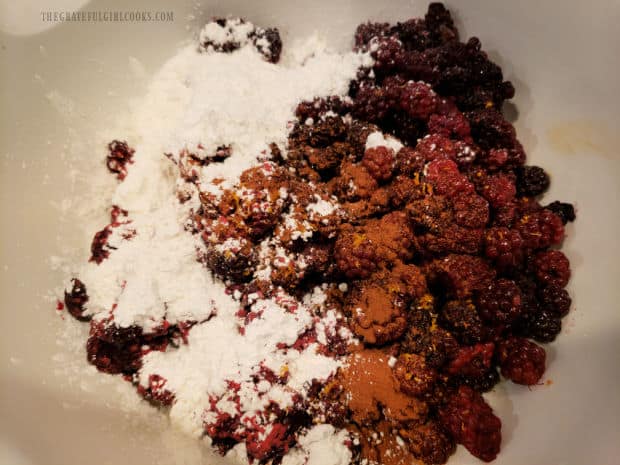
Place 5 cups of fresh blackberries OR frozen (unsweetened and unthawed) into a large mixing bowl. Add granulated sugar, flour, cinnamon, lemon juice and zest and gently toss until combined.
Filling The Pie Crust
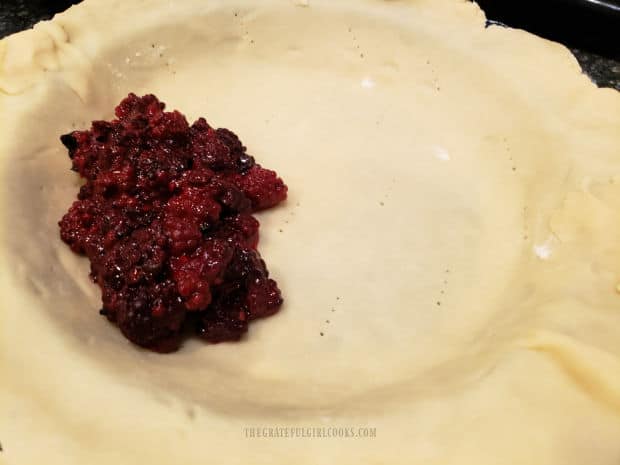
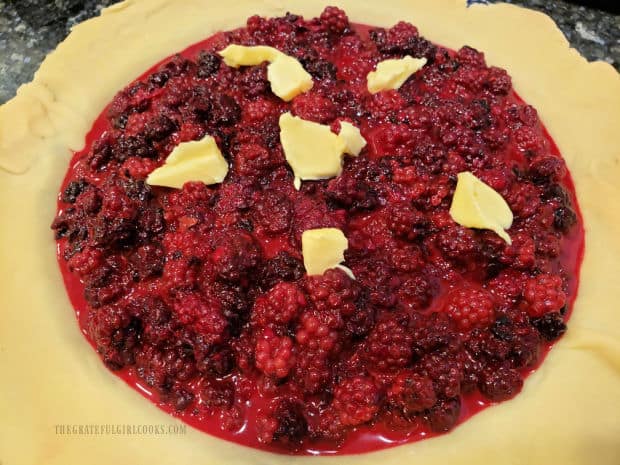
Place one crust into a 9″ deep dish pie pan. Prick the bottom and sides of the bottom pastry crust several times with the tines (the pointy ends) of a fork. Pour the blackberry pie filling into the prepared crust. Cut the butter into small chunks and dot the top of the fruit filling with the butter.
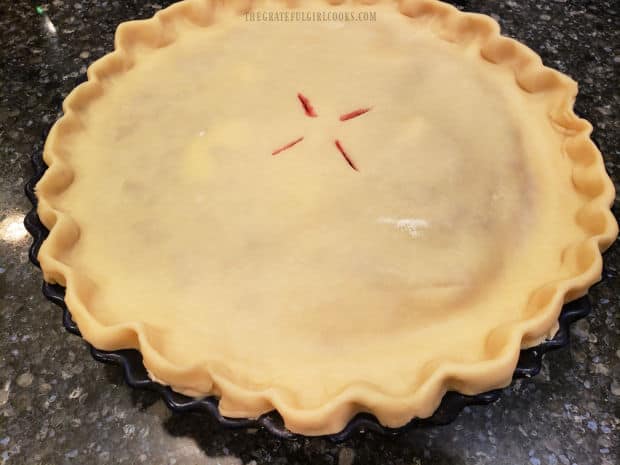
Top the blackberry pie with the other pie crust. Trim the edges of the dough to about 1/2″ from the outside edge of the pie pan. Seal the edges of the top crust to the bottom crust by tucking the top crust under the edge of the bottom crust, and pinching the two crusts together to seal. Use your fingers to seal the two crusts together and then create a fluted edge.
Use a sharp knife to cut 3-4 small slits in the top crust. These are the “air vents” that allow the hot steam to escape while the pie bakes. Now the blackberry pie is ready to be baked.
Baking The Blackberry Pie
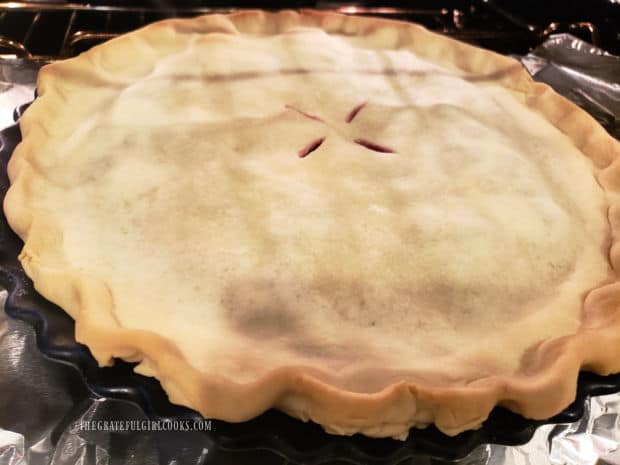
Bake the blackberry pie at 425°F. for 45-50 minutes. TIP: Place a sheet of aluminum foil directly UNDER the pie pan, to catch drips that may bubble up and out while baking.
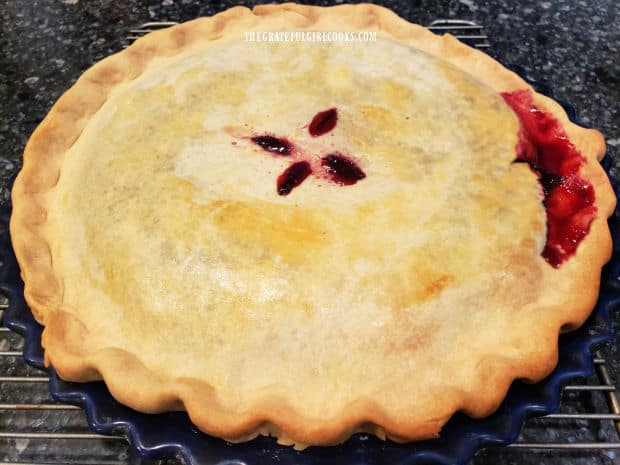
TIP: Check the pie after 30 minutes. If the crust is browning too fast, simply lay another sheet of aluminum foil over the top to protect the crust from over-browning, then continue baking. When done, the pie crust will be lightly browned and the juices will be bubbling up in the steam vents on top.
Who’s Ready For A Slice Of Blackberry Pie?
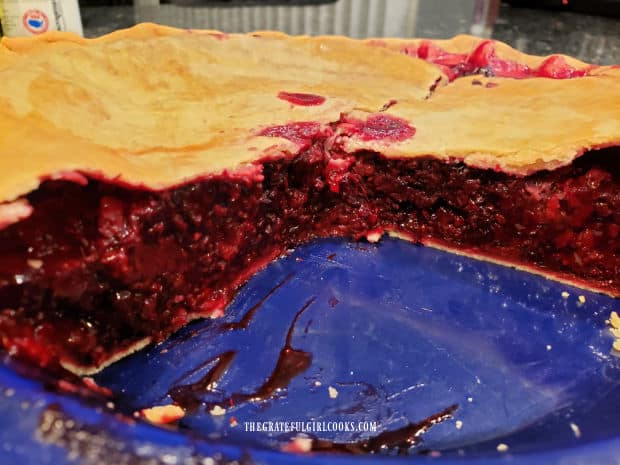
Let the pie cool down a bit, so it’s not all “molten lava-like” inside. This resting time helps the juices stabilize, which will allow you to slice the pie better. Once the pie has cooled slightly (10-15 minutes), cut it into 8 slices, and serve them warm, with a big ol’ scoop of vanilla ice cream on the side! The crust comes out golden and flaky, and the blackberry pie tastes amazing!
This really is a perfect summer treat using fresh berries, but nowadays this pie can be made year round, thanks to the availability of frozen blackberries in most grocery stores! YUM!
I hope you have the opportunity to make this delicious blackberry pie for your family or friends. If you enjoy blackberries, check out my recipes for Blackberry Crisp, Blackberry Jam, Blackberry Muffins, Blackberry Pie Bars and Blackberry Soda! I even have yummy recipes for Blackberry Scones and Blackberry Pancake Syrup! Have a great day, and thank you for stopping by. Please come back again soon!
Looking For More PIE Recipes?
You can find ALL of my recipes in the Recipe Index, located at the top of the page. I have some wonderful pie recipes you’ll enjoy, including:
Interested In More Recipes?
Thank you for visiting this website. I appreciate you using some of your valuable time to do so. If you’re interested, I publish a newsletter 2 times per month (1st and 15th) with all the latest recipes, and other fun info. I would be honored to have you join our growing list of subscribers, so you never miss a great recipe!
There is a Newsletter subscription box on the top right side (or bottom) of each blog post, depending on the device you use, where you can easily submit your e-mail address (only) to be included in my mailing list.
You Can Also Find Me On Social Media:
Facebook page: The Grateful Girl Cooks!
Pinterest: The Grateful Girl Cooks!
Instagram: jbatthegratefulgirlcooks
Original recipe source: Pie Filling adapted from “The New Pillsbury Family Cookbook, page 149, published 1973 by The Pillsbury Company
Homemade Pie Crust Recipe from my Mom here
↓↓ PRINTABLE RECIPE BELOW ↓↓
Use fresh or frozen blackberries to make a delicious classic blackberry pie using a homemade or purchased pie crust! Summertime at its best!
- 2 cups un-sifted all purpose flour
- ⅔ cup vegetable shortening
- 1 teaspoon salt
- 5-7 Tablespoons ice cold water
- 5 cups blackberries see NOTE re: frozen berries
- 1¼ cups granulated sugar
- ½ cup all purpose flour
- 1 teaspoons lemon juice
- ½ teaspoon lemon zest
- ½ teaspoon ground cinnamon
Preheat oven to 425°F.
Place flour, shortening and salt in food processor (or large bowl if hand-mixing). Pulse (if using food processor) or cut in the shortening with a pastry blender (or 2 forks) until shortening is reduced to the size of peas. Drizzle in ice cold water starting with least amount (5Tbl.) and adding more later, if necessary. Process (or knead by hand) until well-combined and mixture can be formed into a ball.
Divide dough ball evenly in half. Place one dough ball on a lightly floured surface, and roll out to a circle, about 10-11" in diameter. Place the crust in a 9" deep dish pie pan, then follow directions below for filling pie crust. Roll out remaining dough ball (top crust) following same process.
Place fresh blackberries OR frozen (unsweetened/unthawed) into large mixing bowl. Add sugar, flour, cinnamon, lemon juice, and zest; gently toss to combine.
Place one pie crust into a 9" deep dish pie pan. Prick bottom/sides of crust several times with the tines of a fork. Pour pie filling into prepared crust. Cut butter into chunks; dot the top of pie filling with butter.
Top pie with 2nd crust, stretching slightly to meet edges of bottom crust. Trim edges of dough to ½" from outside edge of pan. Seal edges of top crust to bottom crust by tucking top crust under the edge of the bottom crust. Pinch two crusts together to seal. Use your fingers to seal the two crusts together, then create fluted edge around pie. Use sharp knife to cut 3-4 small slits in top crust. They allow steam to escape while pie bakes.
Bake on middle rack in preheated 425°F.oven for 45-50 minutes. TIP: Place a sheet of aluminum foil UNDER pie pan, to catch drips that may bubble out while baking. TIP: Check pie after 30 minutes. If crust is browning too fast, lay a sheet of aluminum foil over the top, then continue baking. When done, the pie crust should be lightly browned and juices will be bubbling up in the steam vents.
Let pie cool down about 10-15 minutes. Cut into 8 slices, and serve with a scoop of vanilla ice cream on the side!
NOTES:
**You may also use two purchased pastry pie dough crusts (the kind you roll out) or two of your own pie crust recipe. You will need 2 pastry pie crusts for this pie (top and bottom crust)
**If using frozen berries, add them directly into the flour and sugar while still frozen.
Here’s one more to pin on your Pinterest boards!