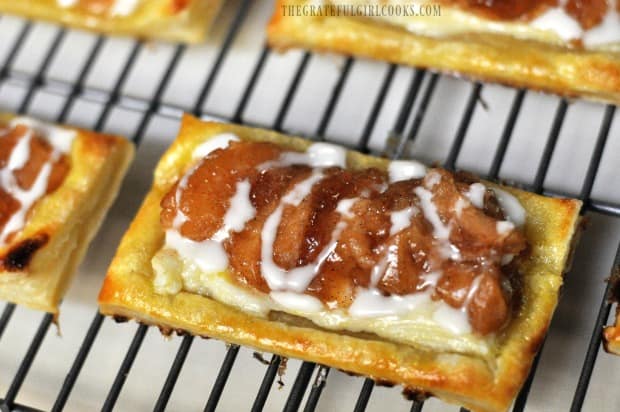
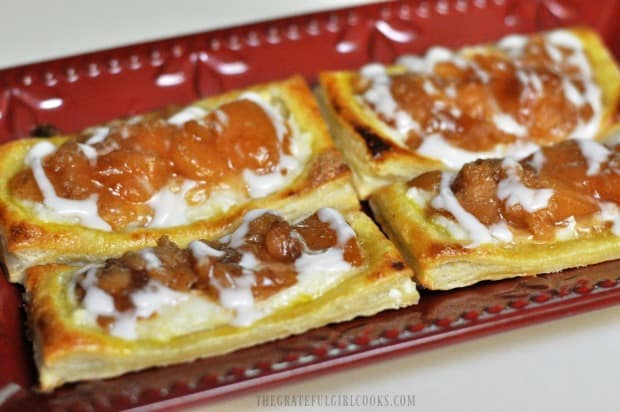
Apple cream cheese pastries are easy to make baked puff pastry sheets, topped with a sweet cream cheese spread, apple pie filling, and vanilla icing!
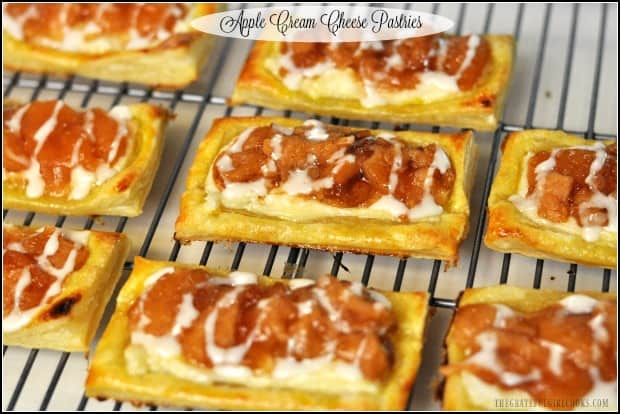
A few years ago I made some puff pastry tarts that had a variety of flavored jams on top, and we really enjoyed them a LOT! Last year I wanted to experiment a bit with my original recipe. I made a couple very slight changes to my original recipe for Fruit and Cheese Danish Pastry, and used some of my own home-canned apple pie filling, to create a NEW version!
A sweet friend of mine named Grace had knee replacement surgery just over a year ago, so I took dinner over to her home while she was recuperating. I also took her family some of these apple cream cheese pastries, for dessert (or a quick breakfast treat)!
The results turned out wonderful, and she told me they loved them, so now I am FINALLY getting the recipe for these dessert OR breakfast treats on the ol’ blog! Better late than never, right? They are fairly simply to make! Here’s how:
Scroll Down For A Printable Recipe Card At The Bottom Of The Page
Make The Cream Cheese Filling
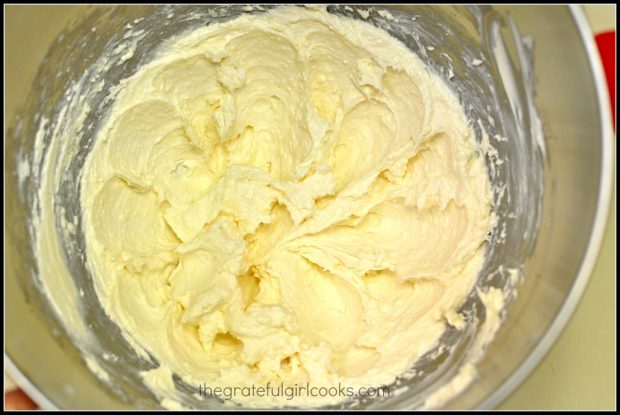
In a medium sized bowl, beat the cream cheese, sugar, vanilla extract and milk (or half and half) together, using an electric mixer. Mix the filling for 2-3 minutes, until mixture is very smooth and sugar has dissolved. Set this mixture aside, once spreadable.
How To Prepare Pastry Dough For Apple Cream Cheese Pastries
Remove a sheet of puff pastry from the freezer, and let it thaw slightly (for about 15 minutes) before unfolding it. While the dough is thawing, preheat your oven to 400° F.
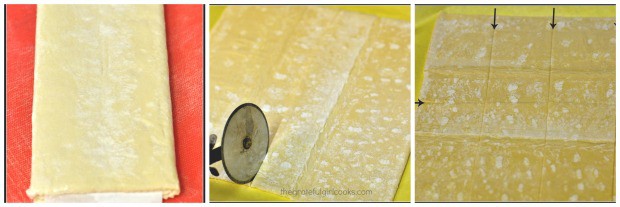
Once the dough has slightly thawed, gently unfold it. Press the dough together where any line perforations may be, to form one large piece of dough.
Cut the pastry dough into 8 rectangles. Do this by cutting the dough in half, then cut each half in half. Finally, cut each of the 4 squares in half once again. You should end up with 8 equal sized rectangles. I use a pizza cutter for nice even cuts!
Place the 8 rectangles of dough onto 2 parchment paper lined baking sheets. Place 4 pastries per baking sheet, and make sure to leave a couple inches between each pastry.
Scoring A Border On The Pastry Dough
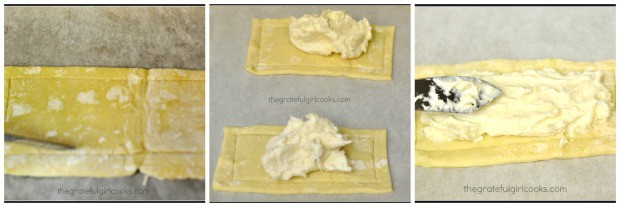
Using a sharp knife, score a border all the way around each of the pastries, about half an inch from the outside edge. By cutting this border in the dough, the edges will rise up and hold the filling in better! Don’t forget to do this step! IMPORTANT: Make sure to NOT cut all the way through the dough to the bottom!
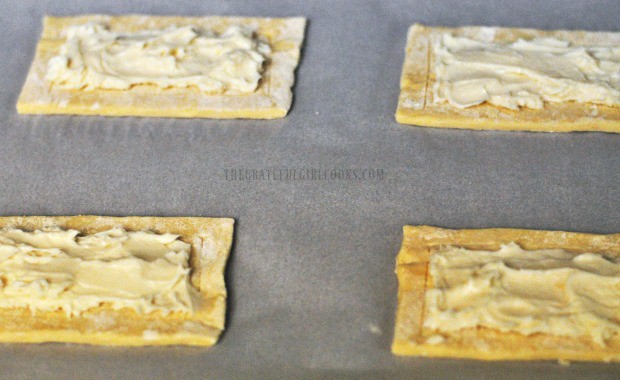
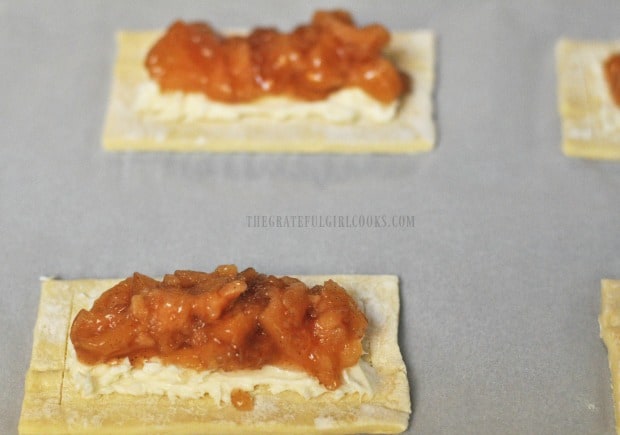
Evenly distribute the cream cheese filling into middle of each of the apple cream cheese pastries. Use a knife or small spatula to spread the filling over the dough, BUT STAY INSIDE THE BORDER!
Add The Apple Pie Filling
Place approx. 2 Tablespoons of apple pie filling onto the cream cheese filling. Gently spread the apple pie filling over the cream cheese, to cover most of the apple cream cheese pastries!
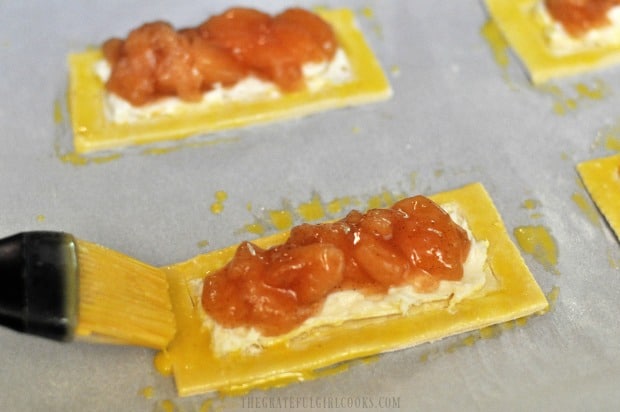
Mix the egg yolk in a small bowl. Using a pastry brush, brush the egg yolk mixture around the outer border of each pastry. While the dough is still wet, lightly sprinkle the outer edge of the dough with a tiny bit of sugar.
Time To Bake The Apple Cream Cheese Pastries
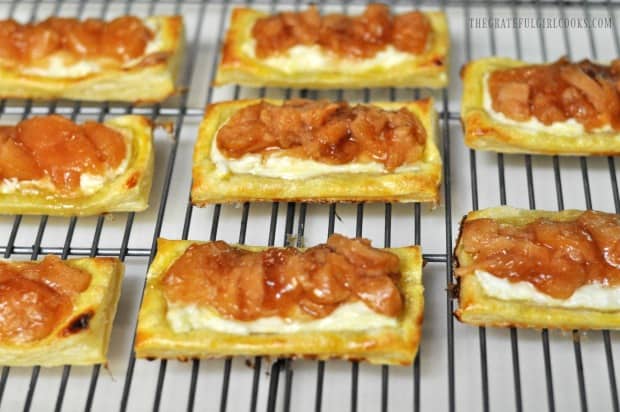
Place the baking sheets into the preheated oven. Bake the apple cream cheese pastries at 400°F. for 13-14 minutes. The pastries should turn a beautiful golden brown, and be slightly crispy around the edges, and will have risen a bit, when done.
Remove the baking pans from the oven. Using a spatula, carefully transfer the apple cream cheese pastries to a wire rack, to cool.
Prepare The Sweet Icing
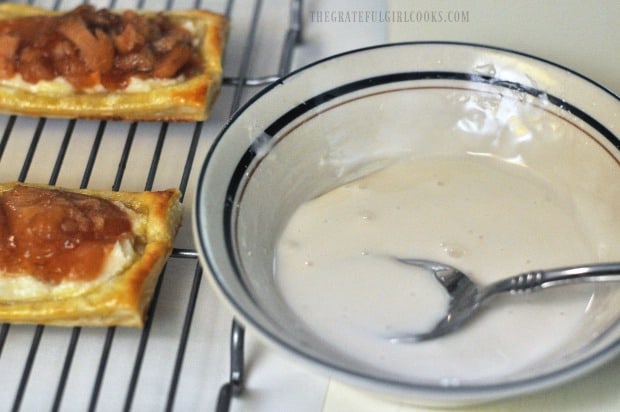
While the pastries are cooling, mix powdered sugar, water, and vanilla for icing in a small bowl. TIP: If icing is too thick to drizzle, add a few more drops of water. Too thin? Add more powdered sugar.
Once the apple cream cheese pastries are completely cool, use a spoon and drizzle the glazed over the pastries from side to side. TIP: Cleanup is really easy if you put a piece of plastic wrap, foil, parchment or wax paper UNDER the wire rack before doing this step! It will catch any drips!
Let the pastries sit while the icing firms up, then the apple cream cheese pastries are ready to be served!
I sincerely hope you will consider trying this recipe! The pastries are REALLY GOOD! Have a blessed day, friends. Make it a GREAT one!
Looking For More PASTRY Recipes?
You can find all of my recipes in the Recipe Index, located at the top of the page. I have several pastry recipes you might enjoy, including:
Interested In More Recipes?
Thank you for visiting this website. I appreciate you using some of your valuable time to do so. If you’re interested, I publish a newsletter 2 times per month (1st and 15th) with all the latest recipes, and other fun info. I would be honored to have you join our growing list of subscribers, so you never miss a great recipe!
There is a Newsletter subscription box on the top right side (or bottom) of each blog post, depending on the device you use, where you can easily submit your e-mail address (only) to be included in my mailing list.
You Can Also Find Me On Social Media:
Facebook page: The Grateful Girl Cooks!
Pinterest: The Grateful Girl Cooks!
Instagram: jbatthegratefulgirlcooks

- 1 sheet frozen puff pastry
- 4 ounces cream cheese , room temperature
- 1/2 teaspoon vanilla extract
- 1/4 cup granulated sugar
- 1 Tablespoon milk , or half and half
- 16 Tablespoons canned apple pie filling , approx. 2 T. per pastry
- 1 egg yolk
- 8 teaspoons granulated sugar
- 1 cup confectioner's sugar (powdered)
- 2 Tablespoons water , or more (to thin)
- 1/4 teaspoon vanilla extract
In a medium sized bowl, beat cream cheese, sugar, vanilla extract and milk (or half and half) together, using an electric mixer. Mix filling for 2-3 minutes, until mixture is very smooth and sugar has dissolved. Set mixture aside, once spreadable.
Remove a sheet of puff pastry from freezer, and let it thaw slightly (for about 15 minutes) before unfolding it. While dough thaws, preheat oven to 400° F. Once dough is slightly thawed, gently unfold it. Press dough together where any line perforations may be, to form one large piece. Cut pastry dough into 8 rectangles. Do this by cutting dough in half, then cut each half in half. Finally, cut each of the 4 squares in half once again. You should end up with 8 equal sized rectangles. I use a pizza cutter for nice even cuts!
Place the 8 rectangles of dough onto 2 parchment paper lined baking sheets. Place 4 pastries per baking sheet, and make sure to leave a couple inches between each pastry. Using a sharp knife, score a border all the way around each of the pastries, about half an inch from the outside edge. By cutting this border in the dough, the edges will rise up and hold the filling in better! Don't forget to do this step! IMPORTANT: Make sure to NOT cut all the way through the dough to the bottom! Evenly distribute the cream cheese filling into middle of each of the apple cream cheese pastries. Use a knife or small spatula to spread the filling over the dough, BUT STAY INSIDE THE BORDER!
Place approx. 2 Tablespoons of apple pie filling onto cream cheese filling. Gently spread apple pie filling over cream cheese, to cover most of the pastries! Mix the egg yolk in a small bowl. Using a pastry brush, brush egg yolk mixture around the outer border of each pastry. While dough is still wet, lightly sprinkle the outer edge of the dough with a tiny bit of sugar.
Place baking sheets into preheated oven. Bake pastries at 400°F. for 13-14 minutes. The pastries should turn a beautiful golden brown, and be slightly crispy around the edges, and should have risen a bit, when done. Remove baking pans from oven. Using a spatula, carefully transfer pastries to a wire rack, to cool.
While the pastries are cooling, mix powdered sugar, water, and vanilla for icing in a small bowl. TIP: If icing is too thick to drizzle, add a few more drops of water. Too thin? Add more powdered sugar. Once pastries are completely cool, use a spoon and drizzle the glazed over pastries from side to side. TIP: Cleanup is really easy if you put a piece of plastic wrap, foil, parchment or wax paper UNDER the wire rack before doing this step! Let pastries sit while icing firms up, then the pastries are ready to be served!
Here’s one more to pin on your Pinterest boards!

