Learn how to make homemade English muffins, from scratch! Fork split and toasted, they are a wonderful, classic breakfast treat with butter and jam! 
Do you enjoy eating English muffins for breakfast? We sure do, which is why I decided to learn how to make them several years ago. I wanted to do this simply for the JOY of learning HOW they are made from scratch.
Not sure about you, but I grew up eating English muffins. Whenever my Mom would make them for breakfast, my sisters and I would toast and butter them. After that we would spread one half with peanut butter and the other half with jam. YUM.
Several years ago I decided I wanted to LEARN how to make them myself. Granted, it IS much quicker to pick them up at the grocery store and make them, but I wanted to know “how to make them” simply for the experience of learning! The first time I made them (using this recipe), they turned out fantastic, so I have made them several times since, always with great results.
Scroll Down For A Printable Recipe Card At The Bottom Of The Page
How To Make Homemade English Muffins
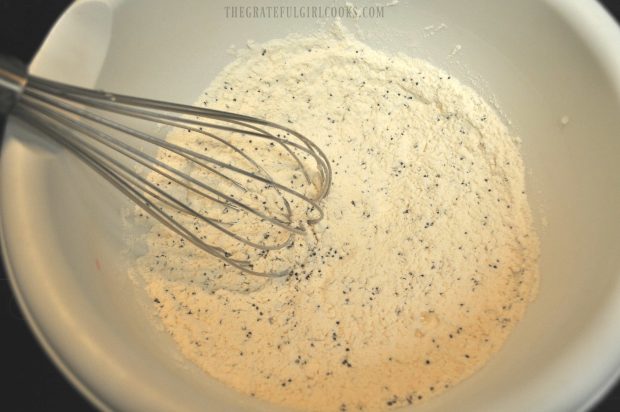
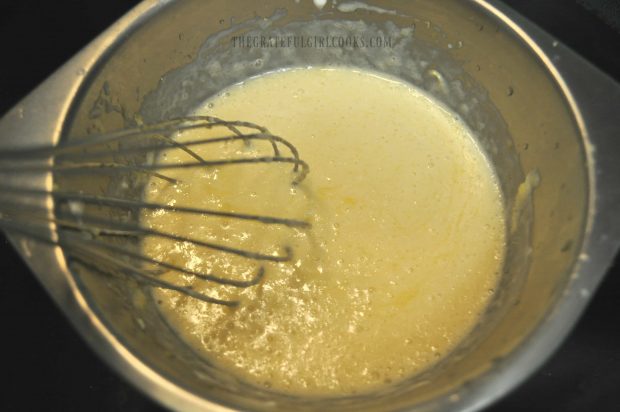
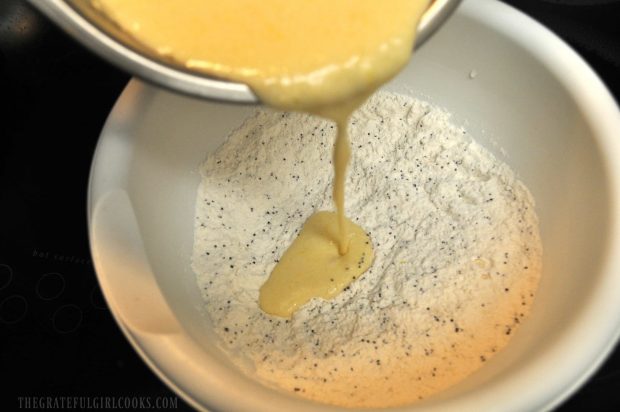
Place flour, sugar, yeast, salt and egg into the bowl of a stand mixer (place in large bowl if you don’t have a stand mixer), but do not stir. In a separate saucepan, heat milk and butter on medium heat until a thermometer measures between 110 and 115 degrees. Remove the pan from the heat. Pour the warm milk mixture into the bowl with the dry ingredients. Stir only until a wet dough forms.
Using a dough hook attachment for stand mixer, knead dough for 5 minutes until the dough pulls away from sides of bowl, and is smooth and soft. If not using stand mixer, turn out dough onto lightly floured work surface and knead for 10 minutes by hand.


Form the dough into a ball shape; put it into a large bowl that has been coated with non-stick spray (or oil). Turn the dough ball over so that oil has coated surface. Cover the bowl (with plastic wrap or a couple dish towels), and let it sit on the counter for an hour so the dough can rise and double in size.


Once dough has risen, preheat your oven to 350 degrees. Spray a large griddle (or a couple large skillets) with non-stick cooking spray. Sprinkle the griddle well with Semolina (or Farina).
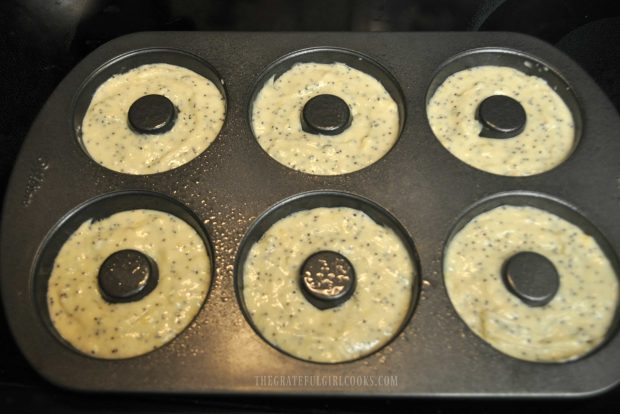
Punch down the dough and divide into 16 pieces, then shape each piece into a ball of dough. Press each one down until it has a 3 inch diameter. Place dough balls onto griddle pan (with Semolina coating). You will want to keep about 1 inch between each piece, and may need to cook them in 2 separate batches. When you need to cook English muffins in batches, sprinkle a baking sheet with the Semolina, place the extras on it, then cover with parchment paper until needed.
How Are English Muffins Cooked?
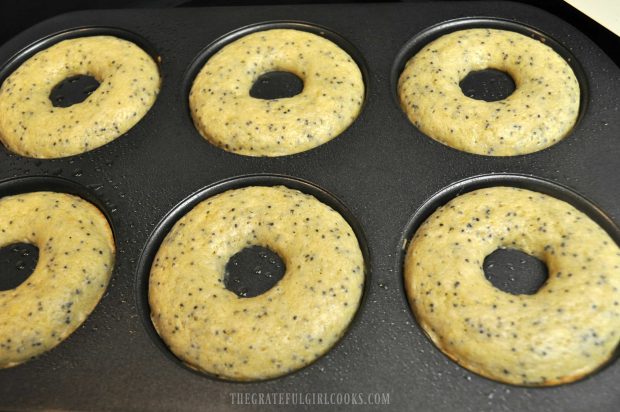
Turn temperature on griddle to 275 degrees (LOW).When using a skillet, place on low heat on cook top. Cook the muffins for 7 to 15 minutes on first side (they need to be dark golden brown).
Carefully turn over and cook other side for same amount of time. If the muffins begin to puff up too much, put a piece of parchment paper on top and place a cookie sheet on top of the paper. This will act as a weight to prohibit them from rising too high during the cooking process (remember we’re cooking English muffins, NOT hamburger buns!).

How Do I Know If The English Muffins Are Done?
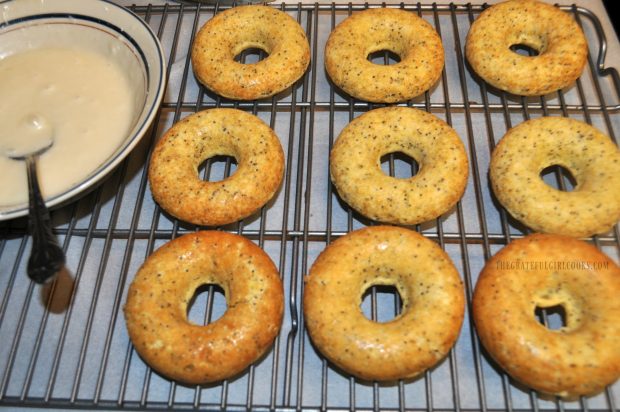
You can test for doneness by inserting a thermometer (instant read) into the middle. It should read 200 degrees. Both sides should be a dark golden brown, as well. If you find they are still not completely cooked through to the center, put the muffins onto a baking sheet. Place them in the oven (which is still heated to 350 degrees) and cook for another 5-10 minutes, or until they reach temperature.

Time To Enjoy An English Muffin
When done, let the muffins completely cool. Use a fork inserted into the middle and reinserted around the edges to gently open up the muffin. By using a fork to do this, you will see a lot more “nooks and crannies” (in the words of the original author). The nooks and crannies are a great way to hold all that butter once lightly toasted!

I still like eating them with jam! That’s probably my favorite way to eat English muffins! Another favorite way to enjoy them is toasted, then adding peanut butter on top. YUM. This time I enjoyed my English muffin with some of my homemade blackberry jam.

While it takes a while to make these from scratch, I hope you will consider at least trying this recipe. It’s always fun to learn something new each day, and maybe this is the day you learn how to make English muffins! You could even use this recipe to make English Muffin Mummy Pizzas for the kids in the Fall for Halloween!
Thank you for stopping by, and I hope you come back again soon. Have a wonderful day, and may God bless you in all you do.
Looking For More BREAD Recipes?
You can find ALL of my recipes in the Recipe Index, located at the top of the page. I have a nice variety of bread recipes you’ll enjoy, including:
Interested In More Recipes?
Thank you for visiting this website. I appreciate you using some of your valuable time to do so. If you’re interested, I publish a newsletter 2 times per month (1st and 15th) with all the latest recipes, and other fun info. I would be honored to have you join our growing list of subscribers, so you never miss a great recipe!
There is a Newsletter subscription box on the top right side (or bottom) of each blog post, depending on the device you use, where you can easily submit your e-mail address (only) to be included in my mailing list.
You Can Also Find Me On Social Media:
Facebook page: The Grateful Girl Cooks!
Pinterest: The Grateful Girl Cooks!
Instagram: jbatthegratefulgirlcooks

Recipe Source: http://www.girlversusdough.com/2014/04/28/english-muffins/
Learn how to make homemade English muffins, from scratch! Fork split and toasted, they are a wonderful, classic breakfast treat with butter and jam!
Category: Bread/Breakfast
Cuisine: American
Keyword: english muffins
Servings: 16 muffins
Calories Per Serving: 177 kcal
Author: JB @ The Grateful Girl Cooks!
- 4 1/2 cups bread flour
- 2 Tablespoons granulated sugar
- 2 1/4 teaspoons instant yeast (1 packet)
- 1 1/2 teaspoons salt
- 1 egg
- 1 3/4 cups milk
- 3 Tablespoons unsalted butter
- Semolina (or Farina), to sprinkle on griddle
Place flour, sugar, yeast, salt and egg into the bowl of a stand mixer (place in large bowl if you don't have a stand mixer), but do not stir. In a separate saucepan, heat milk and butter on medium heat until a thermometer measures between 110 and 115 degrees, then remove pan from heat. Pour the warm milk mixture into the bowl with the dry ingredients. Stir only till wet dough forms.
Using a dough hook attachment for stand mixer, knead dough for 5 minutes until the dough pulls away from sides of bowl, and is smooth and soft. If not using stand mixer, turn out dough onto lightly floured work surface and knead for 10 minutes by hand.
Form the dough into a ball shape; put it into a large bowl that has been coated with non-stick spray (or oil). Turn the dough ball over so that oil has coated surface. Cover the bowl (with plastic wrap or a couple dish towels), and let it sit on the counter for an hour so the dough can rise and double in size.
Once dough has risen, preheat your oven to 350 degrees. Spray a large griddle (or a couple large skillets) with non-stick cooking spray. Sprinkle the griddle well with Semolina (or Farina). Punch down the dough and divide into 16 pieces, then shape each piece into a ball of dough. Press each one down until it has a 3 inch diameter. Place dough balls onto griddle pan (with Semolina coating). You will want to keep about 1 inch between each piece, and may need to cook them in 2 separate batches. If cooking in batches, sprinkle a baking sheet with the Semolina, then place extras on it, then cover with parchment paper.
Turn temperature on griddle to 275 degrees (LOW). If using skillets, place on low heat on cooktop. Cook the muffins for 7 to 15 minutes on first side (they need to be dark golden brown). Carefully turn over and cook other side for same amount of time. If the muffins begin to puff up too much, put a piece of parchment paper on top and place a cookie sheet on top of the paper. This will act as a weight to prohibit them from rising too high during the cooking process.
You can test for doneness by inserting a thermometer (instant read) into the middle. It should read 200 degrees. Both sides should be a dark golden brown, as well. If you find they are still not completely cooked through to the center, put the muffins onto a baking sheet and place them in the oven (which is still heated to 350 degrees) and cook them for another 10 minutes.
When done, let the muffins completely cool. Use a fork inserted into the middle and reinserted around the edges to gently open up the muffin. Toast, and enjoy!
Nutrition Facts
English Muffins
Amount Per Serving (1 muffin)
Calories 177 Calories from Fat 27
% Daily Value*
Fat 3g5%
Saturated Fat 2g13%
Cholesterol 18mg6%
Sodium 235mg10%
Potassium 90mg3%
Carbohydrates 28g9%
Fiber 1g4%
Sugar 2g2%
Protein 6g12%
Vitamin A 125IU3%
Calcium 38mg4%
Iron 0.4mg2%
* Percent Daily Values are based on a 2000 calorie diet.
Here’s one more to pin on your Pinterest boards!
Save
Save
Save
Save
Save
Save
Save
Save


! They are a wonderful breakfast treat! / The Grateful Girl Cooks!")

! They are a wonderful breakfast treat! / The Grateful Girl Cooks!")


, and have really enjoyed having it around our house for a quick breakfast cereal or snack. / The Grateful Girl Cooks!")


