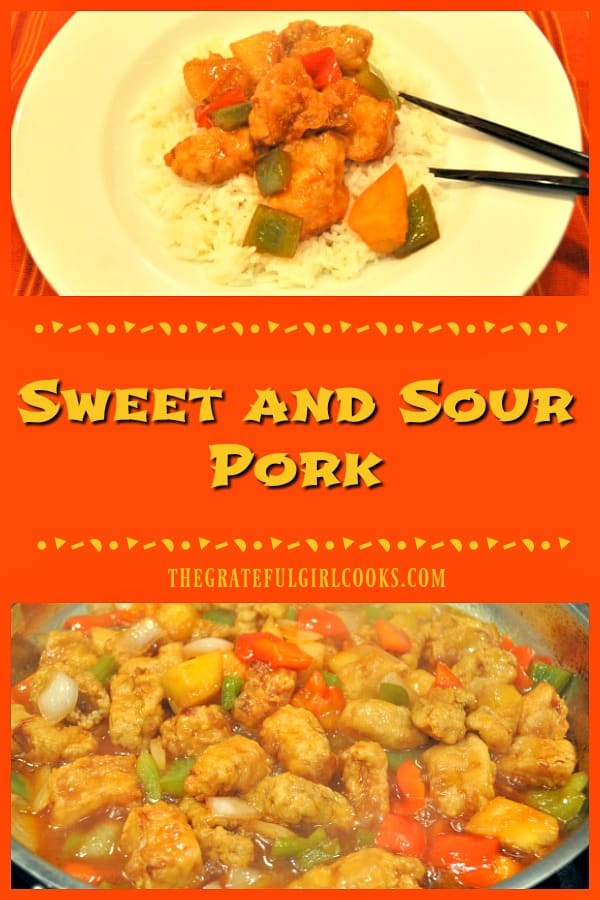
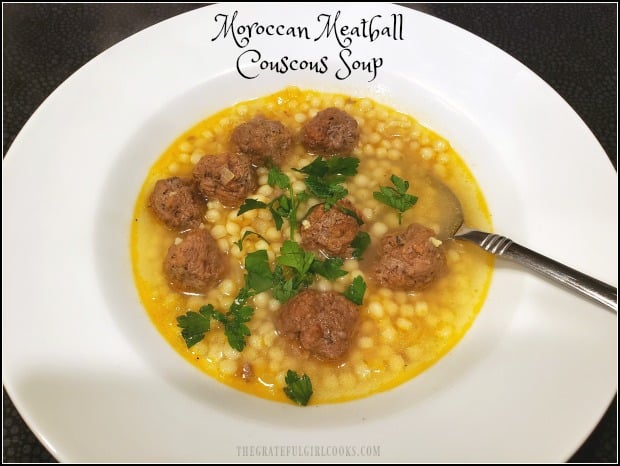
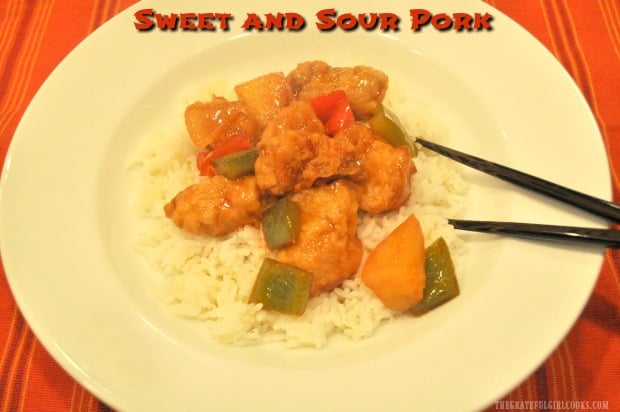
Who needs takeout when you can make this delicious Sweet and Sour Pork (with pineapple, onions and bell peppers) at home in about 30 minutes?
Recently I was taking an inventory of a freezer we have in our garage and found several thick boneless pork chops. I started searching for a “new” recipe I could make to use them, and stumbled upon this one for sweet and sour pork on Pinterest.
Note: If you don’t have the boneless pork chops, you can use a pork butt to make this dish, as well!
The original recipe came from Sabrina, on the blog “Dinner Then Dessert”, and I thought it sounded wonderful, since I have always LOVED sweet and sour pork!
Off into our kitchen I went, and in no time at all, we had this wonderful meal for dinner! The recipe is straightforward, easy to prepare, and absolutely DELICIOUS!
It’s fun to be able to share this recipe for sweet and sour pork with you today. If you are interested in reading a few legends about the origins of this favorite Chinese dish, you will want to check out this article.
Scroll Down For a Printable Recipe Card At The Bottom Of The Page
Make The Sweet And Sour Pork Sauce
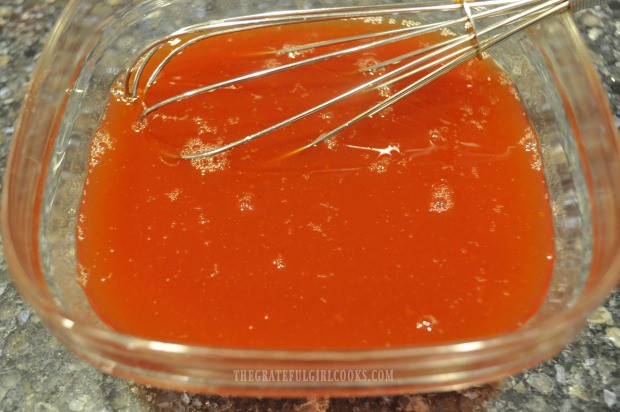
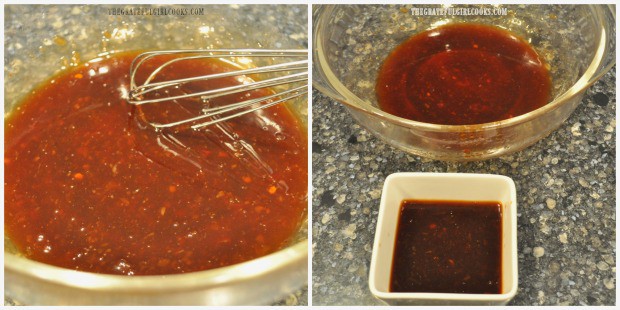
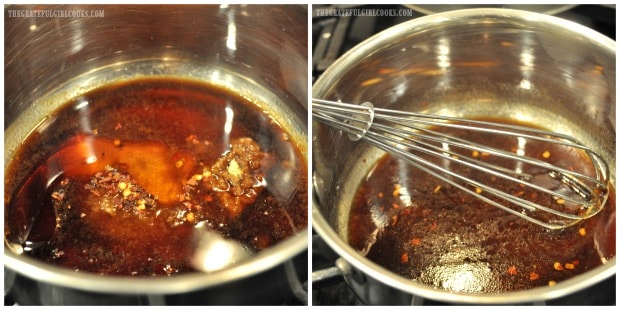
Making the sauce for the sweet and sour pork couldn’t be any easier. Place pineapple juice, rice vinegar, brown sugar, ketchup, cornstarch, soy sauce and food coloring (if using) in a medium sized dish. Whisk the sauce ingredients together until smooth. Set sauce aside.
NOTE: Notice the color of the sweet and sour pork sauce. I used the recommended 3 drops of food coloring which helped deepen the color of the sauce. If you choose to NOT use food coloring, that is totally okay, but remember… the sauce will have a bit less color to it!
Preparing The Pork For Cooking
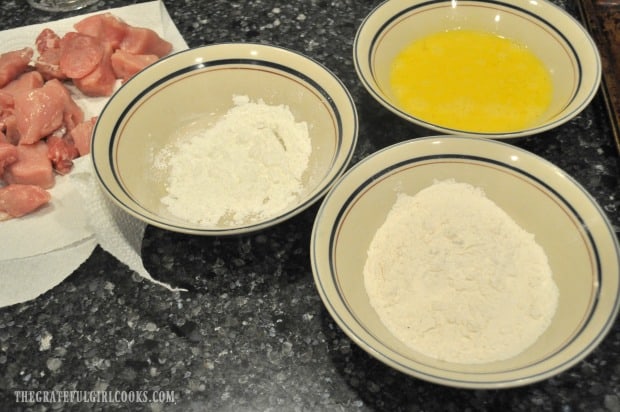
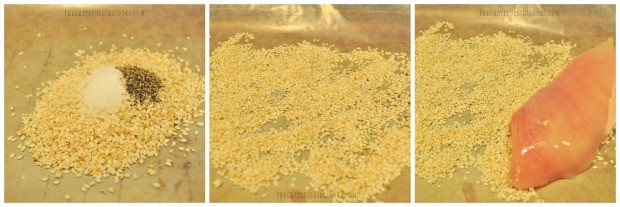
Prepare 3 bowls with the ingredients necessary to coat the pork pieces before cooking. One bowl, has corn starch, one has all purpose flour, and one has slightly beaten eggs.
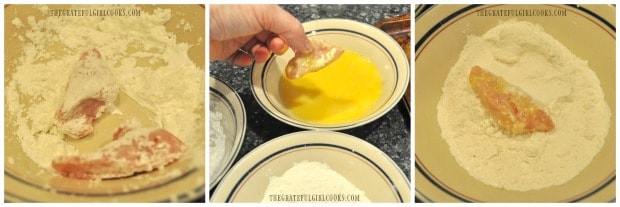
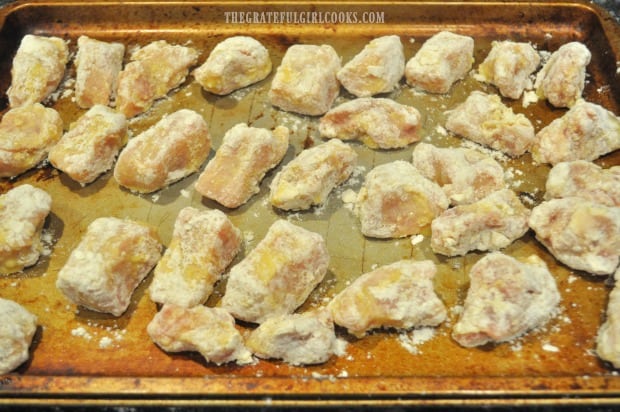
Dredge the pork pieces in cornstarch (a couple pieces at a time), then dip in egg to cover, and then coat the pieces in flour. As you finish each of the pieces of pork, place them onto a baking sheet.
Note: This step is fairly messy, as you dip each piece. Just keep at it! I try to use the same hand for dipping, and occasionally rinse or wipe some of the coating off that gets stuck on my fingers as I go!
Cooking The Sweet And Sour Pork
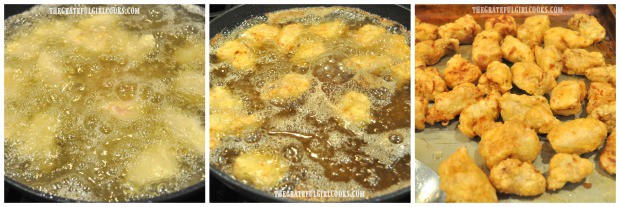
Pour oil into a large skillet to a depth of about 2-3 inches. Heat the oil on medium high heat until it is very hot (but not smoking).
TIP: You will need to cook the pork in batches, reheating oil in between batches! Don’t overcrowd the skillet, because you want the pork to cook evenly on all sides.
Carefully add the coated pork pieces into the hot oil. Cook the pieces of pork for 2-3 minutes, turning once, until the meat is cooked through, is golden brown, and crispy on the outside.
Once done, carefully remove the pork with a slotted spoon (so oil drips back into skillet), and place onto a baking sheet.
To Finish The Sweet And Sour Pork
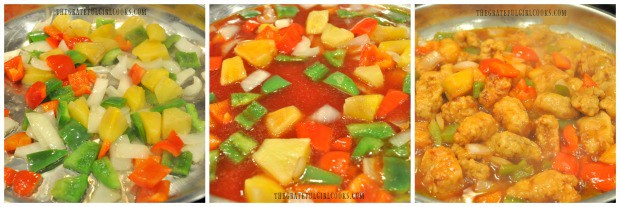
In a separate large skillet, add 2 Tablespoons oil, and heat on medium high. Once oil is hot, add the pineapple, bell peppers, and onion. Cook the veggies, stirring occasionally for 3 minutes. The veggies should still be tender, but still slightly crisp when done.
Pour the sweet and sour sauce into the skillet. Stir to combine, and continue to heat through. The sauce will thicken slightly as it cooks. Right before you are ready to serve, add the pork back into the skillet, and stir to combine.
Heat only until the pork is heated through, and then the sweet and sour pork is ready to serve!
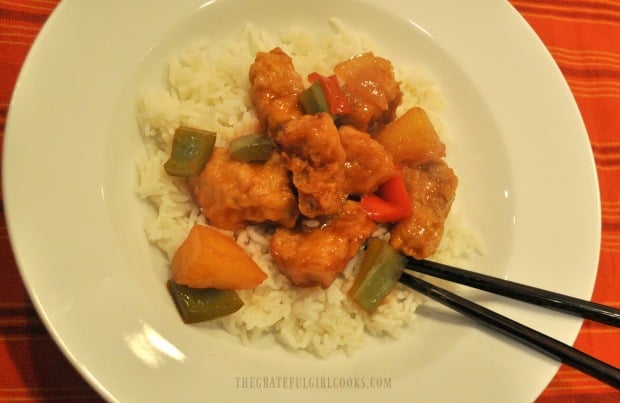
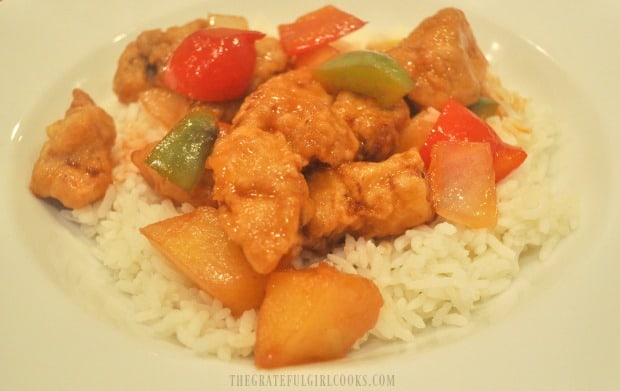
Arrange a bed of rice onto each serving dish, and then top it with some of the sweet and sour pork!
There you have it! Sweet and Sour Pork, for the win! Sure hope you enjoy this delicious Chinese meal! Grab some chopsticks and dig in! It tastes wonderful!
My husband and I really enjoy this meal. The Asian-inspired sauce permeates everything with wonderful flavor, and the veggies and pork are so good! Hope you will consider making this delicious classic “takeout” dish for those you love! Have a great day!
Looking For More Asian-Inspired Recipes?
You can find ALL of my recipes in the Recipe Index, which is located at the top of the page. I have many Asian-inspired recipes to choose from, including:
- P.F. Chang’s Ginger Chicken With Broccoli (copycat)
- Asian Lemon Chicken Strips
- Stir Fry Asian Glazed Shrimp & Veggies
- Easy Cashew Chicken
Interested In More Recipes?
Thank you for visiting this website. I appreciate you using some of your valuable time to do so. If you’re interested, I publish a newsletter 2 times per month (1st and 15th) with all the latest recipes, and other fun info. I would be honored to have you join our growing list of subscribers, so you never miss a great recipe!
There is a Newsletter subscription box on the top right side (or bottom) of each blog post, depending on the device you use, where you can easily submit your e-mail address (only) to be included in my mailing list.
You Can Also Find Me On Social Media:
Facebook page: The Grateful Girl Cooks!
Pinterest: The Grateful Girl Cooks!
Instagram: jbatthegratefulgirlcooks
Recipe Source: Sabrina, at https://dinnerthendessert.com/sweet-and-sour-pork/
↓↓ PRINTABLE RECIPE BELOW ↓↓

- 1 cup pineapple juice
- 1/2 cup rice vinegar
- 1/2 cup brown sugar
- 1/4 cup ketchup
- 1 Tablespoon cornstarch
- 1 Tablespoon low sodium soy sauce
- 3 drops red food coloring (optional-I used it)
- 1½ pounds boneless thick cut pork chops (or pork butt) , cut into 3/4" chunks
- 1/2 cup cornstarch
- 2 large eggs , slightly beaten
- 1/4 cup all purpose flour
- vegetable oil for frying pork (2-3" deep)
- 2 Tablespoons vegetable oil (for frying veggies)
- 1 cup pineapple chunks
- 1 red bell pepper , cut in 1" pieces
- 1 green bell pepper , cut in 1" pieces
- 1/2 yellow onion , cut in 1" pieces
Make the sauce: Place pineapple juice, rice vinegar, brown sugar, ketchup, cornstarch, soy sauce and food coloring (if using) in a medium sized dish. Whisk ingredients until smooth. Set sauce aside.
Prepare 3 bowls with ingredients to coat the pork pieces. One with corn starch, one with flour, and one with slightly beaten eggs. Dredge the pork pieces in cornstarch (a couple pieces at a time), then dip in egg to cover, and then coat the pieces in flour. As you finish coating each piece, place onto a baking sheet.
Pour oil into a large skillet to a depth of 2-3 inches. Heat oil on medium high heat until very hot (but not smoking). TIP: You will need to cook the pork in batches, reheating oil in between batches! Don't overcrowd the skillet, because you want the pork to cook evenly on all sides. Carefully add the coated pork pieces into hot oil. Cook pork for 2-3 minutes, turning once, until cooked through, golden brown, and crispy on the outside. Once done, carefully remove the pork pieces with a slotted spoon (so oil drips back into skillet), and place onto a baking sheet. Repeat until all pork is cooked.
In a separate large skillet, add 2 Tablespoons oil; heat on medium high. Once oil is hot, add pineapple, bell peppers, and onion. Cook, stirring occasionally for 3 minutes. Veggies should be tender, and slightly crisp when done. Add sauce to skillet. Stir to combine, and heat through. Sauce will thicken slightly as it cooks. Right before you're ready to serve, add browned pork back into the skillet; stir to combine. Heat only until the pork is heated through, and then the sweet and sour pork is ready to eat! Serve on top of rice. Enjoy!
Caloric calculation made based on the use of pork butt.
