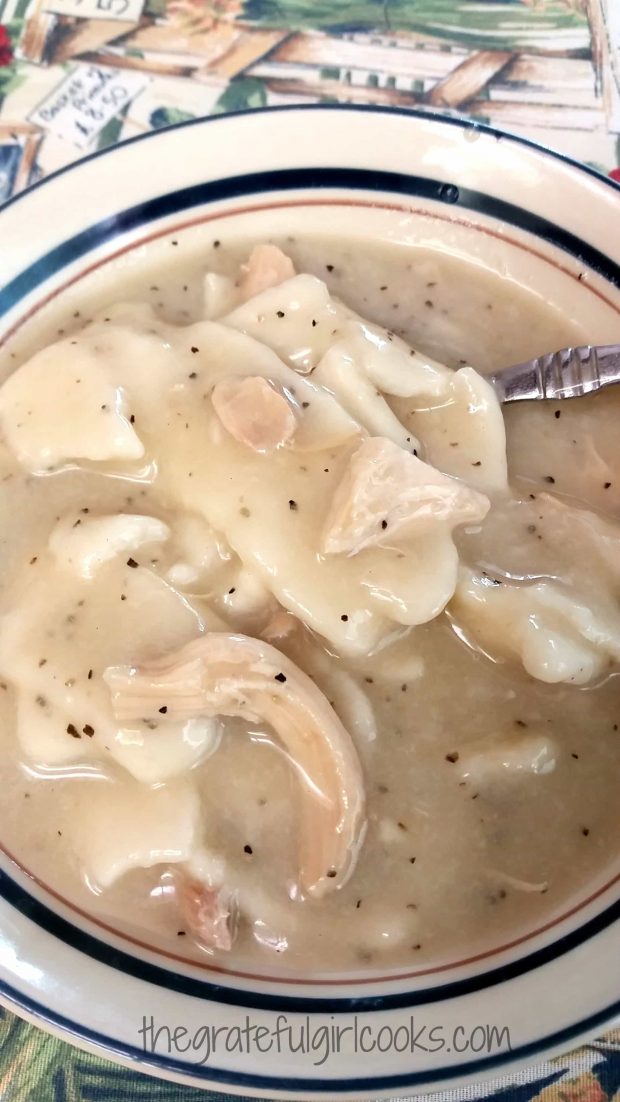
You will LOVE these Southern-Style Chicken n’ Dumplings just the way my Texas Grandma used to cook them! A big bowl of this filling hot soup is comfort food at it’s very best!
Fall is upon us, and Old Man Winter is just around the corner. Not too sure about you, but I tend to “hunker down” during this season of the year, and yearn for fires in the fireplace, a warm home, and good old comfort food, like a big pot of my Grandma’s Southern-Style Chicken n’ Dumplings! Yum!
Scroll Down For A Printable Recipe Card At The Bottom Of The Page
Why Are These Dumplings Flat Like Noodles?
I used to wonder about the use of the word “dumplings” in the name, since a lot of people make biscuit-like dumplings (and these look more like noodles), but if my beloved Southern Grandma called them “dumplings”, well then “dumplings” they will be! Even Wikipedia tells us “dumplings” can be either PUFFY (typical in the Northeast) or ROLLED FLAT(Southern style!).
My Grandma, who lived in East Texas before she passed away, used to make this wonderful chicken n’ dumpling soup for us when we would visit on family vacations. My mom also made Grandma’s recipe for our family, then I began making this same recipe for my family many, many years ago. Our grown sons love this soup, as well, and I can’t even begin to count how many times they have eaten this meal.
Our oldest son, who is now 33 years old, still requests this as part of his birthday celebration, which amazes me to this day! It is REALLY simple, absolutely delicious, comforting and filling, and is very inexpensive to make… which is probably why I’ve been making this meal for so long!
Why Is This Recipe Good On The Old Wallet?
I start with a whole chicken. That’s the main ingredient in this soup, and I only use half the meat from the chicken, so I get another entire other meal out of the rest. That, to me, is a win-win. Any time I can spend about $5 on a chicken and get two meals (plus leftovers) out of the deal is a good thing! I am sharing lots of pics for this recipe, but don’t let that scare you. This is simple, people!
So How Do I Make These Yummy Southern-Style Chicken n’ Dumplings?
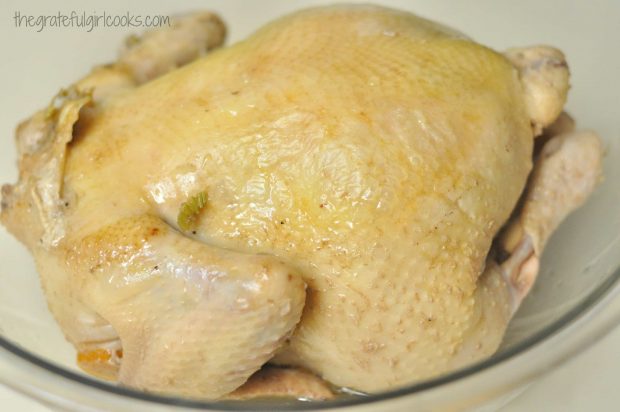
Place a whole thawed chicken (that is rinsed and cavity cleared) into a large stockpot. Cover with water. (If you want you can add 1/2 cup each of chopped onion, celery, and carrots to help flavor the broth, but it really is not necessary). Bring the water to boiling and cook the chicken for 1 hour.
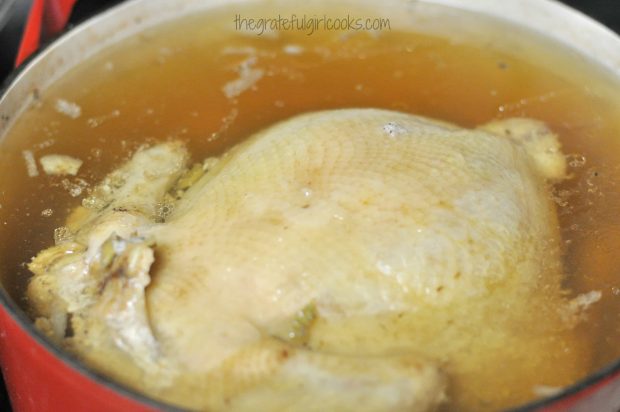 When done, remove the chicken to a large bowl to cool down.
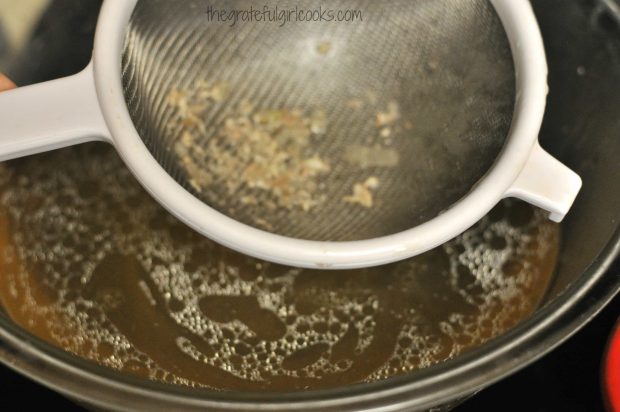
 Pour the broth through a sieve to strain out any veggies, particles, etc. Pour broth back into stockpot. I discard the veggies I flavored the broth with, but if you want to leave them in, go for it!
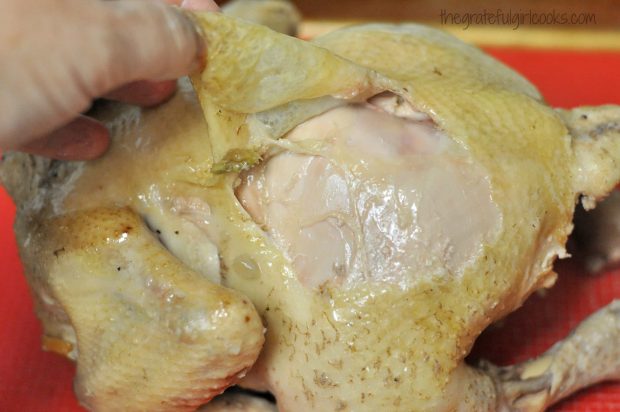
 When the chicken has cooled, remove the skin. You can usually just pull it off from the different pieces using your clean hands.
 Cutting The Meat Off The Chicken
The chicken will be so tender the legs and thighs will easily tear off. I like to put a flexible cutting board on a baking sheet with edges, to help catch any liquid run-off.
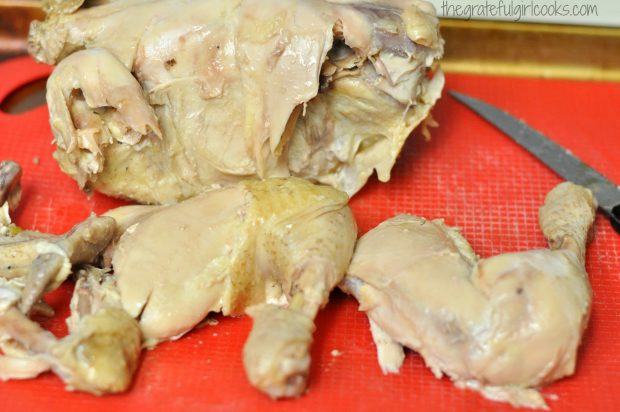 Cut or pull off all the meat from the chicken, and place into a large bowl. The chicken should be cut into bite sized pieces. I usually end up with between 4-5 cups of shredded chicken.
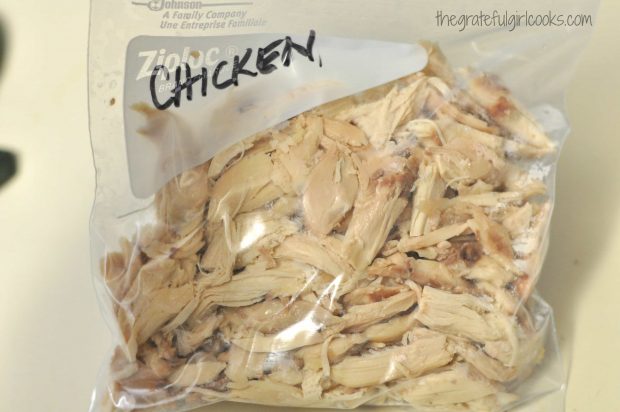
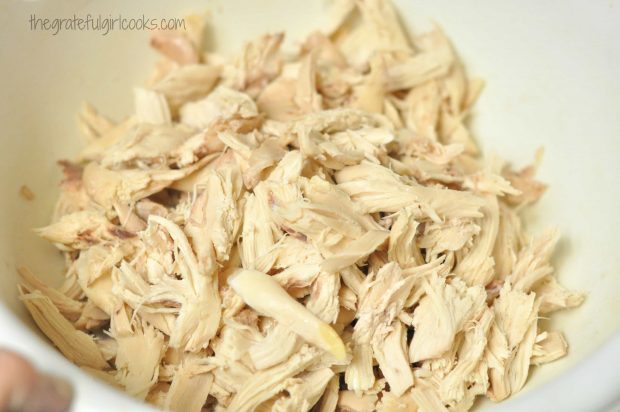 Store Extra Chicken For Use In Another Recipe!
I like to use about 2 -2 1/2 cups of chicken for this recipe. You can use all of the chicken if you want, but I prefer to put the rest of the chicken into a freezer bag and into my freezer, so I have cooked chicken ready for another meal (like quesadillas, enchiladas, casseroles, etc.), as well!
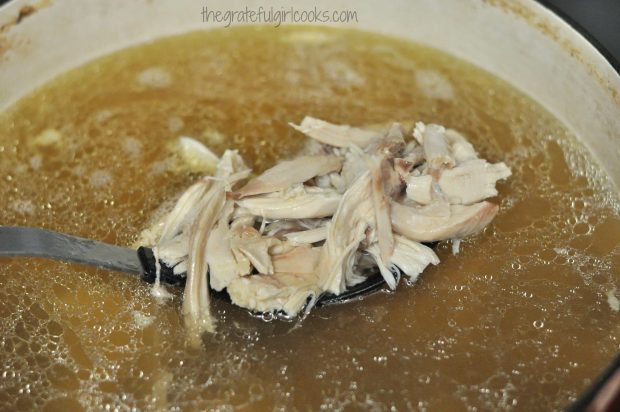
 Add The Chicken Pieces To The Broth
At this point, you will need to add 2 to 2 1/2 cups of shredded chicken back into the pot of chicken broth.
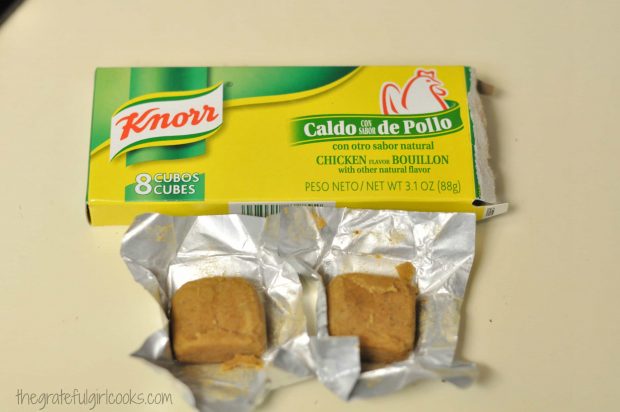
 I add two large cubes of chicken bouillon to the hot broth to add additional flavor. The cubes will break down and dissolve as the southern-style chicken ‘n dumplings cook.
 Make The Dumplings
Heat the broth back up on medium high heat. While it is coming to a boil, I make the dumplings. I know a lot of people make big puffy biscuit-like “dumplings”, but this is how my Grandma made Southern-style chicken n’ dumplings, and that is why they look like large noodles.
Start by blending flour, salt, and shortening together using a pastry cutter, cutting it in until the shortening is the size of small peas. Easy!
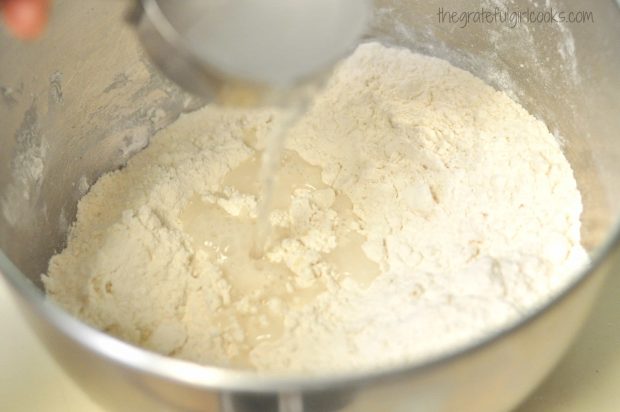
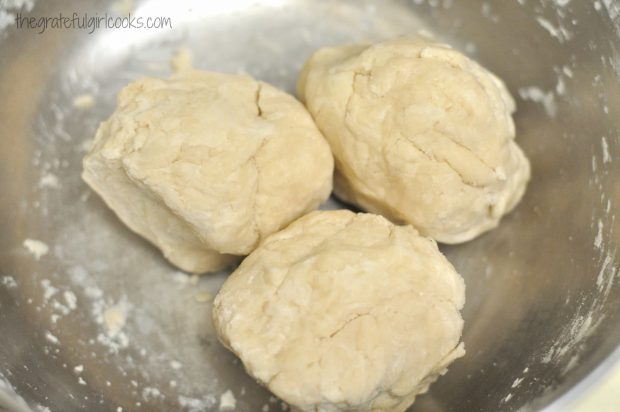
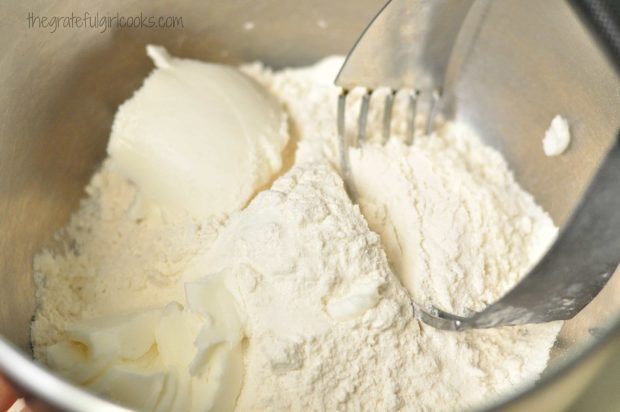 Hot water and more flour is added and mixture is firmed up into a large dough ball. Let the chicken n’ dumplings dough rest for about 10 minutes, then shape into 3 equal sized portions.
Roll And Slice The Dumplings
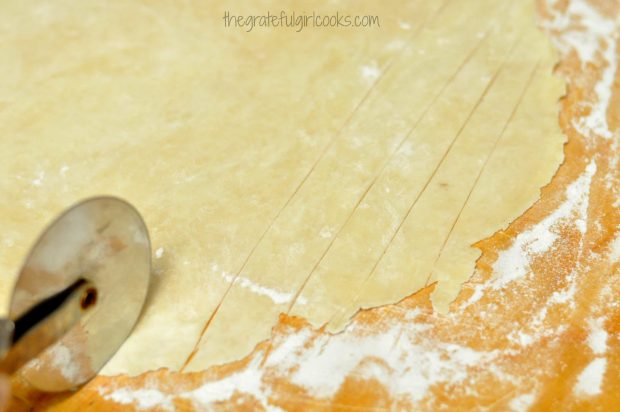
Roll out the dough on a flour covered surface, one dough ball at a time, until it is thinly rolled out, and about the size of a pie crust.
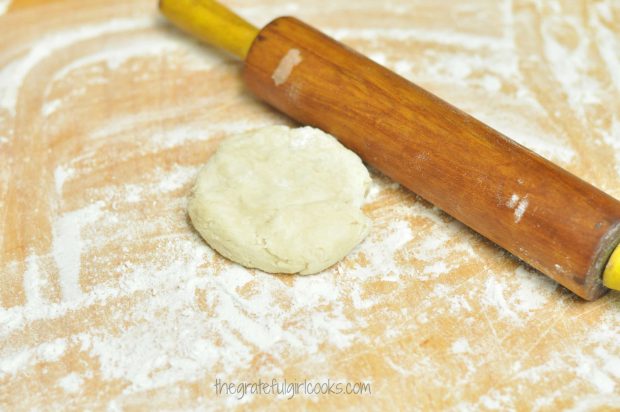
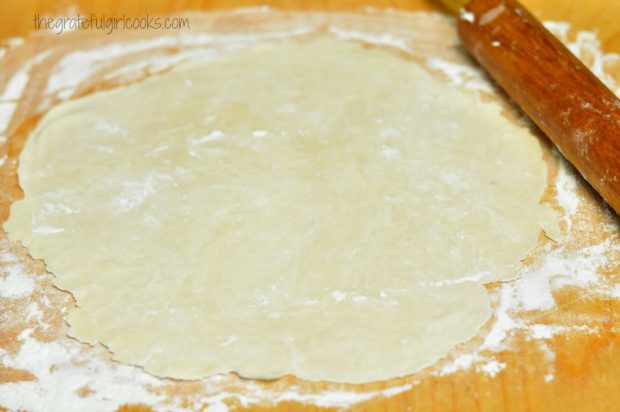 Use a pizza cutter (or a very sharp knife) to cut the chicken n’ dumpling dough into long strips about an inch wide. Repeat the entire rolling/cutting process with the other two dough balls, adding additional flour to cutting board before rolling each one.
Add The Dumplings To The Soup Broth
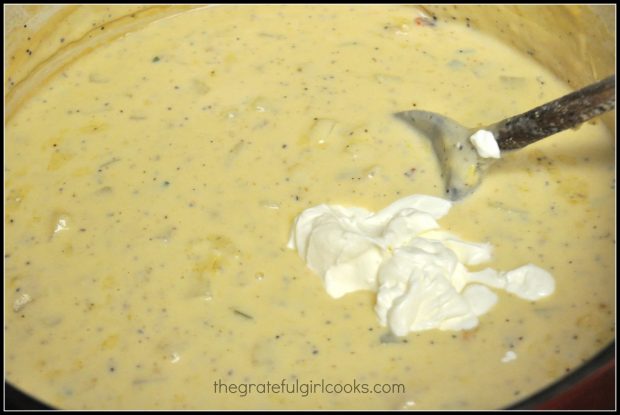
Once the broth is boiling, carefully drop the “dumplings” a few at a time into the boiling broth, continuing until all the dumplings are in the pot.
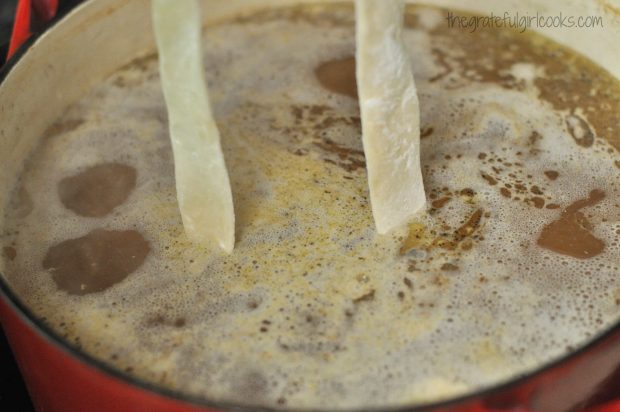
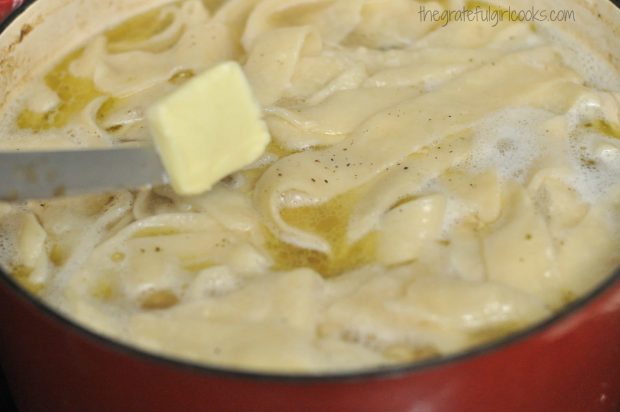
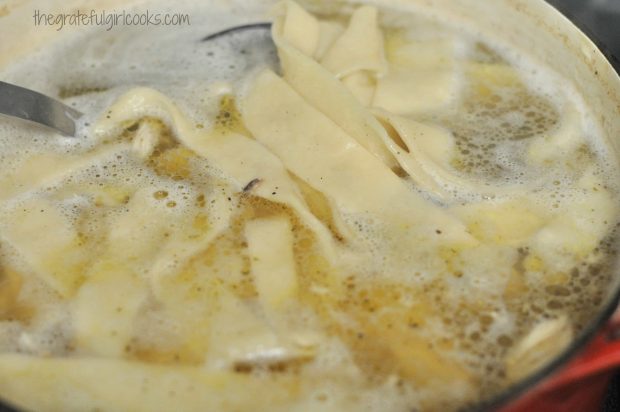 Add a small amount of butter, as well as salt and pepper to the soup to help season it. Taste the broth, then add additional salt and/or pepper to suit your taste. I usually add a LOT of pepper to ours.
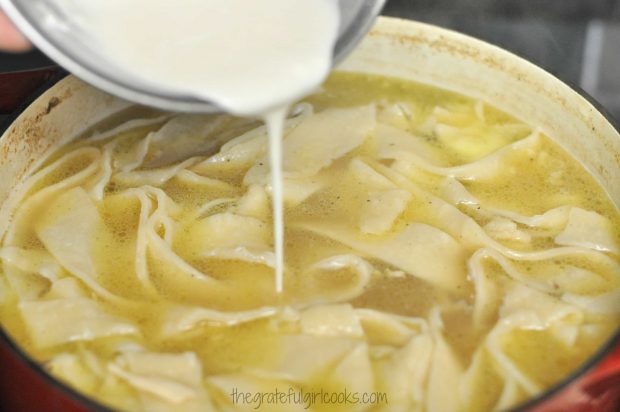
 Mix a couple spoonfuls of flour with some cold water (blend it well with a fork), and add it to the soup. This will help to thicken up the broth.
Time To Eat Grandma’s Southern-Style Chicken n’ Dumplings!
Cook the Southern-style chicken n’ dumplings until broth has thickened a bit, and is very hot. When ready to serve, ladle the soup into individual serving bowls, and serve with a big piece of crusty French bread on the side. That’s it! This is so yummy… and is “comfort food” at its best! Not only that, but the leftovers are amazing!
Sure hope you will give these Southern-style chicken n’ dumplings a try. You might even enjoy a few other soups I have here on the blog, like Albondigas Soup, Chicken Wild Rice and Bacon Soup, or any of the soups you can find in the Recipe Index at the top of the page.
There’s nothing better than having a big pot of Grandma’s Southern-Style Chicken n’ Dumplings available to slurp on during the cold Fall and Winter seasons! Enjoy!
Interested In More Recipes?
Thank you for visiting this website. I appreciate you using some of your valuable time to do so. If you’re interested, I publish a newsletter 2 times per month (1st and 15th) with all the latest recipes, and other fun info. I would be honored to have you join our growing list of subscribers, so you never miss a great recipe!
There is a Newsletter subscription box on the top right side (or bottom) of each blog post, depending on the device you use, where you can easily submit your e-mail address (only) to be included in my mailing list.
You Can Also Find Me On Social Media:
Facebook page: The Grateful Girl Cooks!
Pinterest: The Grateful Girl Cooks!
Instagram: jbatthegratefulgirlcooks
↓↓ PRINTABLE RECIPE BELOW ↓↓
- 1 whole chicken , thawed and cleaned (remove and discard giblets from cavity)
- 1/2 cup carrots , celery, and onion (OPTIONAL-to flavor the chicken broth)
- Water to completely cover chicken in a large stockpot.
- 1 cup all purpose flour
- 1 teaspoon salt
- 2 heaping Tablespoons vegetable shortening
- 1/2 cup HOT water
- 1/2 cup plus 2 Tablespoons all purpose flour
- Two large chicken bouillon cubes
- 1 Tablespoon butter
- 1/4 cup water mixed with 2 Tablespoons flour
- Salt and Pepper , to taste (approx. 1 teaspoon salt, 1/2 teaspoon pepper)
- Put the chicken and the veggies (if using) in a large stockpot. Cover completely with water. Bring to a quick boil, then continue cooking chicken for one hour. When done, remove chicken to large bowl to cool. Strain broth to remove leftover veggies or other particles. Return broth to stockpot.
- Once chicken is cool, remove skin, then cut chicken into bite sized pieces. (At this point I divide the chicken pieces in half, and freeze half for use in another meal).
- Add chicken pieces (approx. 2 1/2 cups) back into chicken broth. Heat the chicken and broth back up to boiling. Add bouillon cubes, salt and pepper (to taste).
- While chicken is coming to a boil, make the dumplings. In a large bowl, using a pastry blender or two knives, cut the shortening and salt into the cup of flour, until shortening is the size of small peas. Add 1/2 cup HOT water and 1/2 cup, plus 2 Tablespoons of flour to the mixture. Stir and work the mixture until a soft dough ball forms (firm enough to roll out). Divide dough into 3 equal sized balls, then let the dough rest for 10 minutes.
- Generously flour a work surface. Roll each dough ball out (one at a time), sprinkling with flour (if necessary) to keep dough from sticking to work surface. Roll out to about the size of a large pie crust (roll out thin). Cut dough into strips about an inch wide using a pizza cutter or knife. Repeat process for remaining dough balls.
- Drop dumplings a couple at a time into hot boiling chicken/broth mixture until all have been added to pot; add butter, and continue cooking.
- Make a slurry by mixing 1/4 cup water with 2 large Tablespoons flour. Stir well to combine, then add to soup pot, and stir well. (this helps to thicken broth a bit). Cook an additional 10 minutes on high to fully cook dumplings. Taste test broth, and add additional salt and pepper, if desired. Ladle hot soup into bowls, serve, and enjoy (especially with crusty french bread on the side!)
If you are pressed for time, you can always start with store bought chicken broth (cook the chicken in water/drain, THEN use broth in pot), and can also use a pre-cooked rotisserie chicken to get the chicken from, BUT I prefer to make it the way I have posted it, as it is far less expensive... but, hey... whatever works, right?
Here’s one more to pin on your Pinterest boards!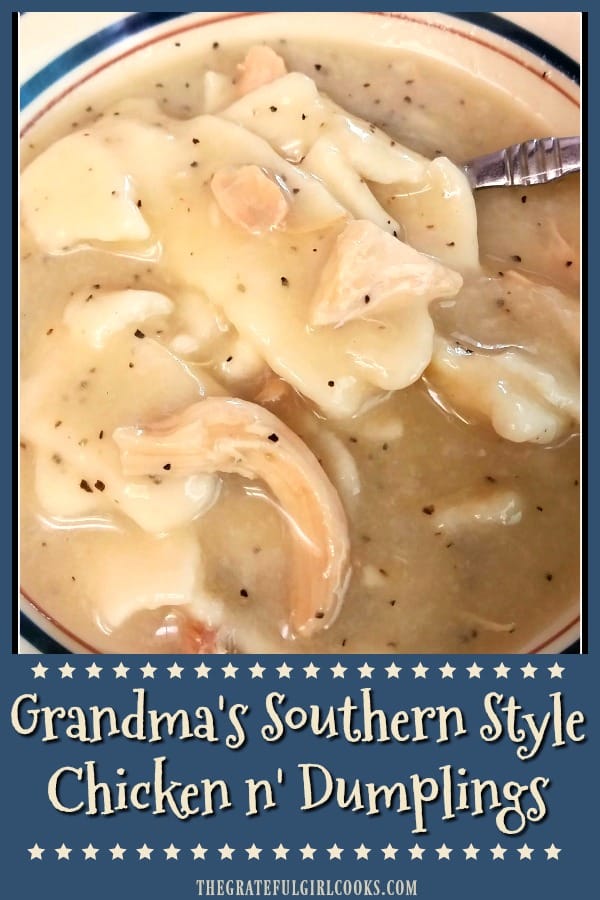

 Time To Cook the Lentil Stew
 Ready to EAT!

 Canning / Processing Times






 Time To Serve And Eat Classic Beef Stew