Category: Tip Of The Day

Tip Of The Day #3 – Use Those Old Creamer Bottles!

Drink coffee with creamer? Here’s a great tip on how to use those old creamer bottles! Re-use them as storage for beans, rice, bread crumbs, etc.!Drink coffee with creamer? Here's a great tip on how to use those old creamer bottles! Re-use them as storage for beans, rice, bread crumbs, etc.!
My husband and I drink a LOT of coffee with creamer. We always have empty creamer bottles for our recycling bin.  BUT… for the past year or so, I have been “upcycling” the old bottles into storage for my pantry staples. It is a fabulous way to use those old creamer bottles!

I grew tired of plastic bags of rice or beans getting punctured accidentally, and having to clean up a bazillion kernels of rice or beans off the floor. Ugh. Then I heard about this handy dandy tip, and I LOVE IT!

Now, I upcycle something normally discarded, and use those old creamer bottles as a durable storage container (with a pourable spout) in my pantry! I even keep green onion slices in one of them, in our freezer.

Use old bottles from creamer for storagePrepare The Old Creamer Bottles

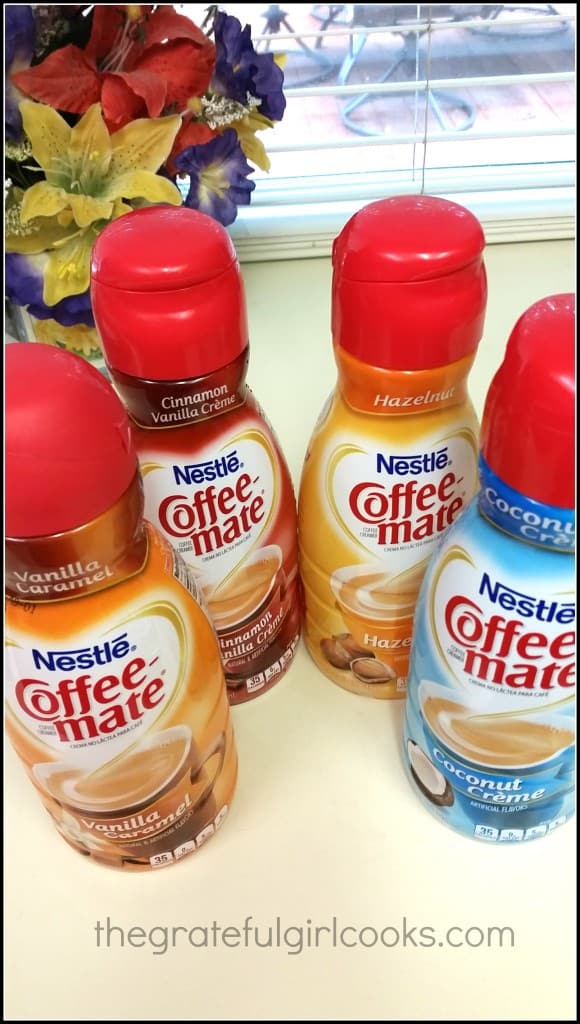
Start with an empty creamer container. Or two. Or three. If you drink coffee like we do (and enjoy creamer in it), you will probably already have a couple bottles handy!

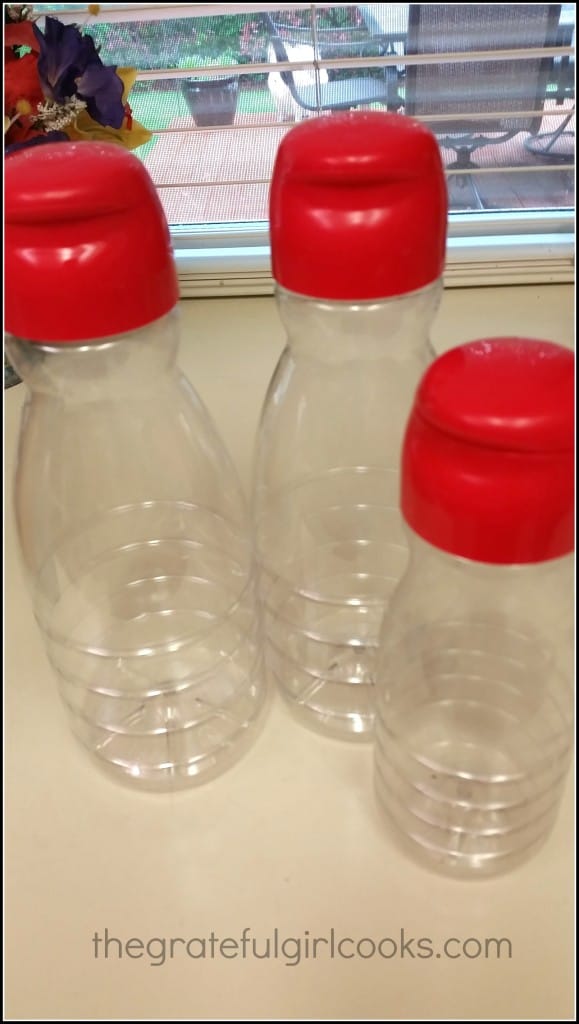
Remove the wrapper from the bottle (slit through the wrapper with a sharp knife, then peel wrapper off… it’s easy!). Wash bottles and lids thoroughly, then let dry.

Remove label from old creamer bottles, and wash/dry bottles.Fill Them Up!

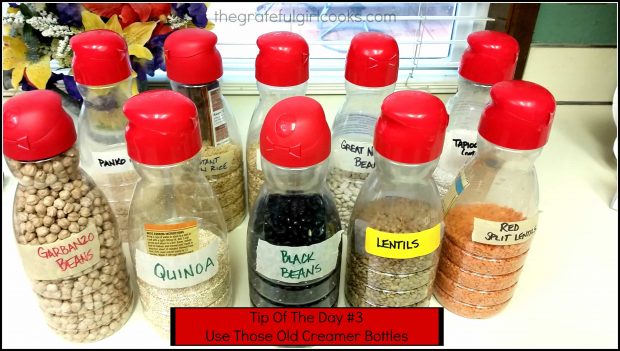
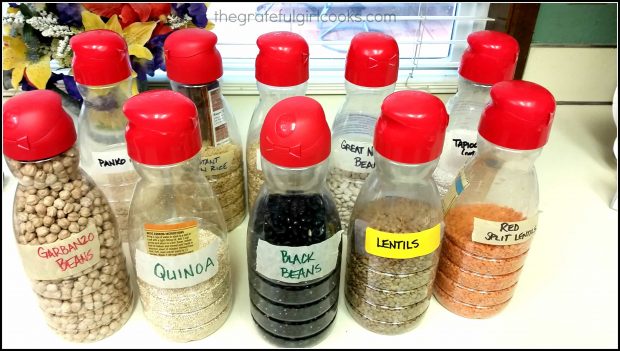
Fill the clean and dry bottle with whatever items you wish to store. As you can tell from the photo below, the old creamer bottles can be used to hold beans, rice, bread crumbs, quinoa, tapioca pearls, etc.

Make or use a funnel to get items into the bottle. If the beans are too big for the funnel spout, simply cup one hand tightly around neck of bottle and slowly pour the stuff in. Fasten the lid on, and you’re good to go!

Use creamer bottles to store dried beans and grains.
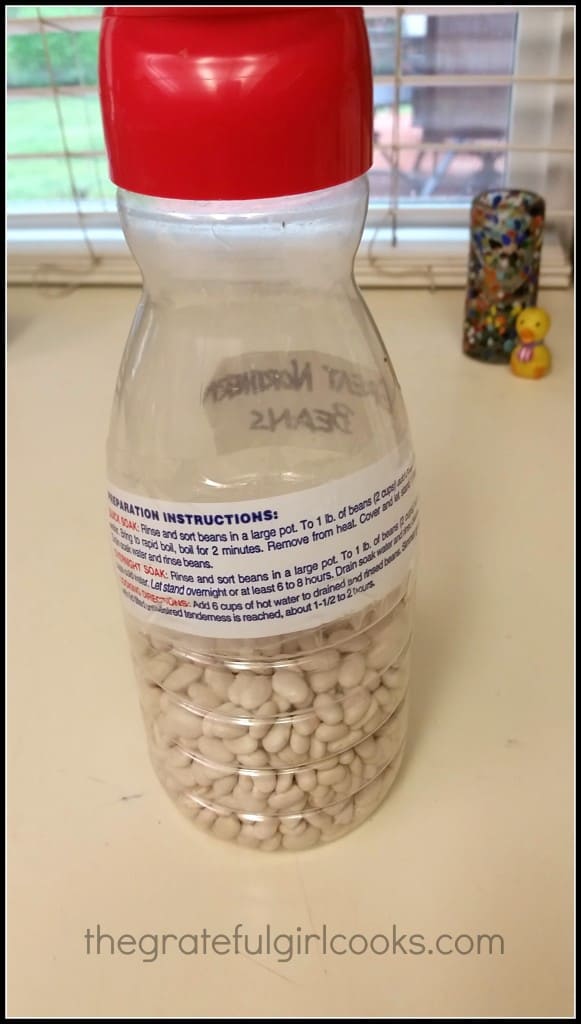
HANDY TIP: Label the container. If it’s a product I don’t use a lot, I cut out the instructions from the original bag, and tape it securely to the back of the container. That way I always have the cooking instructions handy!

Label container and tape instructions to bottle.
That’s it! What a great way to use those old creamer bottles! It’s also a practical way to keep these plastic containers out of a landfill.  Hope you’ll try this simple tip, and find it helpful. Have a great day!

Interested In More Recipes?

Thank you for visiting this website. I appreciate you using some of your valuable time to do soIf you’re interested, I publish a newsletter 2 times per month (1st and 15th) with all the latest recipes, and other fun info. I would be honored to have you join our growing list of subscribers, so you never miss a great recipe!
There is a Newsletter subscription box on the top right side (or bottom) of each blog post, depending on the device you use, where you can easily submit your e-mail address (only) to be included in my mailing list.

You Can Also Find Me On Social Media:
Facebook page: The Grateful Girl Cooks!
Pinterest: The Grateful Girl Cooks!
Instagram: jbatthegratefulgirlcooks

Author's signature

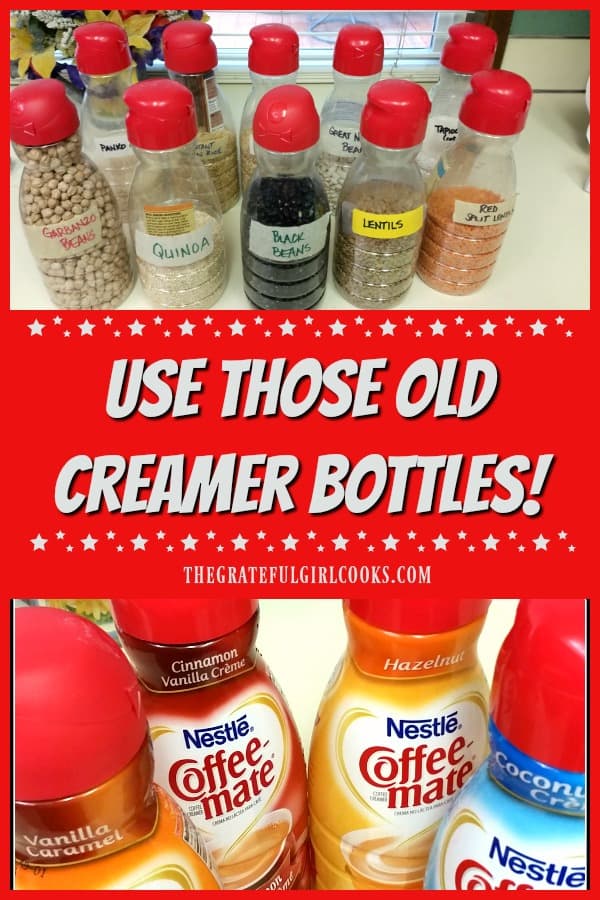
Here’s one more to pin on your Pinterest boards!Drink coffee with creamer? Here's a great tip on how to use those old creamer bottles! Re-use them as storage for beans, rice, bread crumbs, etc.!

Save

Save

Save

Tip Of the Day #2: How to Keep Sliced Apples From Darkening Without Using Lemon Juice!

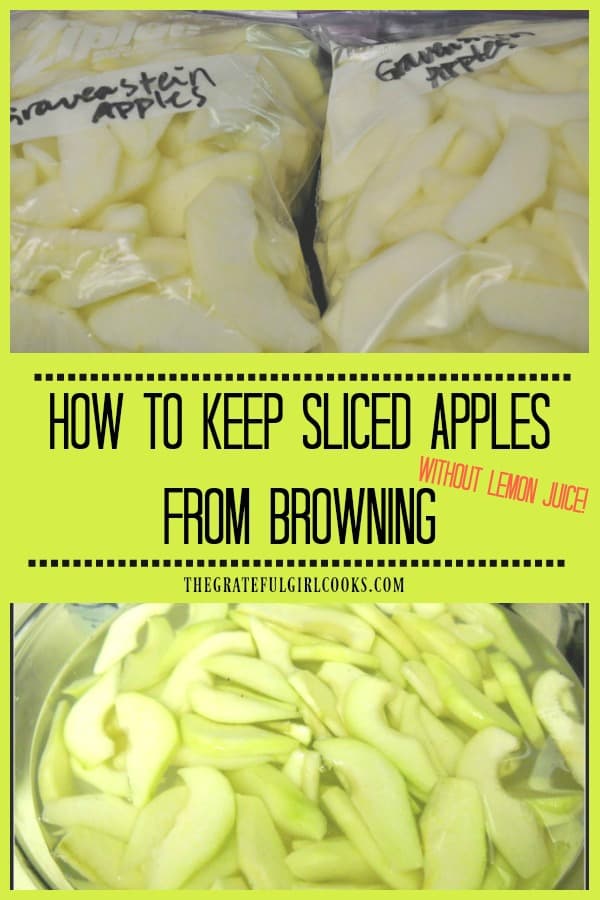
What a long title for a simple tip. “How To Keep Sliced Apples From Darkening Without Using Lemon Juice! Could I have possibly picked a longer title? Ha Ha.Keep Sliced Apples From Darkening Without Using Lemon Juice

I pick apples from a local orchard each year. This year my husband and I picked 47 pounds of apples. That was the EASY part. Then comes the hard part…peeling and storing all those sliced apples in my freezer for my Fall baking.

A few years ago I stumbled upon an “old-fashioned” way to keep the sliced apples from turning dark by using a method utilized in the “olden days”. This intrigued me, because I am constantly buying lemons (and they can be expensive) to use the juice to prevent discoloration of apples, once sliced.

Turns out the simple solution is…are you ready for it?  SALT and WATER. Yep…that’s right! I guess it makes perfect sense. After all, salt IS a preservative, and now that I think about it, I’ve never heard of any pioneer women just reaching out and grabbing a lemon off their tree before making a pie.

Hmmm… there just might be something to this!  So I tried it… and it works! I’ve prepared my sliced apples for storage this exact way for a couple years now and it works like a charm! I recommend it.

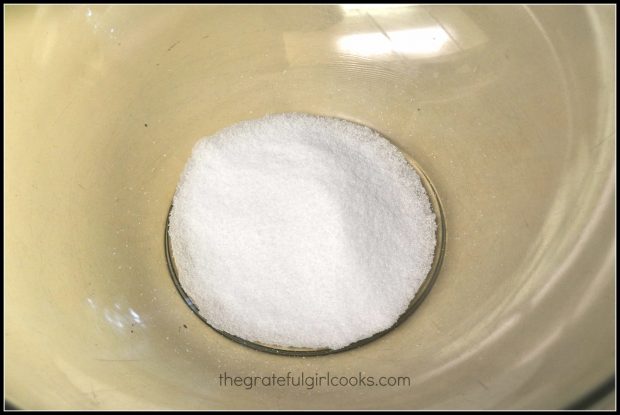
You simply place 1/2 cup of iodized salt in a large mixing bowl.

Salt in mixing bowl.
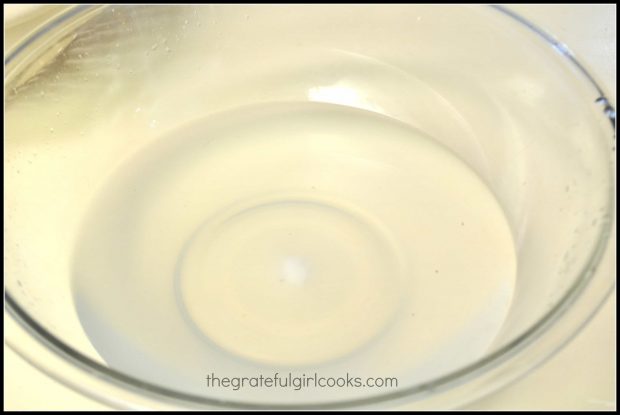
Add about 5 cups water; mix until combined. As you peel and slice the apples, just toss the apple slices into the salty water.

Salt and water in large bowl.
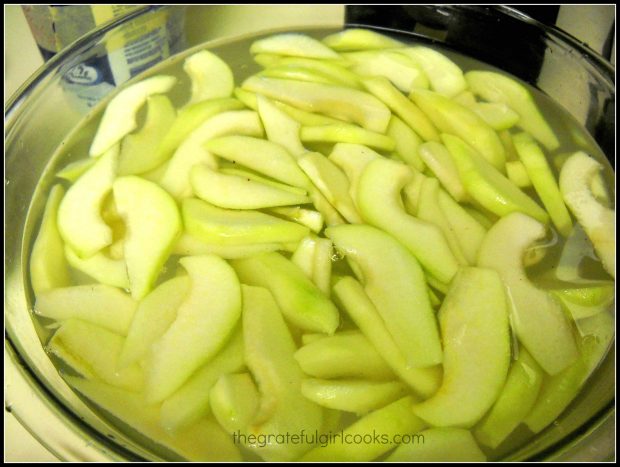
Mix the apple slices in the salty water and let them soak for a couple minutes. I slice 5-6 apples at a time in each batch.

Apples in a salt brine.
Here’s a pic of the apples swimming in the salt brine…

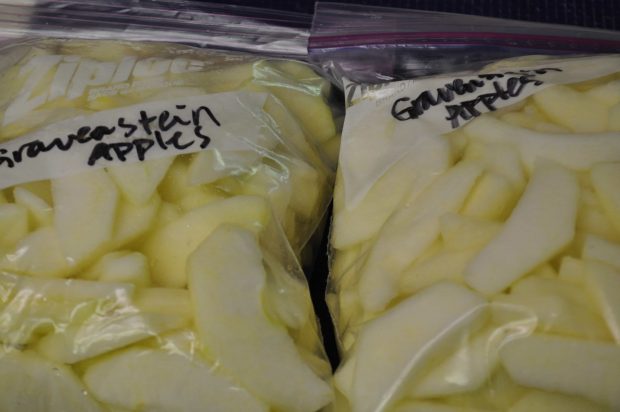
Remove the slices; rinse and drain them under cool water in a colander or mesh strainer. Dry the slices off a bit, and pack ’em up in freezer bags. Seal them well, and they will last for quite a long time… I recently pulled some apple slices out of my freezer from last September and they were STILL just as white as the day I sliced them.

What a budget stretcher! Buy apples when they are on sale, and freeze some for a rainy day’s baking! Hope you’ll try this tip. It really works, and will save you some of your hard earned cash!

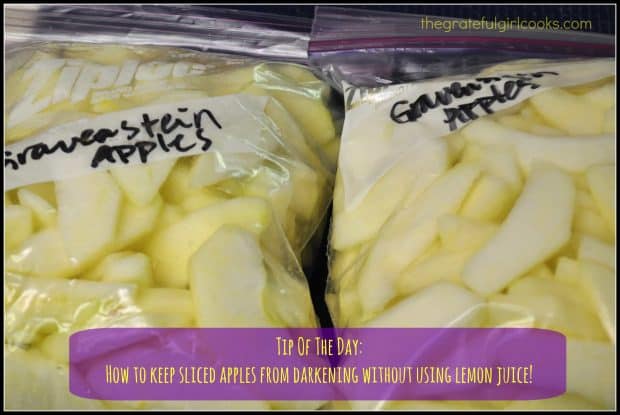
Keep Apples From Darkening and freeze them in bags.

Hope you have a great day! Thanks for stopping by.

Interested In More Recipes?

Thank you for visiting this website. I appreciate you using some of your valuable time to do soIf you’re interested, I publish a newsletter 2 times per month (1st and 15th) with all the latest recipes, and other fun info. I would be honored to have you join our growing list of subscribers, so you never miss a great recipe!
There is a Newsletter subscription box on the top right side (or bottom) of each blog post, depending on the device you use, where you can easily submit your e-mail address (only) to be included in my mailing list.

You Can Also Find Me On Social Media:
Facebook page: The Grateful Girl Cooks!
Pinterest: The Grateful Girl Cooks!
Instagram: jbatthegratefulgirlcooks

Author's signature

Here’s one more to pin on your Pinterest boards!How To Keep Sliced Apples From Darkening Without Using Lemon Juice / The Grateful Girl Cooks!

Save

Save

Save

Tip of The Day- How To Freeze Ginger

Don’t throw away fresh ginger if you only need a small piece for a recipe! Here’s a quick tip showing how to freeze ginger to keep it handy. Don't throw away fresh ginger if you only need a small piece for a recipe! Here's a quick tip showing how to freeze ginger to keep it handy.
I make lots of recipes that call for a small amount of fresh, grated ginger. Many times I’ve gone to the store, bought ginger, brought it home, made the recipe, put the extra ginger back in the refrigerator… never to be seen again until it is moldy. Not anymore!!!  Today’s tip of the day is how to freeze ginger.

I hate to waste stuff like that. So imagine my surprise (i.e. “How come I never knew this before???”) when my little sister Joni came up for a visit and said “You know you can just freeze that ginger, right?” Whaaatt?

Now why I never knew this before is the question of the day. *Insert face palm here.* Talk about a great and ridiculously easy tip, and a great way to save some money at the grocery store! No more last minute trips to run to the store to buy ginger every time I need it! Now I just reach inside our freezer for a bag of ginger, then put it back when I am done! It’s a Christmas miracle!!!!!

How To Freeze Ginger

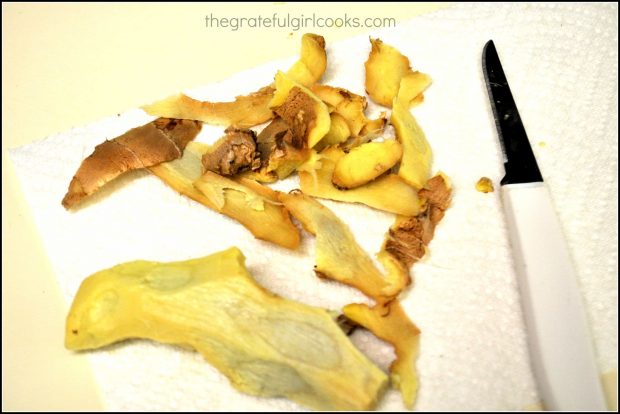
Cut off the “nobs” (see picture above) and peel the ginger with a sharp knife. It is also very easy to use the back side of a spoon to do this same thing. Tip: Cutting the “nobs” off first makes it easier to peel. Duh. Throw away the peel, and then say buh-bye!

Fresh ginger must be peeled before freezing with a knife or spoon.
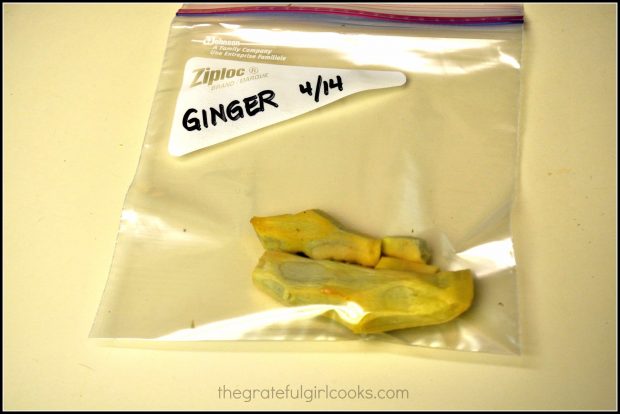
Store the peeled ginger nobs in a freezer-safe bag. throw it in the freezer. You might want to put the date on the bag. I just used up the rest of the ginger I froze last summer, and it was still full of flavor!

Pieces of ginger are easily frozen in plastic resealable bags.
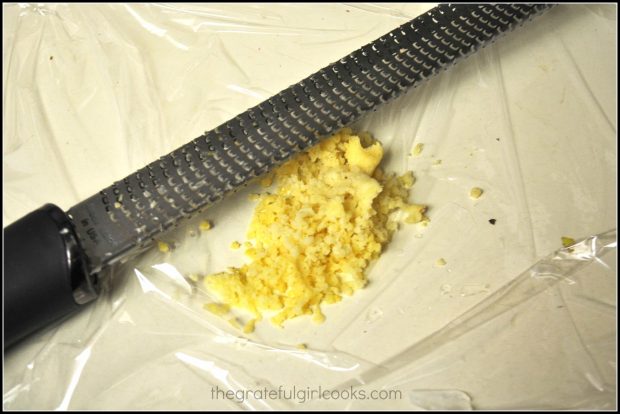
When you need ginger for a recipe, just pull the bag out of the freezer, grate it while frozen, then throw it back into the freezer. Easy peasy!
 
Frozen ginger is easily grated for recipes!
See how easy that was? Ridiculous. What a great way to save some bucks, AND not have to be running to the grocery store every time you need a little bit of fresh ginger for a recipe! Sometimes little sisters know what they’re talking about! Thanks for stopping by today, and I hope you will come back again soon. Have a great day.
 

Looking For More Kitchen TIPS?

You can find ALL of my recipes in the Recipe Index, which is located at the top of the page. I have several really good tips you might be interested in, which include:


Interested In More Recipes?

Thank you for visiting this website. I appreciate you using some of your valuable time to do soIf you’re interested, I publish a newsletter 2 times per month (1st and 15th) with all the latest recipes, and other fun info. I would be honored to have you join our growing list of subscribers, so you never miss a great recipe!
There is a Newsletter subscription box on the top right side (or bottom) of each blog post, depending on the device you use, where you can easily submit your e-mail address (only) to be included in my mailing list.

You Can Also Find Me On Social Media:
Facebook page: The Grateful Girl Cooks!
Pinterest: The Grateful Girl Cooks!
Instagram: jbatthegratefulgirlcooks

 
Author's signature
Here’s one more to pin on your Pinterest boards!Don't throw away fresh ginger if you only need a small piece for a recipe! Here's a quick tip showing how to freeze ginger to keep it handy.

Save

Save