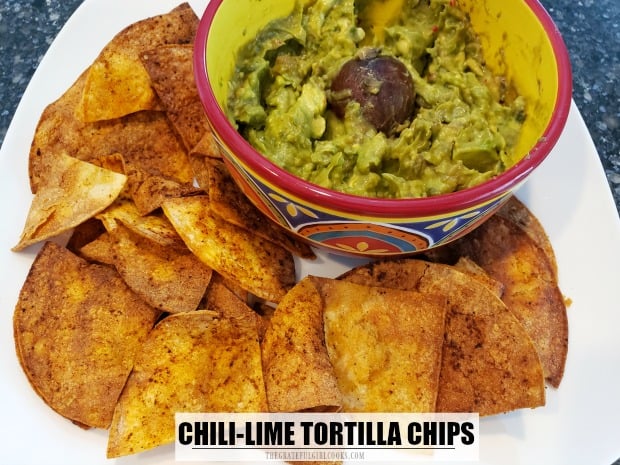
Make a quick batch of crunchy Chili-Lime Tortilla Chips in an air fryer! Corn tortillas, lime juice, oil, and a few spices are all you need!
Do you enjoy finding new recipes? I always love the search, and am thrilled when that search produces a recipe you will use again and again.
A few months ago I stumbled upon a recipe online for making homemade tortilla chips in an air fryer! It sounded really interesting to me, so I made chili-lime tortilla chips (with a slight tweak or two), and they didn’t take much time at all!
These tortilla chips are totally EASY to make, have great flavor, and are absolutely crispy (just how they should be, right?). Here’s how you can make them fairly quickly, using an air fryer:
Scroll Down For A Printable Recipe Card At The Bottom Of The Page
Make The Seasoning For the Chips
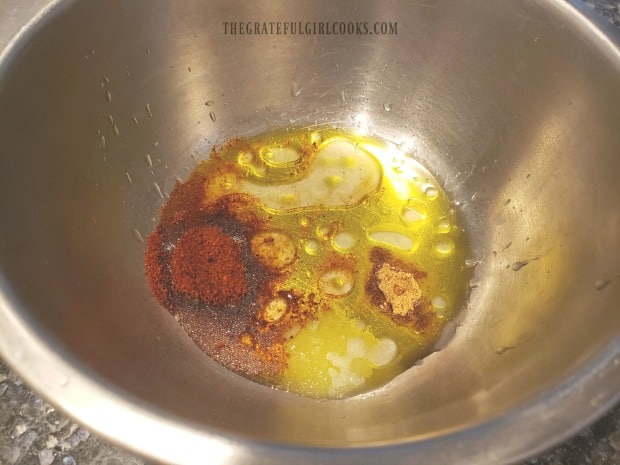
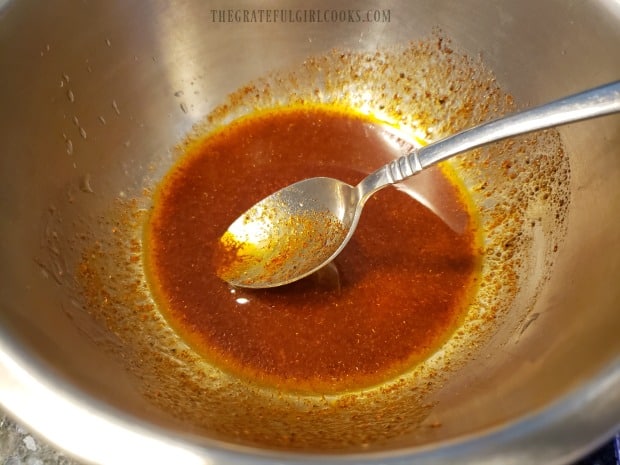
The first thing you will need to do is mix together the simple seasoning sauce that will be used to coat the tortilla chips. The sauce is made using extra-virgin olive oil, fresh lime juice, chili powder, salt, and ground cumin.
Place these ingredients in a small bowl, and whisk or stir until the ingredients are fully blended together.
Prepare The Corn Tortillas Before Air-Frying
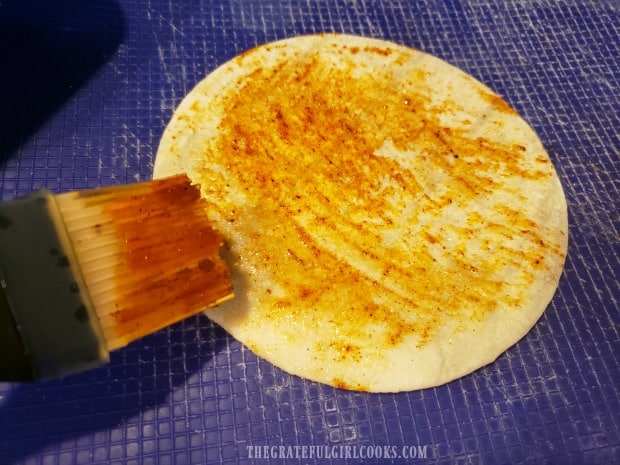
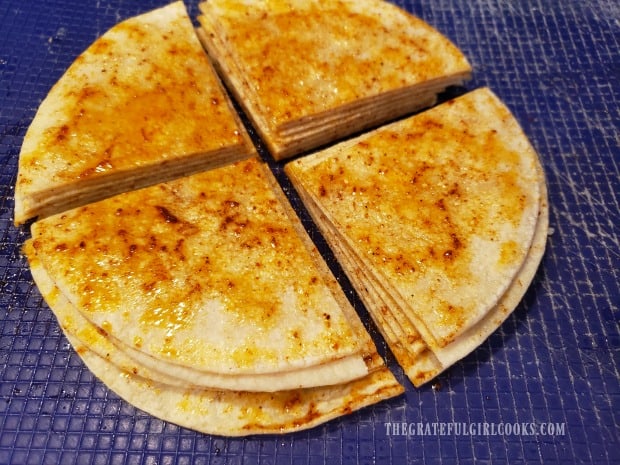
For this recipe, I use six, 5″ corn tortillas. Use a pastry brush to lightly brush the sauce onto both sides of each tortilla. Once that has been done, evenly stack all six seasoned tortillas directly on top of each other.
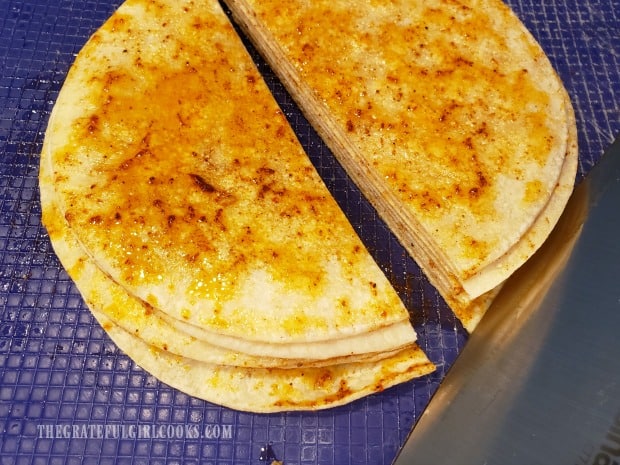
Use a sharp knife to carefully slice the stack of tortillas in half, then cut each half stack in half. Got it? The stack of seasoned tortillas will be cut into four quarters of equal size.
Cooking Chili-Lime Tortilla Chips In An Air Fryer
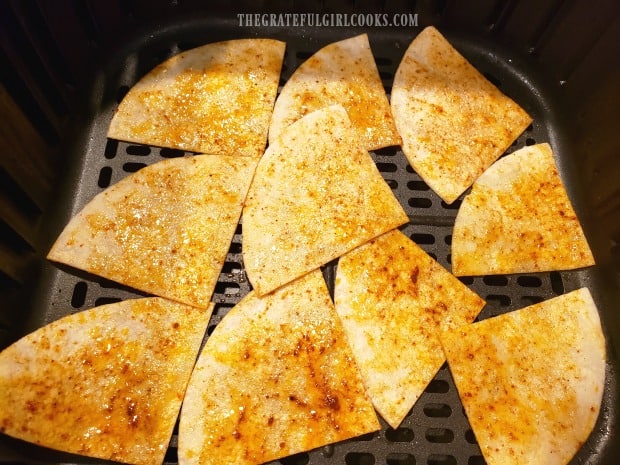
Now it’s time to cook the chili-lime tortilla chips! Preheat your air fryer to 350°F. Once heated, place the tortilla quarters in the basket of the air fryer in a single layer.
You will need to cook the chips in batches, because they need to have room for the hot air to circulate around them, to ensure they become crunchy.
Cook them at 350°F. for between 6-8 minutes. Different air fryer machines tend to vary in temperatures and the heat they produce, so it is best to keep an eye on the chips as they cook. This will help make sure they don’t burn. I would say definitely check them at the 5 minute mark, and then go from there, a little at a time, until they are lightly browned.
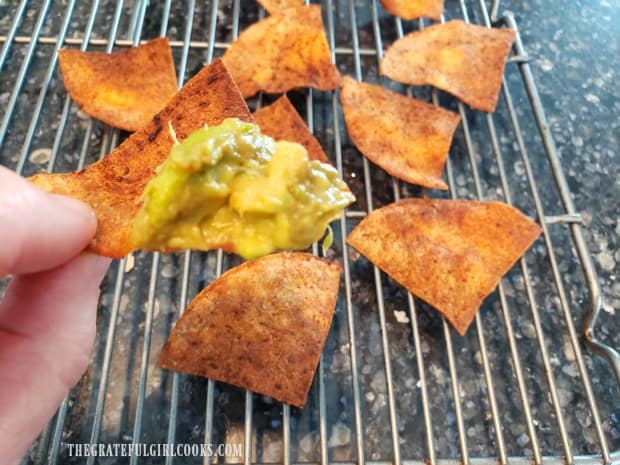
Once done, remove the chili-lime tortilla chips from the air fryer and transfer to a wire rack to cool. The tortilla chips become more crunchy as they cool. Start another batch right away while the air fryer is still hot, and continue until all chips are cooked.
Time To Enjoy Some Chili-Lime Tortilla Chips!
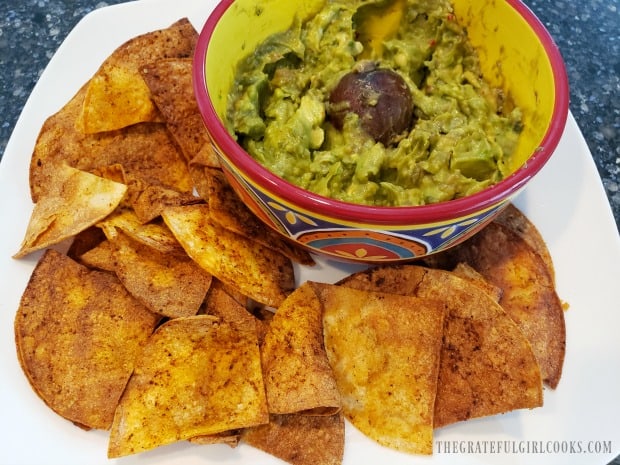
Once the chili-lime tortilla chips have fully cooled down to room temperature, they’re ready to eat! The chips are crunchy, and taste really good, especially when served with salsa or guacamole.
You can see in the photo below that they are crisp enough to hold the guacamole I whipped up the first time I made these chips!
Store any leftover chips in an airtight bag or container. They will be at their peak of crispiness and freshness for about 5-6 days, if stored properly. Because this recipe makes a fairly small batch, we never seem to have too many leftovers… ha ha!
I sincerely hope you enjoy this recipe for air fryer chili-lime tortilla chips. We sure have enjoyed it! TIP: If you are not a fan of seasoned tortilla chips, you can simply brush the tortillas with olive oil and a sprinkling of salt, for a more traditional tortilla chip.
Thank you for stopping by. I hope you have a wonderful day, and sincerely trust you will come back soon to explore more delicious recipes.
Looking For More AIR FRYER Recipes?
You can find all of my recipes in the Recipe Index, located at the top of the page. I have quite a few delicious air fryer recipes, including:
- Air Fryer Chicken Chimichangas
- Blackberry Air Fryer Handpies
- Air Fryer Bacon
- AF Sweet Potatoes
- Air Fryer Cheddar Biscuits
Want More Recipes? Get My FREE Newsletter!
I publish a newsletter 2 times per month (1st and 15th) with lots of recipes, tips, etc..
Would you like to join our growing list of subscribers?
There is a Newsletter subscription box on the top right (or bottom) of each blog post, depending on the device you use.
You can submit your e-mail address there, to be added to my mailing list.
Find Me On Social Media:
Facebook page: The Grateful Girl Cooks!
Pinterest: The Grateful Girl Cooks!
Instagram: jbatthegratefulgirlcooks
Recipe adapted from: Leanne at: crumbtopbaking.com/air-fryer-tortilla-chips/
↓↓ PRINTABLE RECIPE BELOW ↓↓

Make a quick batch of crunchy Chili-Lime Tortilla Chips in an air fryer! Corn tortillas, lime juice, oil, and a few spices are all you need!
- 6 5 inch corn tortillas
- 1 Tablespoon extra virgin olive oil
- ½ Tablespoon fresh lime juice
- 1 teaspoon chili powder
- ¼ teaspoon ground cumin
- ¼ teaspoon salt
Place olive oil, lime juice, chili powder, salt and ground cumin in a small bowl; whisk or stir until the ingredients are fully blended together.
Use a pastry brush to lightly brush sauce onto both sides of each tortilla. Once that has been done, stack all six tortillas on top of each other. Using a sharp knife, carefully slice the stack of tortillas in half, then cut each half stack in half. The stack of seasoned tortillas will be cut into four quarters of equal size.
Preheat air fryer to 350°F. Place the tortilla quarters in the basket of the air fryer in a single layer. NOTE: Cook chips in batches, because they need room for hot air to circulate around them, to ensure they become crunchy. Cook at 350°F. for 6-8 minutes. Air fryers tend to vary in temperature and heat they produce, so keep an eye on chips as they cook, to make sure they don't burn. Check them at the 5 minute mark, and then go from there, a little at a time, until lightly browned.
Once done, remove tortilla chips from air fryer; transfer to a wire rack to cool. The tortilla chips become more crunchy as they cool. Start another batch right away while the air fryer is still hot; continue until all chips are cooked. Store any leftovers in airtight bag or container for up to 5-6 days. Enjoy!
Here’s one more to pin on your Pinterest boards!