Make Chocolate Covered Krispie Hearts for Valentines Day or any time! Chewy treats covered in chocolate are a fun way to say “I Love You”.

It seems like most people still enjoy traditional Rice Krispy treats, right? These chewy, decadent little snacks have been around since my childhood, and they’re a classic treat kids of all ages enjoy!
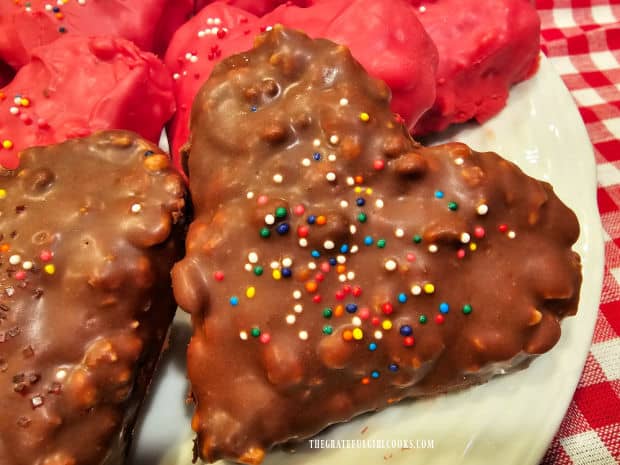
I decided to experiment and make a small amount in heart shapes for Valentines Day and cover them with chocolate. For fun, I made some hearts red-colored and some a traditional chocolate color!
After making the treats, I cut them out with a heart-shaped cookie cutter and covered each heart with melted chocolate. The two types of chocolate I use are red chocolate candy melts and milk chocolate candy melts, which can be purchased at most large craft stores.
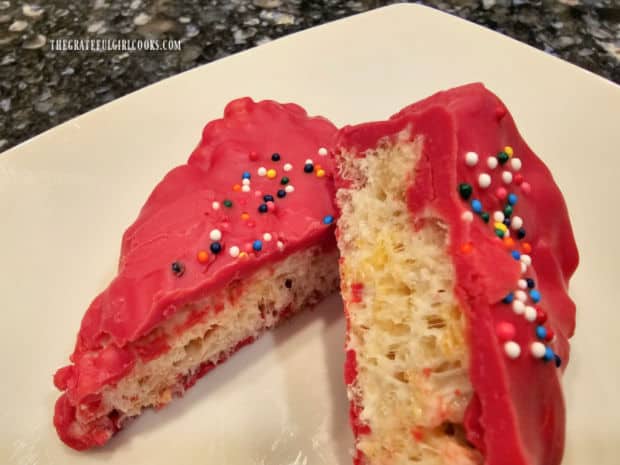
Top the chocolate covered hearts with a few colorful sprinkles as garnish, and they’re done! These delicious treats stay chewy and crispy on the inside, with a festive, colorful outside coating! YUM! Here’s how to make chocolate covered krispie treats.
Scroll Down For a Printable Recipe Card At The Bottom Of The Page
Make The Marshmallow Topping
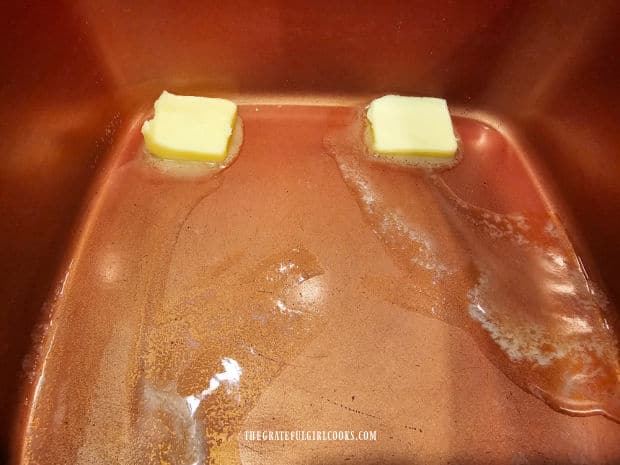
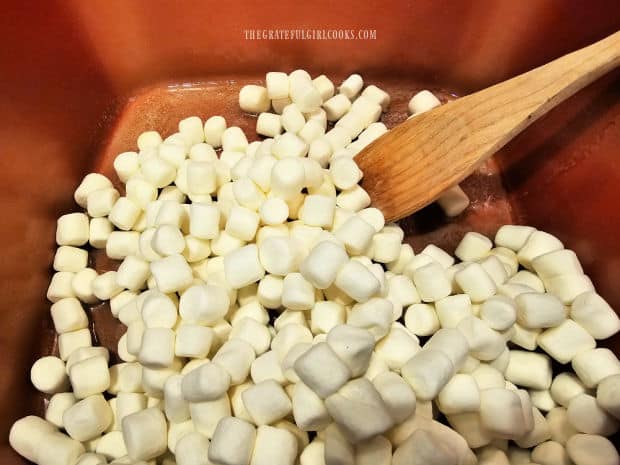
Melt 1½ Tablespoons of butter on LOW heat in a large, non-stick saucepan. Add 3 cups of miniature marshmallows to the melted butter, and stir them in, covering them with butter.
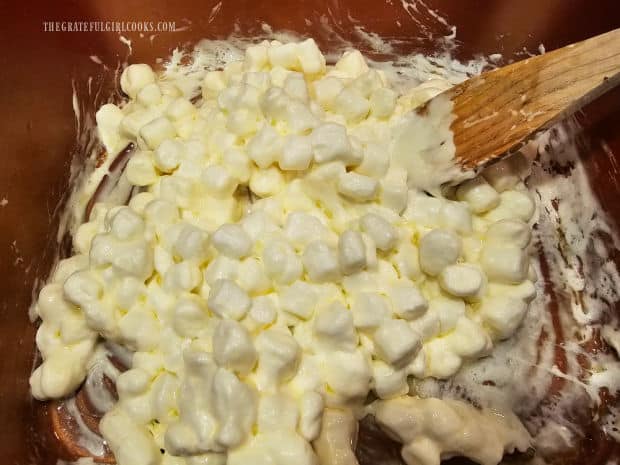
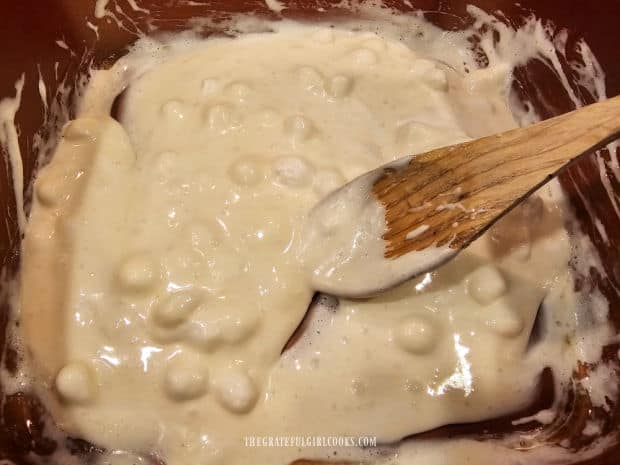
Stir the marshmallows constantly as they cook on LOW. They will begin to break down as they are heated, but keep stirring!
When the marshmallows are almost completely melted (about 95%), remove the pan from the heat, so they don’t become scorched on the bottom.
Add The Rice Cereal Then Shape The Mixture
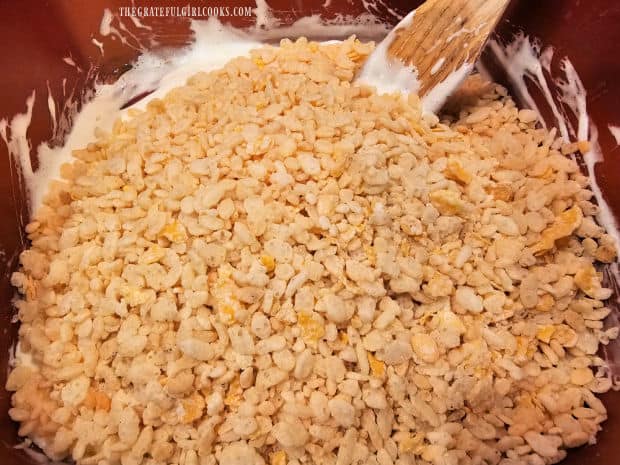
Immediately stir in 3 cups of crispy rice cereal. The mixture will be VERY thick, but keep stirring until all the cereal is coated.
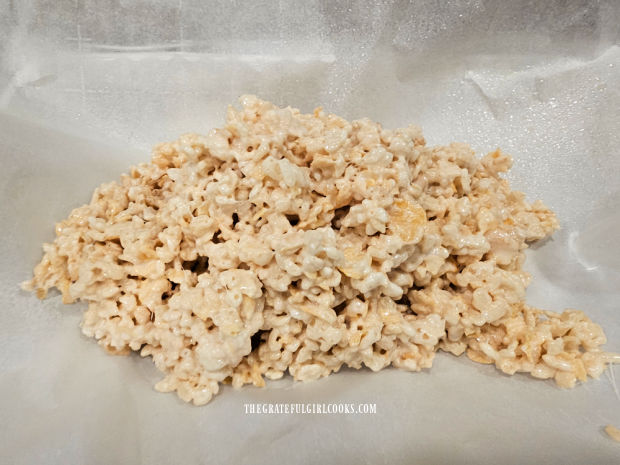
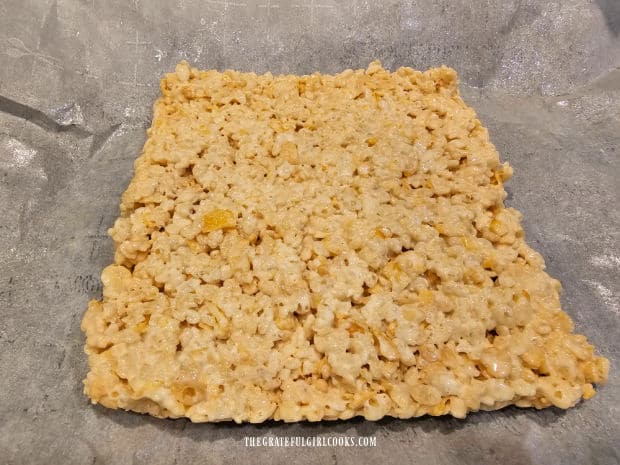
Fit a piece of parchment or wax paper in an 8″x8″ baking dish, leaving some paper hanging over the edges. Spray the paper with non-stick spray. Pour the hot marshmallow mixture into the dish, and shape the mixture into a square (about 1″ thick) in the dish.
TIP: Use another piece of sprayed parchment/ wax paper to lightly press down and compact the mixture as you shape it. This lets you shape the square without hot marshmallow mixture sticking to your hands.
Cut Out Hearts And Decorate!
Lift the edges of the paper up and lift the square form up and out of the baking dish, and let this mixture cool, uncovered, for 10-12 minutes.
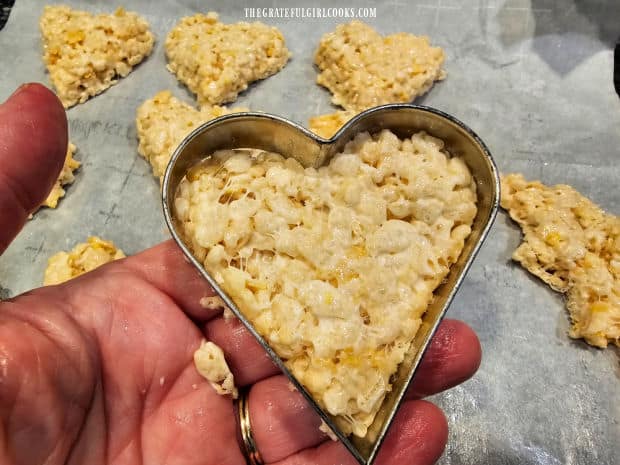
After it cools, it’s time to cut out the heart shapes. Use a small heart-shaped cookie cutter to cut as many “hearts” out of the cereal mixture as possible.
NOTE: I get 10-12 hearts with my cookie cutter, but the quantity you get will depend on the size cookie cutter YOU use. Re-shape mixture (if necessary) and continue to cut out more.
Place the heart-shaped treats back onto the paper after cutting them out. Let them rest for 45 minutes, because they need to be very firm and hold their shape before covering them with chocolate.
Cover The Krispie Hearts With Chocolate
Melt the chocolate according to package instructions, adding a Tablespoon of vegetable shortening, because it helps thin the chocolate a bit.
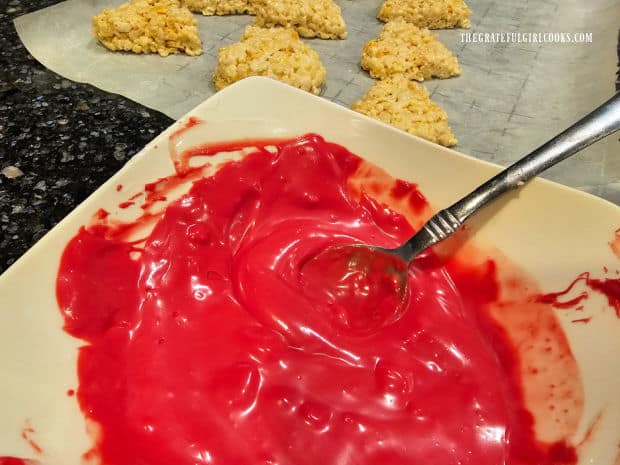
Once the chocolate is melted and smooth, dip each heart, one at a time, covering it on all sides. Use a spoon to help cover it with chocolate, and let any excess chocolate drip back into the bowl.
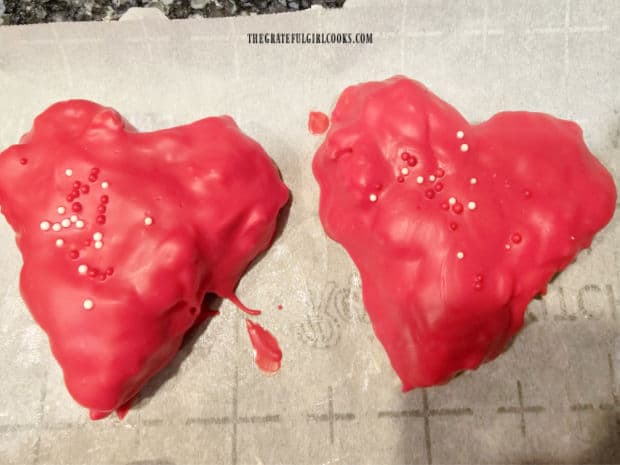
Place each heart back on the paper once chocolate-covered, and immediately add colored sprinkles to it while the chocolate is still warm before dipping the next heart.
NOTE: You may need to re-warm the chocolate if it begins to thicken, because the hearts are easier to cover when the chocolate is fairly thin.
After the chocolate hardens, take a small sharp knife and trim/clean up the heart around the bottom edges to remove any excess chocolate.
Time To Enjoy Chocolate Covered Krispie Hearts
The chocolate covered krispie treats are ready to be served and enjoyed, once the chocolate has hardened! Set them out on a platter, and let everyone dig in!
They are delicious, and will keep for 2-3 days at room temperature covered with plastic wrap. What I mean is… they will keep 2-3 days IF they don’t all get gobbled up first!
I hope you enjoy these unique little treats. While I made them specifically for Valentines Day, any time of year is a good time to share these cute heart-shaped desserts with those you love!
Thanks so much for stopping by today, and I invite you to come back soon for more family-friendly recipes. Take care, may God bless you, and have a GREAT day!
Looking For More Recipes For Valentines Day?
You can find ALL of my recipes in the Recipe Index, which is located at the top of the page. I have several dessert recipes that would be wonderful for Valentines Day, including:
- Chocolate Raspberry Torte
- Grandma’s Red Velvet Cake
- Chocolate Dream Cups With Raspberry Mousse
- Chocolate Covered Strawberries
- Raspberry Bavarian Creme
Want More Recipes? Get My FREE Newsletter!
I publish a newsletter 2 times per month (1st and 15th) with lots of recipes, tips, etc..
Would you like to join our growing list of subscribers?
There is a Newsletter subscription box on the top right (or bottom) of each blog post, depending on the device you use.
You can submit your e-mail address there, to be added to my mailing list.
Find Me On Social Media:
Facebook page: The Grateful Girl Cooks!
Pinterest: The Grateful Girl Cooks!
Instagram: jbatthegratefulgirlcooks
↓↓ PRINTABLE RECIPE BELOW ↓↓

Make Chocolate Covered Krispie Hearts for Valentines Day or any time! Chewy treats, covered in chocolate are a fun way to say "I Love You".
- 1½ Tablespoons butter
- 3 cups miniature marshmallows
- 3 cups crisp rice cereal
- 12 ounces chocolate candy melts* *see Note below
- 1 Tablespoon vegetable shortening
- colored candy sprinkles (optional, but a nice touch) as desired
Melt butter on LOW heat in large, non-stick saucepan. Add marshmallows; stir well, to combine.
Cook on LOW, stirring constantly, until marshmallows are almost completely melted (about 90%). Remove pan from heat. Immediately stir in rice cereal until coated. Mixture will be VERY thick.
Fit parchment or wax paper in an 8"x8" baking dish, leaving paper hanging over edges. Lightly spray with non-stick spray. Pour hot marshmallow mixture into dish. Shape mixture into a square (approx.1" thick) in the dish. TIP: Use another sprayed piece of parchment/ wax paper to lightly press down and compact mixture. This helps form a square without hot marshmallow mixture sticking to your hands.
Lift the edges of the paper up and out of the baking dish. Let mixture cool, uncovered, for 10 minutes. Use a heart-shaped cookie cutter to cut as many "hearts" out of mixture as possible. NOTE: I get 10-12 hearts with the cookie cutter I use, but the quantity you get will depend on the size cookie cutter YOU use. Place hearts back onto the paper to rest after cutting them out.
Melt the chocolate candy melts according to package instructions, adding a Tablespoon of vegetable shortening, to thin the chocolate a bit.
Dip hearts, one at a time, covering it on all sides. Use a spoon to help cover them with chocolate. Let excess chocolate drip back into bowl. Place heart back on the paper once covered. Immediately add colored sprinkles while chocolate is still warm, before dipping the next heart. NOTE: You may need to re-warm chocolate if it begins to harden or thicken, because the hearts are easier to cover when chocolate is fairly thin.
Once chocolate has firmly set, take a sharp knife and trim (clean up) the hearts around bottom edges to remove any excess chocolate. Serve and enjoy!
Note: If using one color of chocolate melts only, it will take a 12 oz bag. If making red and chocolate colors, you will use approx. ½ bag of each color or variety.
Here’s one more to pin on your Pinterest boards!