Chocolate Covered Strawberries are EASY to make, decadent treats which can be enjoyed any time! They are made using only 3 ingredients.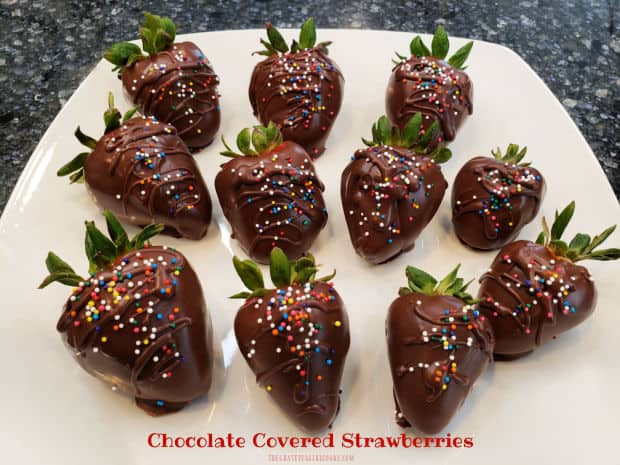
I’ve been making chocolate covered strawberries for many, many years now (over 20), and never get tired of them! What tastes better than a huge, juicy, fresh strawberry coated in chocolate?
Whether you want to serve chocolate covered strawberries at a fancy brunch, or just have them around for a nice treat, they are DELICIOUS!
True Story
When we were cruising to Alaska a few years ago, we ran into the Director of Restaurant Operations (whom I had met previously on a food galley tour and food demo on another cruise).
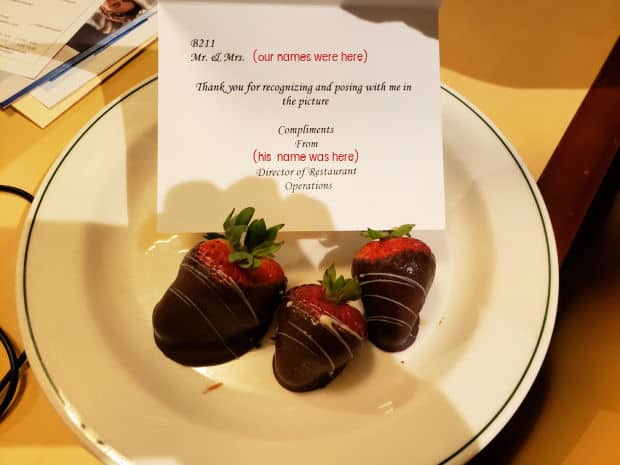
After we visited with him, he secretly had a plate of chocolate covered strawberries delivered to us as a surprise. They were waiting for us when we returned to our room. Wasn’t that nice?
Here’s a photo I took of a few of the strawberries we received, after we ate a few and shared the rest with our family.
They were delicious and were such a wonderful, unexpected treat! This was a very kind and generous gift from this very busy professional, to us.
Guess what? To be honest, I feel my homemade chocolate covered strawberries are just as delicious as those that were made by the team of culinary pros!
So… I want to share with you how I make chocolate covered strawberries. They are quite simple to make, but look fabulous when served at a party, holiday, or brunch. They are usually one of the first treats to disappear, too! Here’s how to make them.
Scroll Down For A Printable Recipe Card At The Bottom Of The Page
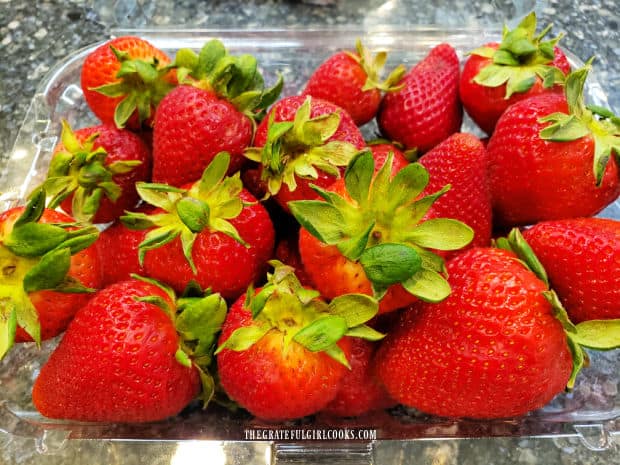
Large, Fresh Strawberries!
For the best chocolate covered strawberries, you will want to have large, fresh strawberries. The bigger the better, as far as I am concerned.
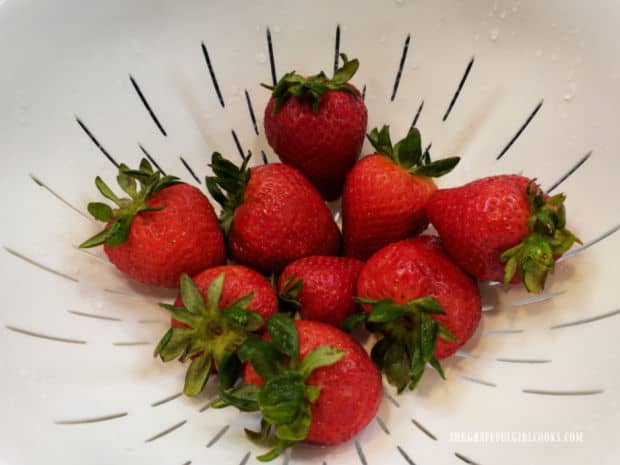
Gently rinse the strawberries in a colander, but be sure to leave the green leaves/stem on the strawberries. This recipe is written to fully coat one dozen large strawberries with chocolate.
DRY, DRY, DRY Those Strawberries!
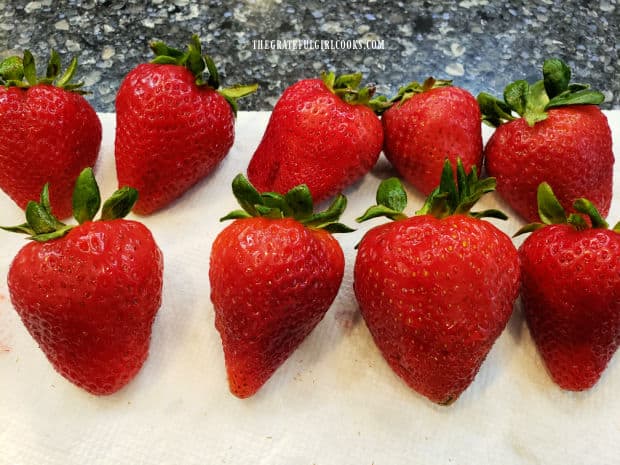
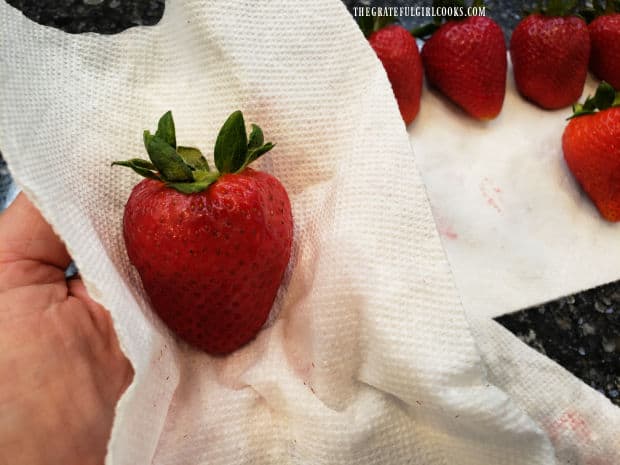
Now… here’s the most important part. DRY the strawberries really, really well. I gently place them on paper towels after rinsing and let them air dry for a few minutes.
Then I hand dry each strawberry (GENTLY) between layers of paper towels. Water and chocolate are NOT friends, so take the time to do this right!
It is vitally important the strawberries be absolutely dry before decorating them, so the chocolate will adhere, and won’t “seize up” from the water droplets.
Prepare The Chocolate For Dipping
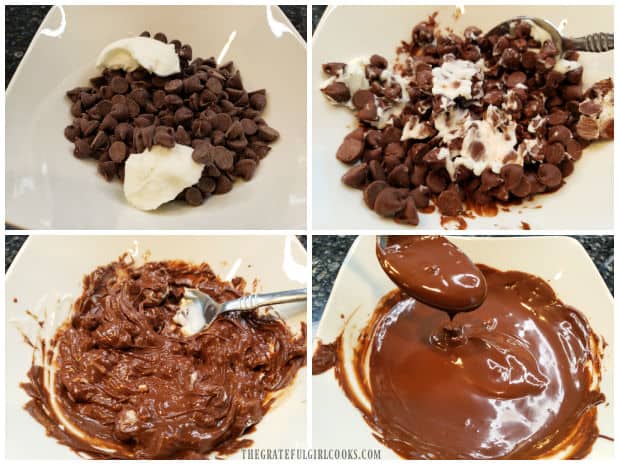
I use the microwave to melt the chocolate for the strawberries (easy!). A little bit of vegetable shortening is also added, which smooths out the chocolate, and allows for a nice firm, shiny finish on the strawberries.
Place chocolate chips (we prefer semi-sweet) and vegetable shortening in a microwave-safe bowl. Place the bowl in the microwave and heat on High power for 45 seconds.
Remove the bowl and stir the mixture as much as possible. Put it back in the microwave for 30 more seconds, remove and stir again.
Continue this process in 30 second increments until the chocolate and shortening are melted, smooth and lump-free. Now you’re ready to dip the strawberries.
Dipping The Strawberries
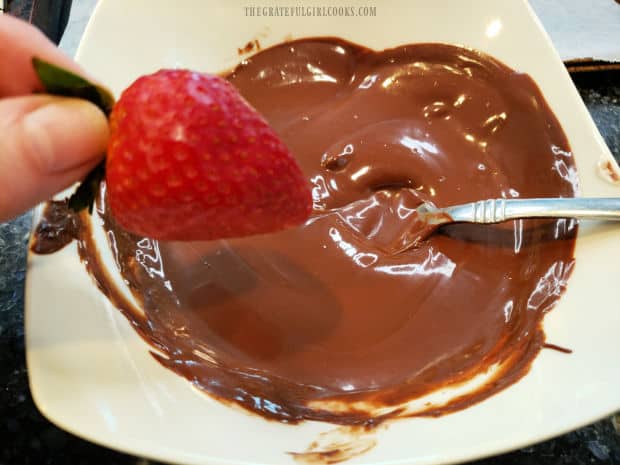
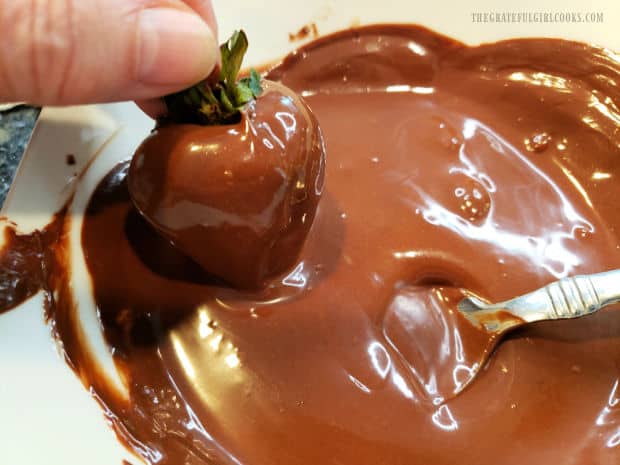
Cover a baking sheet with wax paper. Take the DRY strawberries, one at a time, and dip them in the hot, melted chocolate, rotating them to cover. Gently hold the strawberry by the green leaves to do this.
If necessary, use a spoon to add chocolate to the strawberry, covering all sides of the berry. Let the excess chocolate drip back into the bowl.
Carefully place the chocolate covered strawberry onto the wax paper-lined baking sheet. Repeat process with the remaining strawberries.
Do not move the strawberries once you place them on the wax paper, and make sure to leave space between each one.
If the chocolate firms up slightly as it cools, place it back in the microwave for about 20 seconds, then stir it again.
Decorate The Chocolate Covered Strawberries
Once the chocolate has firmed up, they can be eaten, as is. HOWEVER I enthusiastically recommend decorating them to look a bit more fancy, and chilling them before serving!
Make sure the chocolate is smooth again before using it to decorate. Use a fork to decoratively drizzle melted chocolate over the top of the strawberries.
Do not move the strawberries while decorating them. Instead, drizzle the chocolate over them right where they are on the wax paper.
You can use melted white chocolate (if desired, for contrast), or use the remaining chocolate in the bowl.
TIP: If you will be using colorful sprinkles, drizzle a strawberry (one at a time) with chocolate. IMMEDIATELY add the sprinkles while the chocolate is still “wet”, so they will adhere.
Chill, Then ENJOY Chocolate Covered Strawberries
Place the decorated chocolate covered strawberries (still on baking sheet) in a refrigerator to chill for an hour or so.
Once chilled, they should be absolutely perfect for serving! The chocolate covering should be firm and ready to go.
Carefully transfer the chocolate covered strawberries to a serving platter, serve, and enjoy these delicious treats.
Here you can see one of the chocolate covered strawberries sliced in half. Notice that the chocolate coating remains firm, even after cutting! That’s what you want!
If you have any leftovers after serving (not sure you will, though), you can safely refrigerate them for 1-2 more days.
That’s it! See how easy it is to make these wonderful desserts? I hope you have the opportunity to make these for a special occasion, or as a unique dessert for family and/or friends!
Thank you for stopping by, and I invite you to come back soon for more family-friendly recipes. Take care, may God bless you, and have a GREAT day!
Looking For More CHOCOLATE DESSERT Recipes?
You can find ALL of my recipes in the Recipe Index, which is located at the top of the page. I have some really delicious desserts you may enjoy that feature chocolate, including:
Want More Recipes? Get My FREE Newsletter!
I publish a newsletter 2 times per month (1st and 15th) with lots of recipes, tips, etc..
Would you like to join our growing list of subscribers?
There is a Newsletter subscription box on the top right (or bottom) of each blog post, depending on the device you use.
You can submit your e-mail address there, to be added to my mailing list.
Find Me On Social Media:
Facebook page: The Grateful Girl Cooks!
Pinterest: The Grateful Girl Cooks!
Instagram: jbatthegratefulgirlcooks
↓↓ PRINTABLE RECIPE BELOW ↓↓

Chocolate Covered Strawberries are EASY to make, decadent treats which can be enjoyed any time! They are made using only 3 ingredients.
- 12 large strawberries (fresh)
- 1 cup semi-sweet chocolate chips
- 2 Tablespoons vegetable shortening
- colored sprinkles (if using)
Cover a baking sheet with wax paper.
Gently rinse strawberries in a colander. Leave green leaves/stem attached. DRY strawberries really well. Place on paper towels after rinsing; let air dry a few minutes. Gently dry each strawberry between paper towels. It is vitally important the strawberries be absolutely dry so chocolate adheres, and won't "seize up".
Place chocolate chips and vegetable shortening in microwave-safe bowl. Place bowl in microwave; heat on High for 45 seconds. Remove bowl and stir mixture as much as possible. Put bowl back in microwave for 30 more seconds on High, remove and stir again. Continue in 30 second increments until chocolate and shortening are melted, smooth and lump-free.
Take DRY strawberries, one at a time, holding them carefully by the green leaves. Dip them in melted chocolate, rotating to cover all sides. If necessary, use a spoon to add chocolate to the strawberry to cover all sides. Let excess chocolate drip back into bowl.
Carefully place chocolate covered strawberry onto wax paper-lined baking sheet. Repeat process with remaining strawberries. Don't move strawberries once on the wax paper; leave space between each one. If melted chocolate in bowl firms up as it cools, place back in the microwave for about 20 seconds; stir it again.
Let chocolate on the strawberries firm up before decorating. Make sure remaining chocolate in bowl is warm and smooth again before using it to decorate. Use a fork to decoratively drizzle melted chocolate over the top of the strawberries. Do not move strawberries while decorating. Drizzle chocolate over them right where they are on the wax paper. TIP: If using colorful sprinkles, drizzle a strawberry (one at a time) with chocolate. IMMEDIATELY add sprinkles while chocolate is still "wet", so they adhere.
Place baking sheet with strawberries in the refrigerator. Chill for at least 1 hour before transferring to a serving platter. Serve, and enjoy! Any leftovers can be stored in refrigerator for 1-2 days.
Here’s one more to pin on your Pinterest boards!