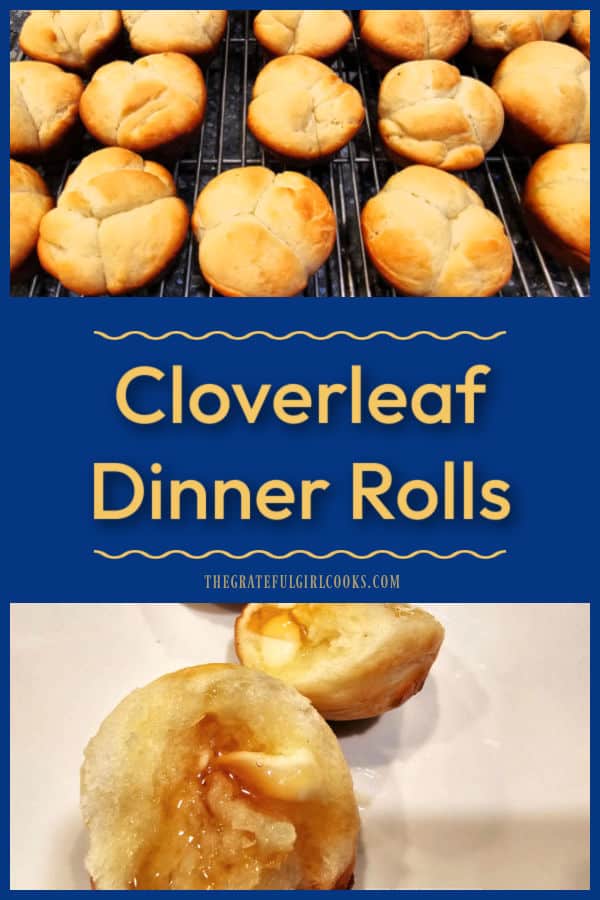
Cloverleaf Dinner Rolls are classic “pull apart” yeast rolls shaped like leaves of a clover plant. This delicious recipe makes 2 dozen rolls.
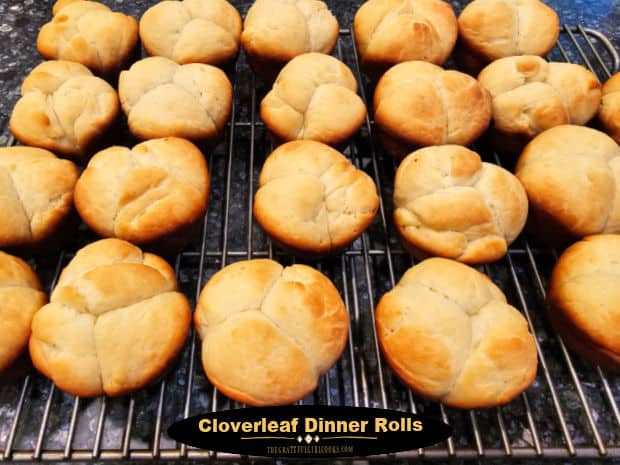
Today I want to share a recipe for cloverleaf dinner rolls I found many years ago in one of my old cooking magazines. They are a classic “pull apart” dinner roll, easily identified by the 3 sections found in each one.
These traditional rolls are called “cloverleaf” because the 3 sections resemble the 3 leaves (or lobes) of a clover plant. Yeast dough is made and shaped into small balls. Muffin tins are filled with three balls each, baked, and the finished butter-topped rolls pull apart easily!
These yeast rolls rise 2 different times, so there is a bit of inactive time involved, but the results are worth it! Cloverleaf dinner rolls are delicious and slightly addicting, especially if you enjoy homemade bread! Here’s how to make them.
Scroll Down For A Printable Recipe Card At The Bottom Of The Page
Make The Bread Dough
Combine one package of active dry yeast, 3 Tablespoons granulated sugar, and 1¼ cups of warm milk (110°F) in a large mixing bowl or the bowl of a stand mixer.
IMPORTANT: The temperature of the milk is very important! If the milk is too hot, it can “kill off” the yeast (and you really do NOT want that to happen).
Stir until combined, then let it rest 4-5 minutes until the mixture develops bubbles on the surface. This indicates the yeast is alive and well. Once bubbly, mix these 3 ingredients together using an electric mixer.
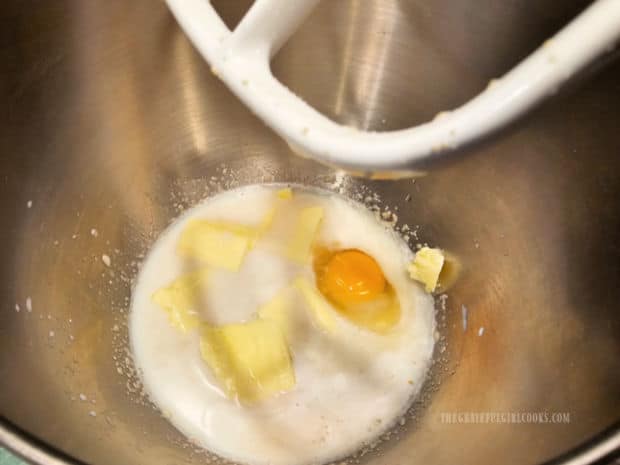
Add ¼ cup softened butter, 1 egg, and 1 teaspoon of salt to the yeast mixture. Mix well, until they have been fully incorporated.
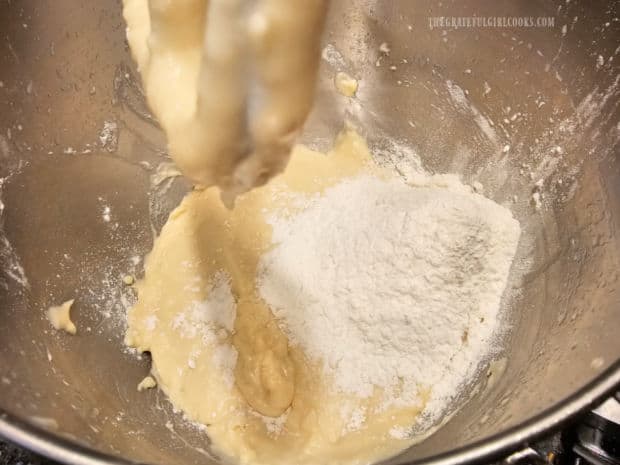
Add 3 cups of all purpose flour to the bowl and continue beating until the “dough” becomes fairly smooth in texture.
Slowly beat in 1 more cup of flour. You will want this mixture to form into a “soft dough”. If necessary, add the remaining ½ cup of flour to do so.
Knead And Let The Dough Rise
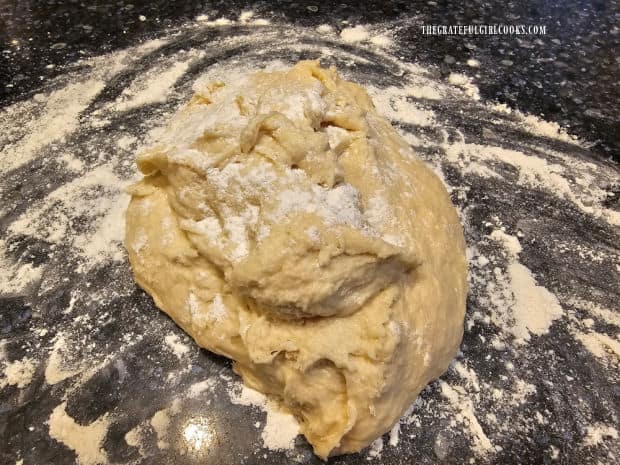
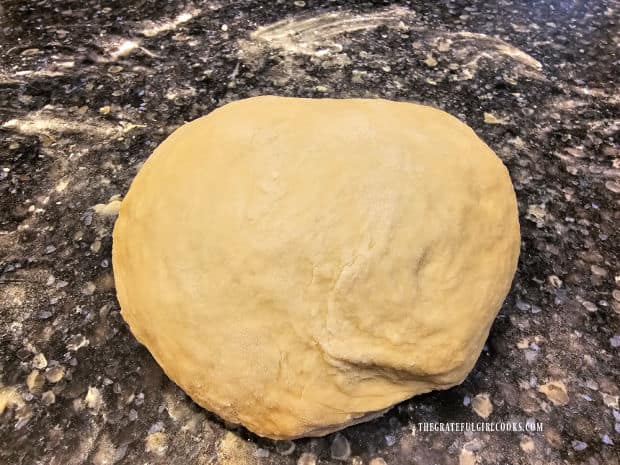
Generously sprinkle additional flour on a work surface. Place the “ball of soft dough” on the flour. Sprinkle with a bit more flour on top, then knead the dough for 6-8 minutes, using the palm of your hand.
Rotate the dough often, and sprinkle with a small amount more flour if necessary, to prevent sticking. Shape the dough into a ball.
TIP: If you have a stand mixer, you can attach the dough hook to knead the bread dough by machine, if desired.
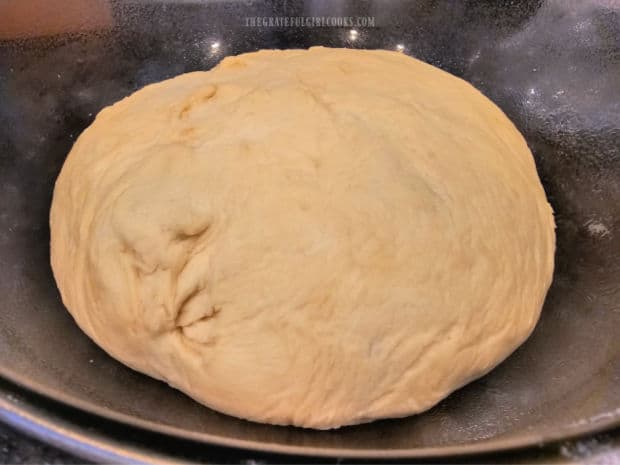
Spray a large bowl with non-stick baking spray. Place the dough ball in the bowl, then turn it over to also grease the top of the dough.
Cover the bowl with plastic wrap, then a dish towel. Set the bowl in a warm place (free of drafts) and let the dough rise until it has doubled in size (about an hour).
Shape The Cloverleaf Rolls
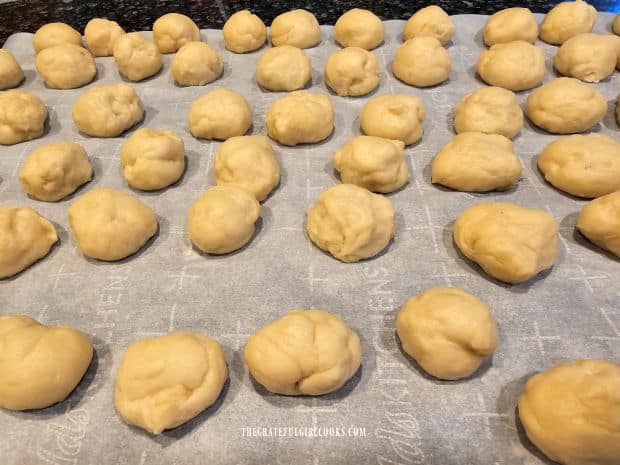
When the dough has doubled in size, use your fist and punch the dough down. Divide the dough in HALF, then divide each half piece of dough into 36 pieces.
You should end up with 72 pieces, as close to the same size as possible. If you have a food scale, it is helpful to weigh the dough pieces.
IMPORTANT: You need two stand sized muffin pans for the entire recipe. If you only have one, keep the second half of the dough wrapped tightly while you bake the first batch (then repeat process).
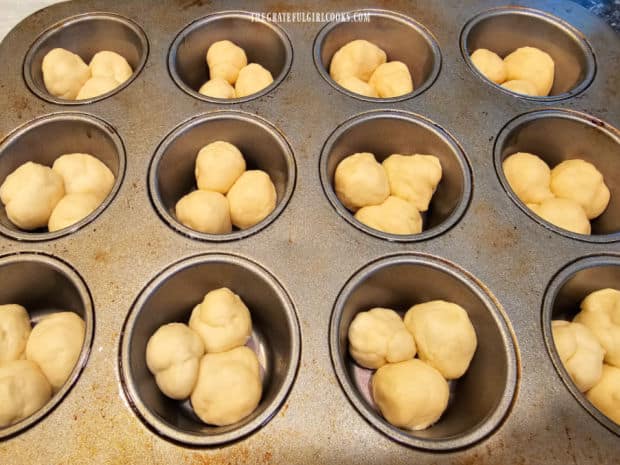
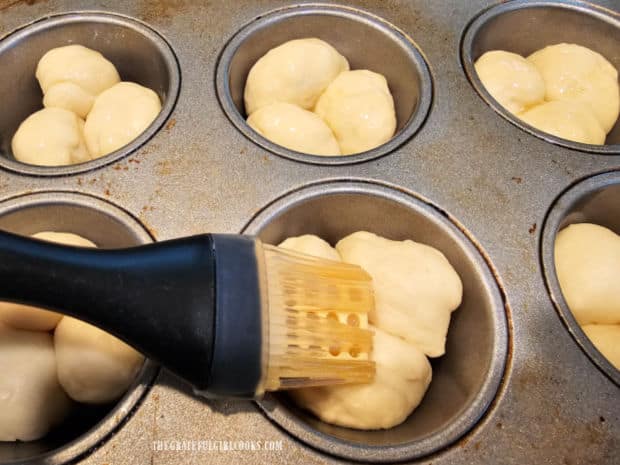
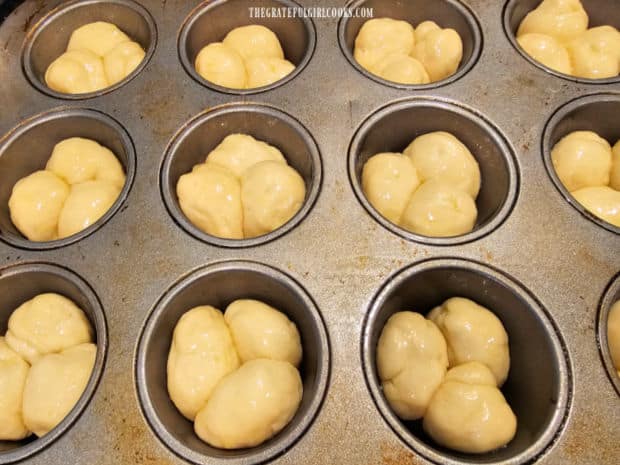
Roll each piece of dough between your palms to form a ball. Set the dough balls on a piece of parchment paper, wax paper or foil after you form them. Spray muffin cups with baking spray, then place THREE balls into each muffin cup.
Second Rise
Cover the dough, and let rise again until doubled (approx. 30 minutes). Brush the top of the rolls generously with melted butter and preheat your oven to 375°F.
Bake The Cloverleaf Dinner Rolls
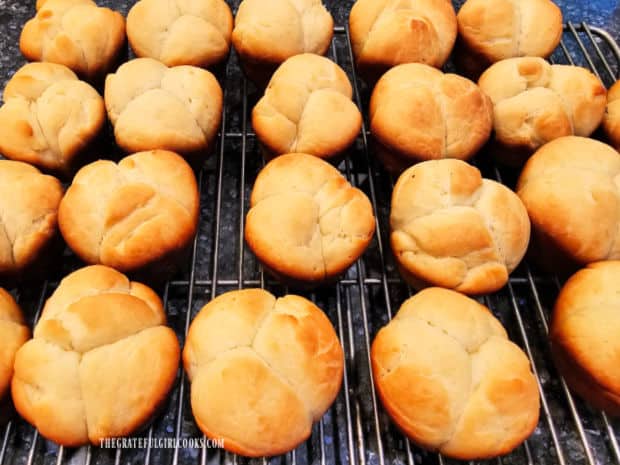
Bake the cloverleaf dinner rolls at 375°F. for 15-18 minutes. When done, they should be golden brown in color and cooked through.
Let the rolls rest for a minute in the pan, then remove them out of the muffin pan onto a wire rack to cool slightly.
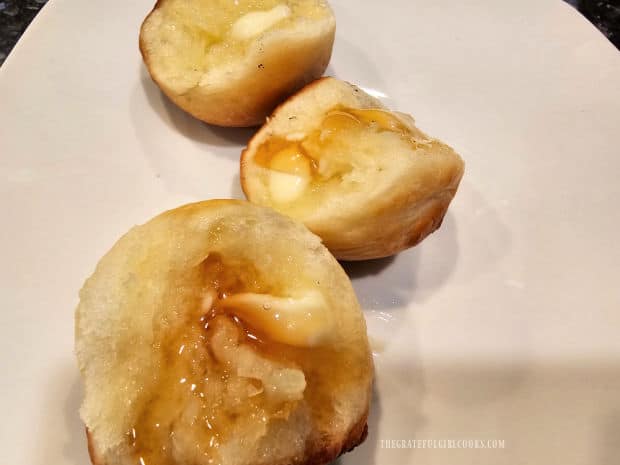
Serve the cloverleaf dinner rolls warm, with butter, honey and/or jam. They are a wonderful addition to any main dish!
The rolls easily pull apart into 3 pieces, are light and fluffy on the inside, and are dangerously good! I’m confident you’re going to like them.
I hope you have the opportunity to make cloverleaf dinner rolls, especially if you’ve never made them before. They’re delicious, and I trust you’ll enjoy them as much as our family does.
Thanks for stopping by, and I invite you to come back again soon for more family-friendly recipes. Take care, may God bless you, and I hope you have a GREAT day!
Looking For More Recipes For BREAD ROLLS?
You can find ALL of my recipes in the Recipe Index, which is located at the top of the page. I have some bread roll recipes you may enjoy, including:
- Garlic Butter Herb Rolls
- Buttermilk Cornmeal Biscuits
- Homemade Dinner Rolls
- Easy Cheesy Garlic Crescent Rolls
Want More Recipes? Get My FREE Newsletter!
I publish a newsletter 2 times per month (1st and 15th) with lots of recipes, tips, etc..
Would you like to join our growing list of subscribers?
There is a Newsletter subscription box on the top right (or bottom) of each blog post, depending on the device you use.
You can submit your e-mail address there, to be added to my mailing list.
Find Me On Social Media:
Facebook page: The Grateful Girl Cooks!
Pinterest: The Grateful Girl Cooks!
Instagram: jbatthegratefulgirlcooks
Original recipe source: “Taste of Home” magazine, Aug./Sept/ 1998 edition, pages 35-36, by Reiman Publications
↓↓ PRINTABLE RECIPE BELOW ↓↓
Cloverleaf Dinner Rolls are classic "pull apart" yeast rolls shaped like leaves of a clover plant. This delicious recipe makes 2 dozen rolls.
- 2¼ teaspoons active yeast = 1 envelope
- 3 Tablespoons granulated sugar
- 1¼ cups warm milk (110℉.)
- ¼ cup butter (softened) = ½ stick
- 1 large egg
- 1 teaspoon salt
- 4½ cups all purpose flour + extra, if needed to prevent sticking
- 2 Tablespoons melted butter or more (as needed), to brush on rolls
Place yeast, sugar, and warm milk (110°F) in a large bowl or bowl of a stand mixer. Stir to combine. IMPORTANT: If milk is too hot, it can "kill" the yeast. Stir until combined; let rest 4-5 minutes until bubbles form (indicating yeast is alive).
Add soft butter, egg, and salt to yeast mixture. Mix well, until fully incorporated.
Add 3 cups flour; continue beating until "dough" is smooth in texture. Slowly beat in 1 more cup of flour. You want to form a "soft dough". Add remaining ½ cup of flour, if necessary.
Generously sprinkle additional flour on a work surface. Place "ball of soft dough" on the flour. Lightly sprinkle more flour on top, then knead the dough for 6-8 minutes, using the palm of your hand. Rotate dough often; sprinkle with more flour (if necessary), to prevent sticking. Shape dough into a ball. TIP: If you have a stand mixer, attach dough hook to knead dough by machine, if desired.
Grease a large bowl with non-stick baking spray. Add dough; turn it over to grease the top of the dough. Cover bowl with plastic wrap, then a dish towel. Set bowl in a warm place; let dough rise until doubled in size (about 1 hour).
Once doubled in size, use your fist to punch down the dough. Divide dough in HALF, then divide each half into 36 equal-sized pieces (72 total). TIP: If you have a food scale, it helps to weigh the pieces. **SEE NOTE SECTION BELOW!
Roll each piece between palms to form a 1" ball. Set dough balls on parchment paper. Grease muffin cups; place 3 balls in each muffin cup.
Cover muffin pan; let dough rise again until doubled (approx. 30 minutes). After rising, brush tops of rolls generously with melted butter.
Bake at 375°F. for 15-18 minutes. When done, rolls should be golden brown in color and cooked through. Let rolls rest for 1 minute, then transfer them out of the pan to a wire rack to cool slightly. Serve warm, and enjoy!
IMPORTANT: You need 2 standard muffin pans for this recipe. If you only have 1, keep the second half of the dough wrapped tightly while you shape and bake the first batch.
Here’s one more to pin on your Pinterest boards!