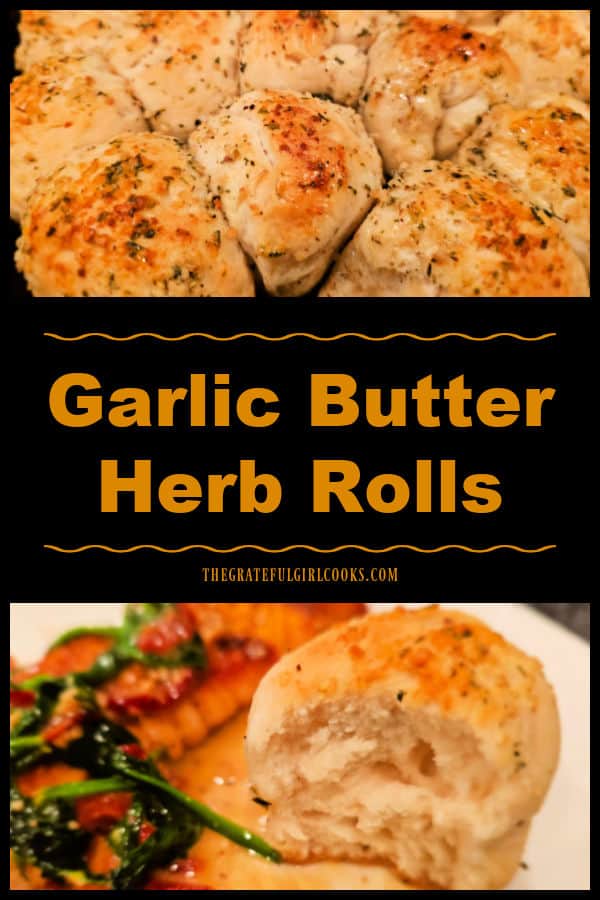
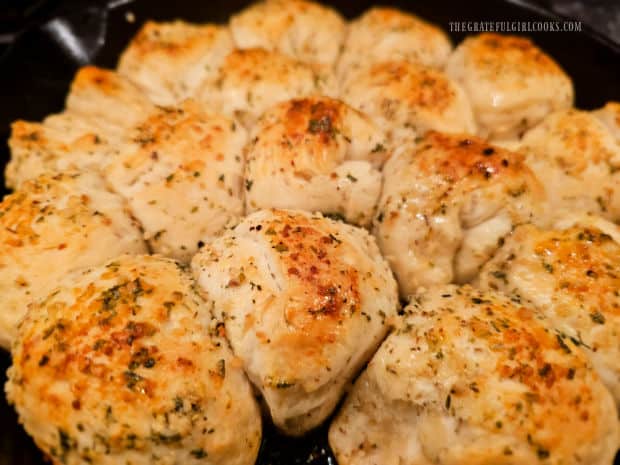
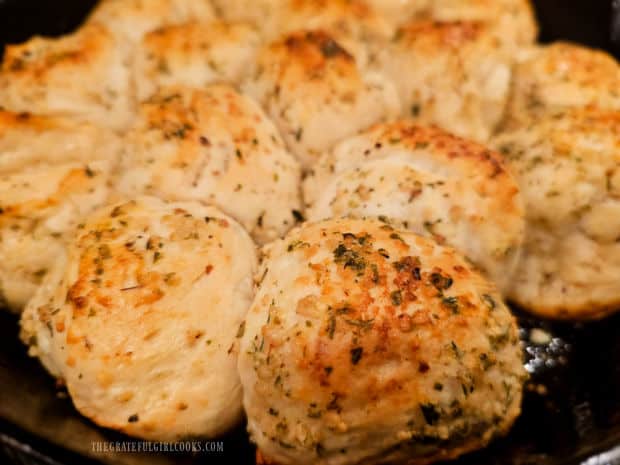
Delicious Garlic Butter Herb Rolls are easy to prepare (using canned biscuit dough!), and are a perfect accompaniment for your favorite meal!
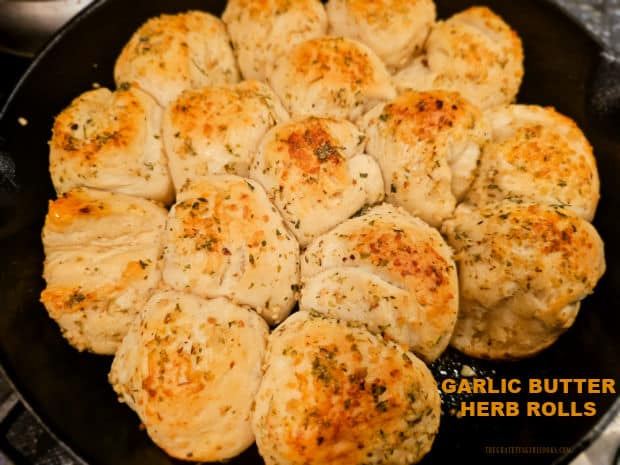
If you’re looking for a totally EASY recipe for a dinner roll or bread to serve with a favorite soup, salad or main dish, then you’ve got to try these garlic butter herb rolls!
Because they’re made using canned jumbo biscuits as the base, there is hardly any prep work involved. That’s a wonderfully quick way to get these yummy rolls on the table!
The biscuit dough is halved, rolled into balls, then covered in a simple garlic butter herb sauce, and baked. That’s it, and I think you will love them because they have great flavor! Here’s how simple they are to make.
Scroll Down For A Printable Recipe Card At The Bottom Of The Page
Make The Dough Balls
Preheat your oven to 375°F. before shaping the rolls, because you will want the oven hot and ready to go when you’re finished, to save time. Lightly grease a 10″ cast iron skillet or a large square baking dish and set aside.
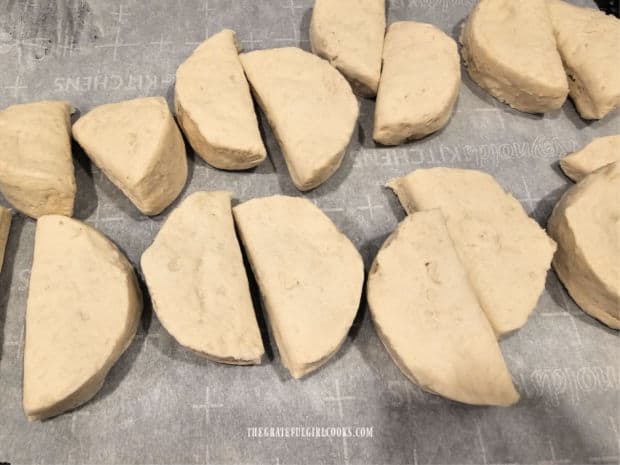
Remove the biscuit dough from the package and place the dough onto parchment paper or wax paper. Use a sharp knife or kitchen scissors to cut each of the biscuits in half. You will have 16 biscuit dough halves at this point.
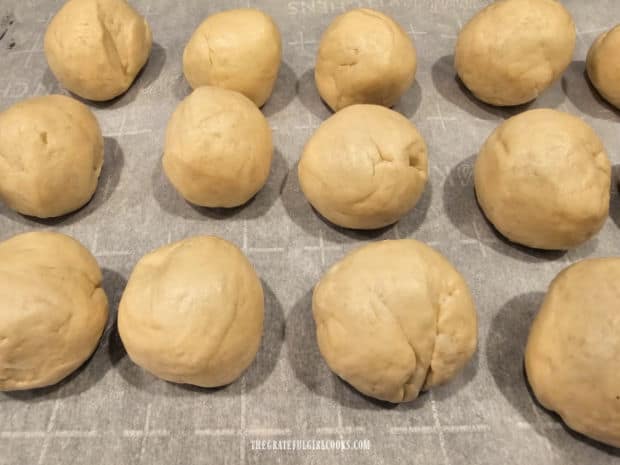
Using your hands, roll each piece between your palms into a ball, pinching the dough together to close any seams. Once done, let the dough balls rest on the paper while you mix the garlic butter herb sauce.
Make The Garlic Butter Herb Sauce
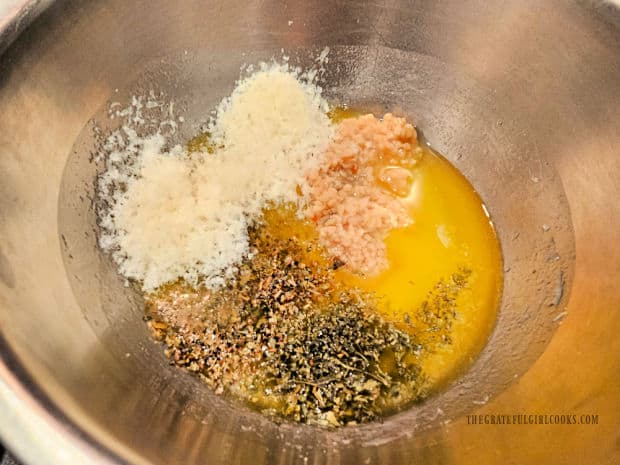
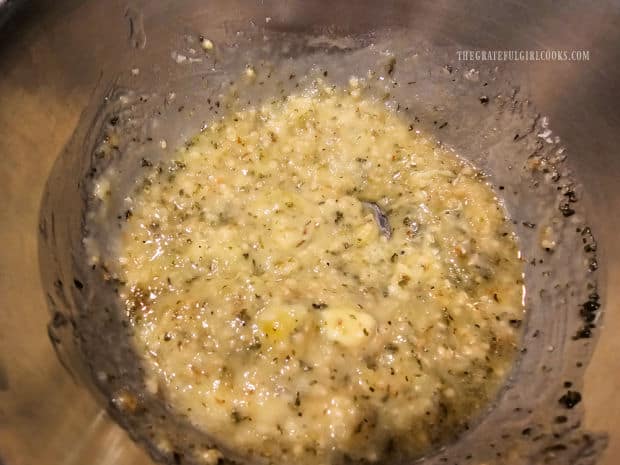
To make the garlic butter herb sauce, combine melted butter, Parmesan cheese, minced garlic, parsley and oregano in a small bowl. It will be a slightly thick sauce once it’s fully mixed.
Dipping The Dough Balls
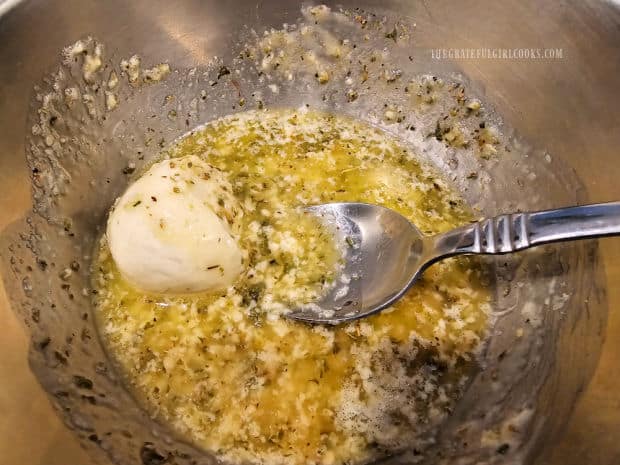
Dip each of the dough balls, one at a time, in the garlic butter herb sauce. I find it helpful to use a spoon to turn the dough balls over so all sides get coated with the sauce.
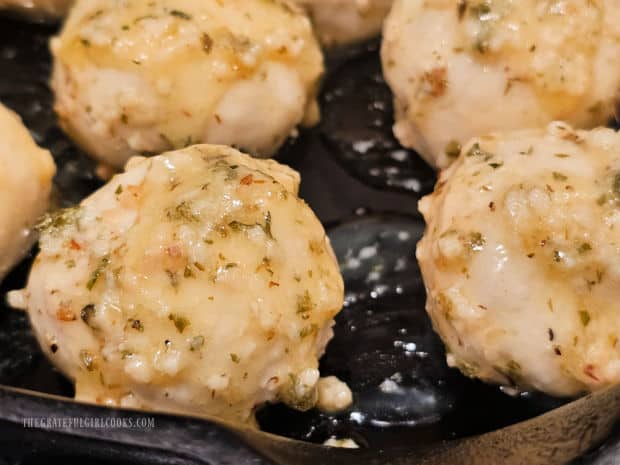
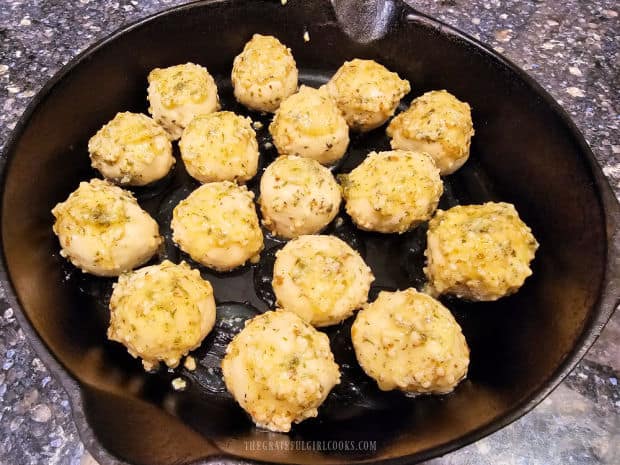
As you finish coating each dough ball, place it into the prepared skillet OR baking dish. Repeat this process until all the dough balls are coated in sauce.
TIP: Make sure to leave a small space between each of the rolls in the skillet or baking dish, so they have some “personal space” to rise and spread as they bake!
Time To Bake The Rolls!
Now it’s time to bake these little cuties! Bake the garlic butter herb rolls at 375°F (or 190° C.) for 18-20 minutes. They’re done when the tops of the rolls are wonderfully golden brown.
Remove the garlic butter herb rolls from the oven. There’s usually some seasoned, melted butter that ends up on the bottom of the skillet or baking dish.
Use a pastry brush to brush the seasoned butter from the skillet or baking dish onto the tops of the finished rolls while they’re still hot.
Serve The Garlic Butter Herb Rolls
Serve the garlic butter herb rolls right out of the skillet or baking dish while they’re HOT. Each of these tasty dinner rolls can be pulled apart from each other, to enjoy!
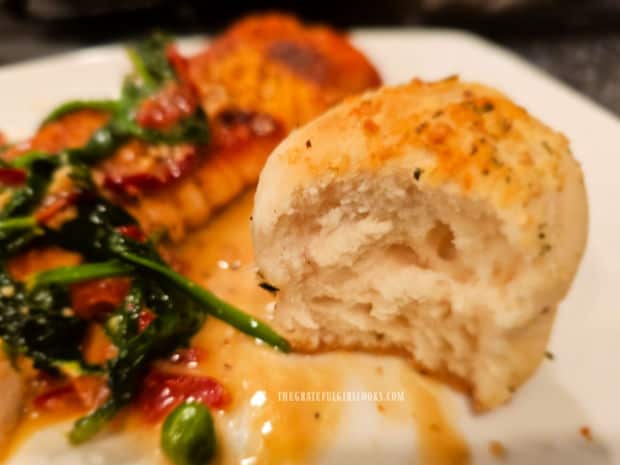
We enjoyed them (this time) served with a delicious main dish of Salmon in Spinach Cream Sauce, and they paired perfectly with this meal. YUM!
The rolls are beautiful to look at, they taste WONDERFUL, and it “might” appear like it took a lot of work to make them! You can see how simple these dinner rolls actually were to make, though, so that can be your little secret (wink, wink).
I really hope you have the opportunity to make these delicious garlic butter herb rolls, and trust you’ll enjoy them as much as we do!
We always love this super easy recipe that tastes GREAT every time! Any leftover rolls can easily be reheated in an oven or microwave!
Thanks for stopping by today, and I invite you to come back again soon for more family friendly recipes. Take care, may God bless you, and have a GREAT day!
Looking For More BREAD Recipes?
You can find ALL of my recipes in the Recipe Index, which is located at the top of the page. I have some really delicious bread recipes to choose from, including:
- Ken’s Garlic Bread
- Homemade Dinner Rolls
- Irish Soda Bread
- Italian Biscuit Flat Bread
- Garlic Focaccia Bread
Want More Recipes? Get My FREE Newsletter!
I publish a newsletter 2 times per month (1st and 15th) with lots of recipes, tips, etc..
Would you like to join our growing list of subscribers?
There is a Newsletter subscription box on the top right (or bottom) of each blog post, depending on the device you use.
You can submit your e-mail address there, to be added to my mailing list.
Find Me On Social Media:
Facebook page: The Grateful Girl Cooks!
Pinterest: The Grateful Girl Cooks!
Instagram: jbatthegratefulgirlcooks
Original recipe source (and with thanks to): Anna, at http://www.crunchycreamysweet.com/2017/02/17/garlic-parmesan-skillet-rolls/
↓↓ PRINTABLE RECIPE BELOW ↓↓
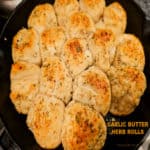
Delicious Garlic Butter Herb Rolls are easy to prepare (using canned biscuit dough!), and are a perfect accompaniment for your favorite meal!
- 1 can jumbo biscuit dough (8 biscuits in pkg/can.)
- 4 Tablespoons butter melted
- 1½ teaspoons minced garlic = approx. 3 cloves, minced
- 2 Tablespoons grated Parmesan Cheese *fresh is best, if you have it.
- ½ teaspoon dried parsley
- ½ teaspoon dried oregano
Preheat oven to 375°F. Grease a 10" cast iron skillet or large baking dish; set aside.
Remove biscuit dough from package; separate/place dough on parchment or wax paper. Use knife or kitchen scissors to cut each biscuit in half. Roll each piece between your palms into a ball, pinching dough to close any seams, then place them back on the paper.
Make sauce: Combine melted butter, Parmesan, garlic, parsley and oregano in a small bowl.
Dip each dough ball (1 at a time), in the sauce. Use a spoon to turn them over so all sides are coated with sauce. Place dough ball into prepared skillet OR dish. Repeat until all the dough balls are coated. TIP: Leave a small space between each of the rolls, so they have "personal space" to rise and spread as they bake!
Bake rolls at 375°F (or 190° C) for 18-20 minutes. They're done when the tops are nicely golden brown. Remove from oven. There will be seasoned melted butter that ends up on the bottom of the skillet. Use a pastry brush to lightly brush that butter onto the top of the rolls.
Serve immediately, and enjoy these delicious, pull-apart dinner rolls.
Here’s one more to pin on your Pinterest boards!