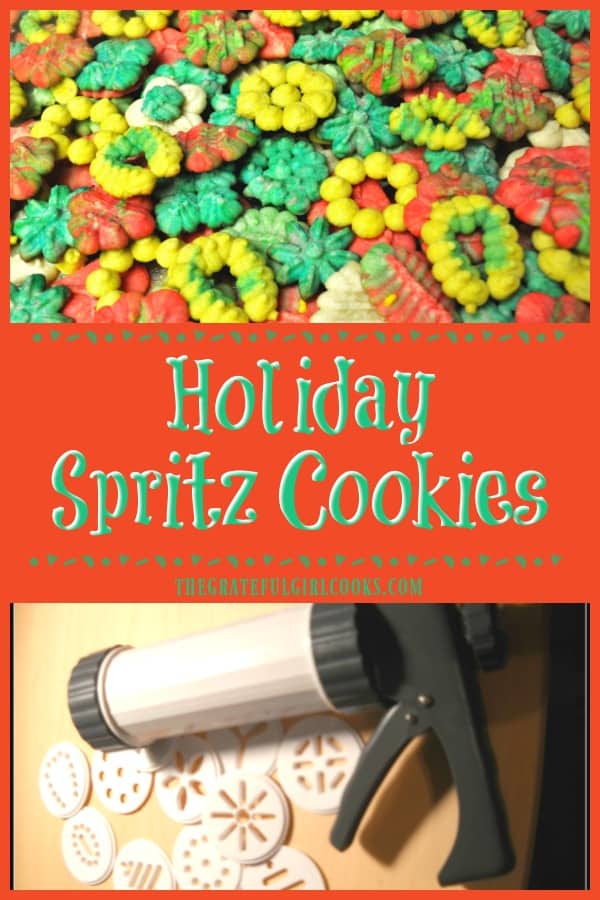
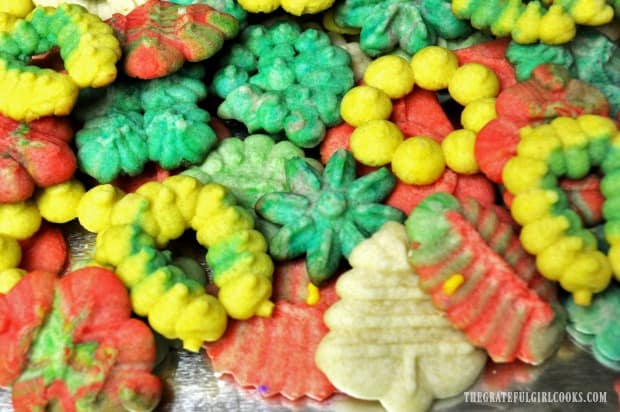
It’s easy to make a LOT of small, buttery holiday spritz cookies for eating or gift giving, using an inexpensive cookie press to make festive shapes!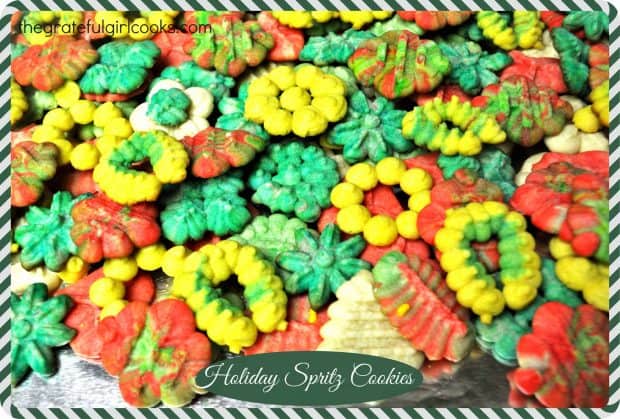
Well… it’s THAT time of year once again… time to make some Holiday Spritz Cookies! Making spritz cookies every year during the Christmas season has become one of my baking traditions.
Years ago my family gave me a spritz cookie press, and I’ve been using it ever since, to whip up batches of these little buttery Christmas cookies.
We eat quite a few of them, but what I enjoy most is giving most of them to friends and family! Plates are piled high with holiday spritz cookies and other homemade treats. It’s what I LOVE to do at Christmas time!
Scroll Down For A Printable Recipe Card At The Bottom Of The Page
Do I Need Special Equipment To Make Holiday Spritz Cookies?
Yes. You will need a spritz cookie press to make these holiday spritz cookies, but they are fairly inexpensive, and available in stores or online.
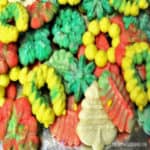
This recipe makes oodles of these delicious holiday spritz cookies. You can see in the picture how many patterns there are available to design these yummy treats.
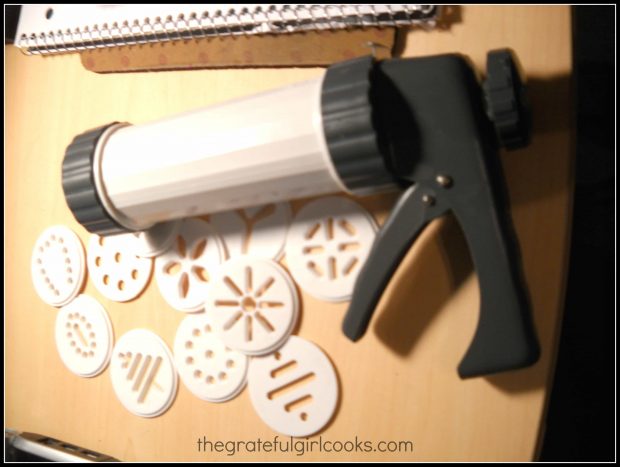
Typically a cookie press comes with several disc inserts which the cookie dough is pressed through to form different shapes. All you do is make the dough, color the dough with food coloring as desired, insert dough into cookie press, press, and voila! Holiday Spritz Cookies!
Out comes these perfectly shaped little holiday spritz cookies, which are then baked for a very short time. That’s it. See how easy it is to make holiday spritz cookies?
Happy holiday baking… sure hope you will give these holiday spritz cookies a try! Thank you for stopping by, and I hope you will come back again soon.
Looking For More COOKIE Recipes?
You can find ALL my recipes in the Recipe Index, located at the top of the page. I have lots of yummy cookie recipes, including:
- Chocolate Dipped Shortbread Cookies
- Oatmeal Raisin Cookies
- Peanut Butter Kiss Cookies
- Butterscotch Chip Cookies
- Simple Sugar Cookies
Want More Recipes? Get My FREE Newsletter!
I publish a newsletter 2 times per month (1st and 15th) with lots of recipes, tips, etc..
Would you like to join our growing list of subscribers?
There is a Newsletter subscription box on the top right (or bottom) of each blog post, depending on the device you use.
You can submit your e-mail address there, to be added to my mailing list.
Find Me On Social Media:
Facebook page: The Grateful Girl Cooks!
Pinterest: The Grateful Girl Cooks!
Instagram: jbatthegratefulgirlcooks
 Recipe Source: An old box that my first cookie press came in. Box long gone. Recipe on index card survives…source unknown.
↓↓ PRINTABLE RECIPE BELOW ↓↓
- 1 1/2 cups butter (3 cubes)
- 1 cup granulated sugar
- 1 large egg
- 2 Tablespoons milk
- 1 teaspoon vanilla extract
- 1/2 teaspoon almond extract
- 4 cups all purpose flour
- 1 teaspoon baking powder
- food coloring (if desired, to create a variety of colors!)
- Preheat your oven to 400 degrees.
In a large bowl, or stand mixer bowl, cream the butter and sugar thoroughly. Add the egg, milk, vanilla and almond extract. Beat these in very well.
In a large bowl, stir the flour and baking powder together until well combined. Add the flour mixture to the creamed mixture a little at a time. Continue mixing until the dough becomes smooth and all flour has been incorporated. Do not chill the dough. NOTE: If you want to color the dough, add food coloring to various quantities of dough and mix thoroughly until color you desire has been achieved.
- Place dough into the cookie press canister, and press cookies out onto an ungreased cookie sheet. (This is easiest if you put the nozzle directly onto the cookie sheet). Change discs to make different shapes, as desired. It's even fun to place pieces of different colored dough into the canister and get multi-colored cookies!
Bake cookies at 400 degrees for 6-8 minutes... do not brown. Remove cookies from baking sheet and place on wire rack to cool. Enjoy!
Here’s one more to pin on your Pinterest boards!