Make your own delicious strawberry jam at home and can it for long term storage, using a water bath canner and safe canning guidelines.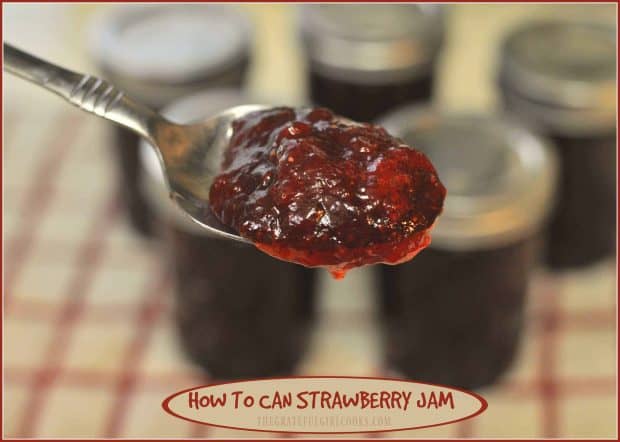
One of the first things I ever learned how to can was Strawberry Jam. There’s just something about a jar of home-canned jam that makes it special. Do you know how to can strawberry jam? It’s not so hard. Really! It can be made year-round, due to the availability of this delicious fruit.
Scroll Down For A Printable Recipe Card At The Bottom Of The Page
We LOVE Fresh Strawberries!
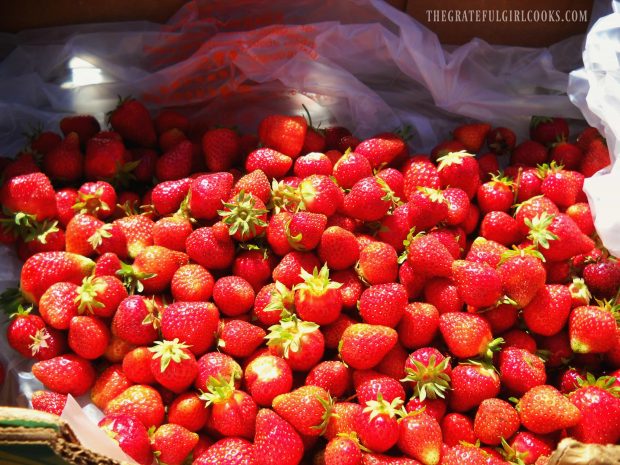
I grow strawberries in my small backyard garden, and love to have them to snack on. But when I am going to make jam, I usually end up going to a local U-Pick farm in the Spring and picking a large amount of them, as you can see from the photo below.
Regardless of how you “get” the strawberries (growing them, grocery store or picking them at a farm), jars of homemade strawberry jam are wonderful to have in the pantry to enjoy. It’s also great to have jars available to give as gifts throughout the year.
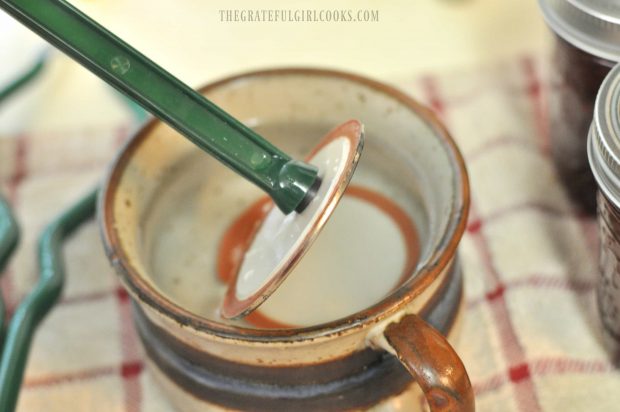
Strawberry Jam is canned for long term storage using a water bath canner. While getting the jam made and ready for canning, you can begin heating the water in a canner, and prepping jars, lids and rings per manufacturer instructions, so everything is ready to go when the jam is ready.
How To Can Strawberry Jam
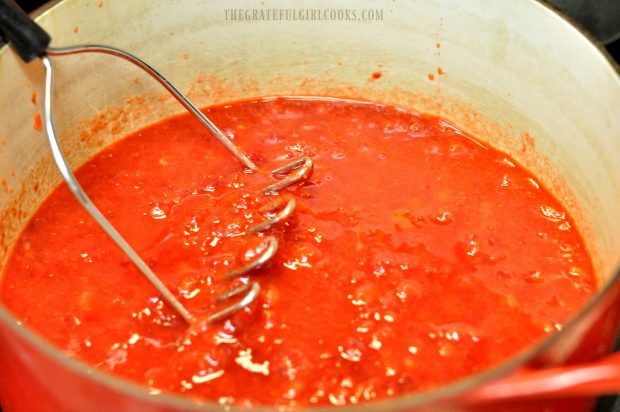
Start by placing clean and de-stemmed strawberries in a large bowl and crush them. I use my potato masher to crush the fruit. You can also use a food processor for this, but do not puree the fruit. Use the pulse button to chop up the strawberries. You need small pieces of the strawberries in the jam!
Measure the exact amount of crushed fruit the recipe calls for into a large heavy saucepot. Add fresh lemon juice and 1 box of powdered pectin into the fruit; stir to combine. I also add 1/2 teaspoon of butter to the fruit, which helps to keep the fruit from foaming too much while it cooks (but this is optional).
Measure exact amount of sugar into a separate bowl. Set aside until ready to add to the hot fruit mixture.
Cook The Strawberry Jam
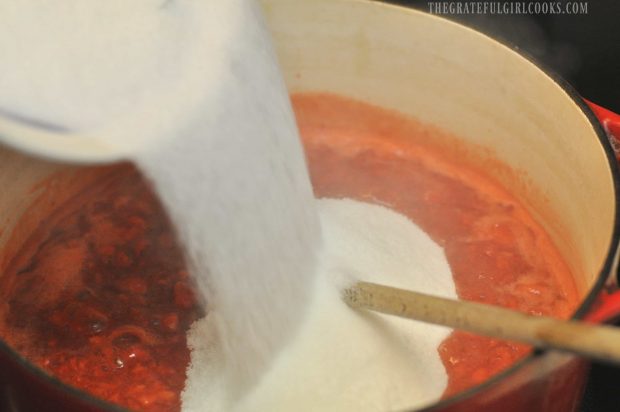
Bring the strawberry mixture to a FULL ROLLING BOIL over High heat. Stir mixture CONSTANTLY. NOTE: A full rolling boil means that the strawberry mixture doesn’t stop boiling, even when you are stirring it). As soon as mixture comes to a full rolling boil, dump ALL the sugar in at once, and stir well, to combine.
Bring the jam mixture back to a FULL ROLLING BOIL, then let it boil for 4 minutes. Be sure to stir jam constantly so it won’t burn on the bottom of pan. Remove pan from heat. Skim off any foam that appears on top of jam and discard.
Filling The Jars
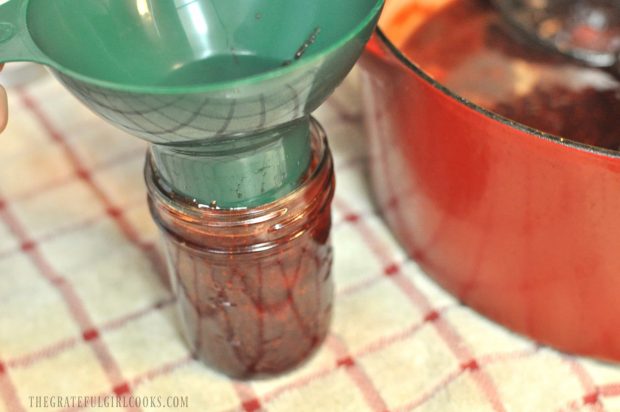
Ladle the hot jam quickly into clean, pre-heated jars. Fill each jar almost to top, leaving 1/8 inch headspace. Insert a non-metallic utensil into each jar two or three times to remove air bubbles, then adjust the headspace, if necessary.
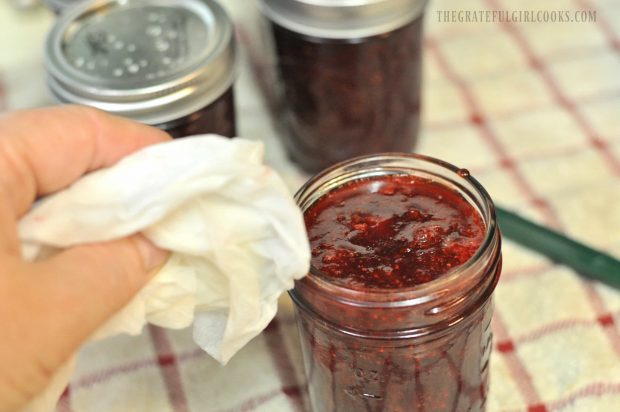
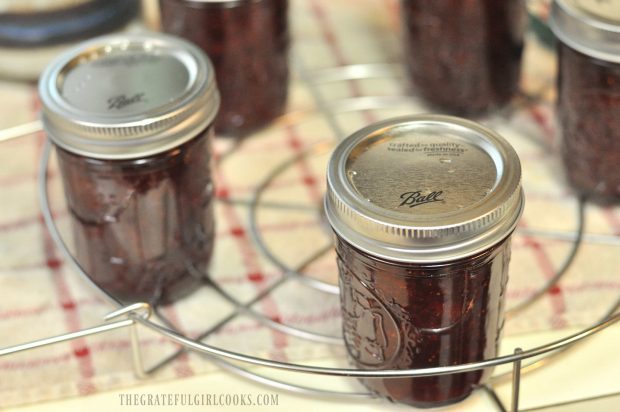
Wipe the rims of each jar with a wet paper towel or clean dishcloth to remove any jam residue (residue would prevent jars from sealing properly). Cover each jar with prepared flat lid, add screw band and tighten to fingertip tightness. Place the hot jars (using canning tongs) onto a canning rack.
![]()
Processing Strawberry Jam
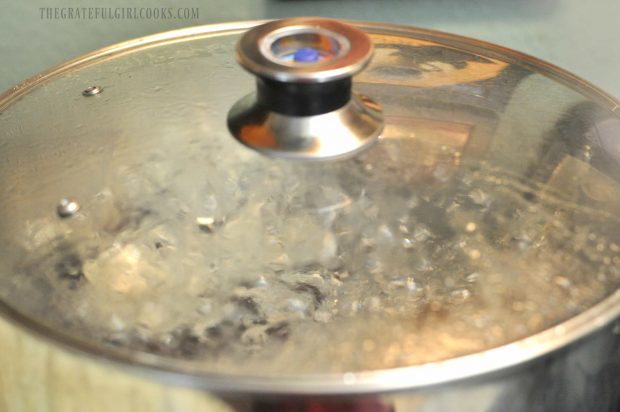
Lower rack into simmering water in canner (the reason the jars must be on a slightly elevated rack is so the jars don’t crack while in contact with direct heat on bottom of pan). Make sure the hot water completely covers the jar tops by a couple inches (add additional hot water if needed). Cover the canner. Bring the water inside to a gentle boil. Once boiling, process the jam for 10 minutes.
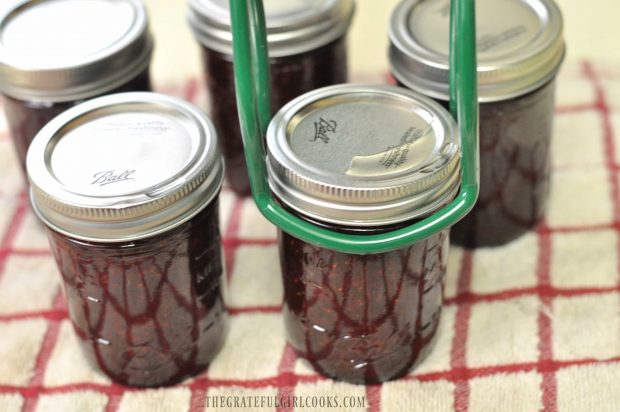
When the processing time is complete, remove jars and place them upright on a dish towel until they have cooled completely. Do not place hot jars directly onto kitchen counter, because temperature variances could cause the jars to crack.
Test The Seal Before Storing The Jars
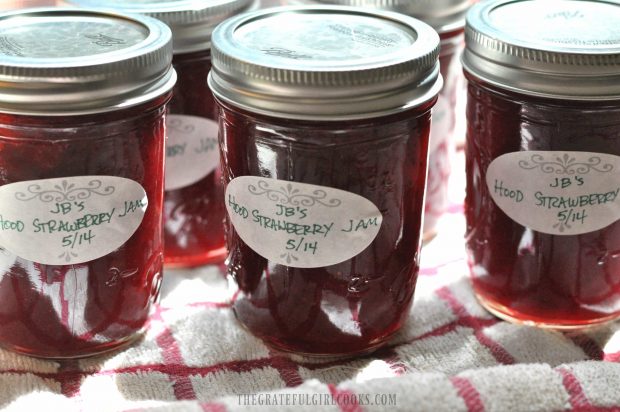
Once jars have completely cooled (12 hours or overnight), make sure to test the seal on the jars before storing in pantry. Press the middle part of the lid. If the lid springs back, the seal is bad, and the jam will need to be stored in the refrigerator. If the jars have a good seal, label and store in pantry, as they are now shelf stable. I unscrew and remove the rings before storing.
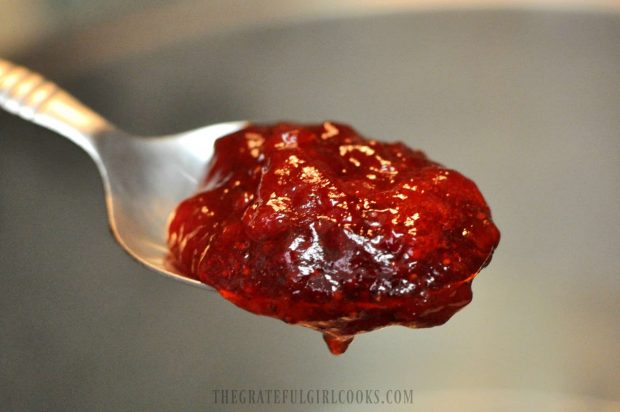
When ready to use, open up a jar, and spread some of that thick, sweet strawberry jam goodness on a piece of toast… and ENJOY the delicious work of your hands! Now you know how to can strawberry jam. YUM!
Have a wonderful day! Spring is just around the corner… can’t wait to get out there, pick some fresh delicious strawberries and make yummy strawberry jam! I’ve given away so many jars of homemade jam to friends and family recently, I need to make more just so WE can have some around to enjoy this year! Go figure! Have a great day.
Looking For More JAM Recipes?
You can find all of my recipes in the Recipe Index, located at the top of the page. I have many jam recipes, including:
Interested In More Recipes?
Thank you for visiting this website. I appreciate you using some of your valuable time to do so. If you’re interested, I publish a newsletter 2 times per month (1st and 15th) with all the latest recipes, and other fun info. I would be honored to have you join our growing list of subscribers, so you never miss a great recipe!
There is a Newsletter subscription box on the top right side (or bottom) of each blog post, depending on the device you use, where you can easily submit your e-mail address (only) to be included in my mailing list.
You Can Also Find Me On Social Media:
Facebook page: The Grateful Girl Cooks!
Pinterest: The Grateful Girl Cooks!
Instagram: jbatthegratefulgirlcooks
Recipe Source: Written instructions with box of MCP Premium 100% Natural Fruit Pectin
Make your own delicious strawberry jam at home and can it for long term storage, using a water bath canner and safe canning guidelines.
- 5 3/4 cups crushed strawberries (approx. 6 pints of strawberries)
- 1/4 cup fresh lemon juice
- 1 small box MCP powdered pectin (2 ounces) (some boxes are 1.75 ounces now)
- 1/2 teaspoon butter (to help cut down on foaming-optional)
- 8½ cups granulated sugar
- While getting jam ready for canning, begin heating water in canner, and prep jars, lids and rings per manufacturer instructions , so they're ready to go once jam is ready.
- Place strawberries in large bowl and crush them (I use my potato masher to crush the fruit). You can use a food processor for this, but do not puree fruit. Use pulse button to chop fruit. You need small pieces of strawberries in the jam!
- Measure exact amount of fruit the recipe calls for into large saucepot. Add fresh lemon juice and 1 box powdered pectin; stir to combine. (I add 1/2 teaspoon of butter also, which helps keep foam amount down during cooking.
- Measure exact amount of sugar into separate bowl. Set aside.
- Bring strawberry mixture to a FULL ROLLING BOIL on High heat. Stir mixture constantly (*A full rolling boil means the fruit doesn't stop boiling, even while stirring). As soon as mixture comes to a full rolling boil, dump ALL the sugar in at once, and stir well, to combine.
- Bring jam back to a FULL ROLLING BOIL, then let it boil for 4 minutes. Be sure to stir jam constantly. When done, remove pan from heat. Skim off any foam on top of jam and discard.
- Ladle hot jam quickly into clean, pre-heated jars. Fill each jar, leaving 1/8 inch of headspace. Remove air bubbles from jar by inserting a non-metallic utensil into jar 2 or 3 times. Wipe rims of jars with wet paper towel or dishcloth to remove any jam residue (residue prevents jars from sealing properly). Cover jars with prepared flat lid, add screwband and tighten. Place jars carefully (using canning tongs) onto canning rack. Lower rack into hot simmering water in canner. Make sure hot water completely covers jar tops by a couple inches (add additional hot water if needed). Cover the canner.
- Bring water in canner to a gentle boil. Once boiling, process jam for 10 minutes.
- When processing time is complete, remove jars and place them upright on a dish towel on counter until they've cooled completely (do not place hot jars directly onto kitchen counter. Temperature variances could cause jars to crack).
- Once jars have completely cooled (12 hours or overnight), make sure to test seal on the jars before storing in pantry. (Press middle part of the lid with index finger. If it springs back, seal is bad, and jar will need to be stored in refrigerator). If jars have a good seal, label the jars and store in pantry.
Here’s one more to pin on your Pinterest boards!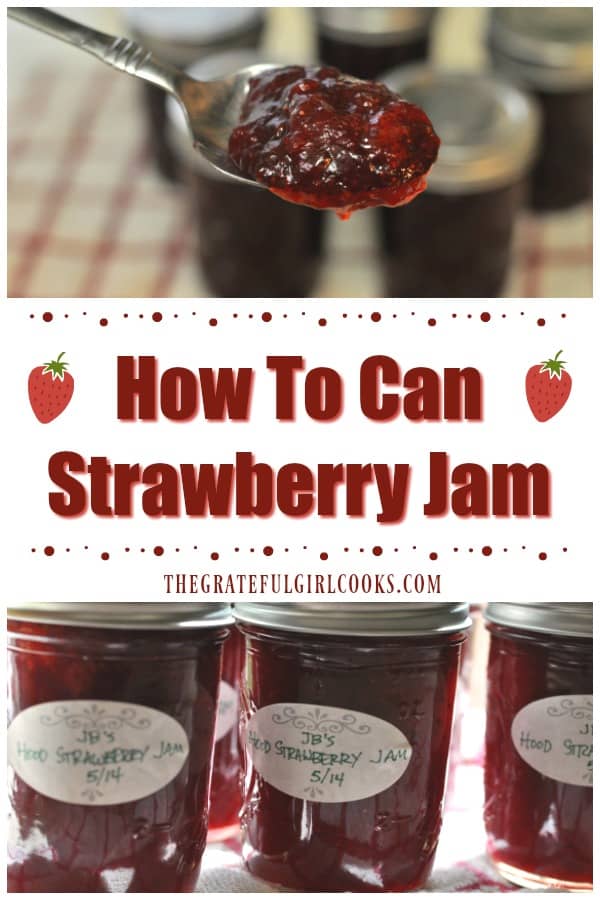


Can you use less sugar?
I made strawberry jam and followed the instructions on the sure jell box and it was too sweet.
Hello,
I recently made your blackberry jam recipe and loved it! I want to try making your strawberry jam as well but was wondering if you can make it in pints or just in half pints.
Thank you!
Hi, Bryana… thanks for your note. Yes… you can most certainly make it in pint jars. Just remember you will have less jars of jam by doing that, obviously. I just canned more jars of the strawberry jam recently as well. YUM! Have a great day.
Great recipe! This is my first time canning anything. I’ve done my research and ready to try my hand at it. I do have a question. How many ounces is the powdered pectin? It comes in a large bottle at Wal-Mart. However, they do have a box with two packets. Do I use both packets? Or how much do I use from the large bottle? Keep up the good work and have a great day!
Good morning, Annette! The amount of pectin (in the small box) is 2 ounces. Sorry for the confusion. I will add that amount to the ingredient list. Hope you have great success with making your very own strawberry jam! Once I learned how to can jam, I was hooked! Have a great day!
Thank you so much for posting a jam/canning recipe. Canning and making jam seems so hard and intimidating; however, your simple instructions and detaled pictures makes it look like something I can do! 🙂 Thank you for your hard work!!!!! I love your site!!! I found your blog a couple days ago and had been exploring! You have so many goodies and yummy food that I feel like I found a treasure! Keep up your awesome work, delicious recipes and amazing pictures!
Thank you so very much for your kind words, Tonya! I appreciate so much the encouragement you brought to my heart this morning. I hope you have the opportunity to make some jam. When I made my FIRST jars of jam many years ago, I was terrified. Once they turned out fantastic, there was no stopping me! I wish the same for you. Have a blessed day, and thank you again for taking time out of your busy day to write. Love, JB (The Grateful Girl Cooks)