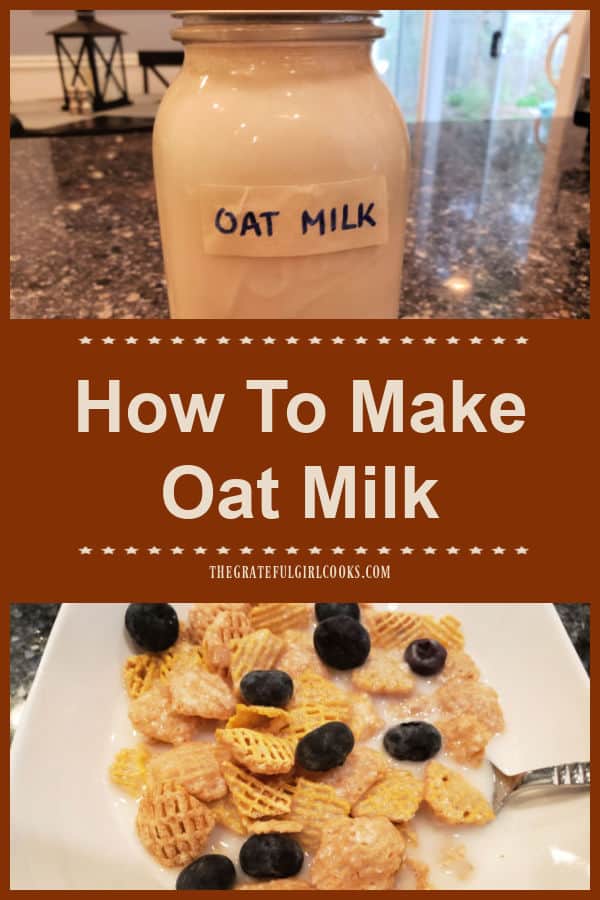
Ever wondered how to make oat milk? It’s EASY! With only 2-3 common ingredients you can make 5 cups of this non-dairy milk alternative.
Nowadays there are new options springing up everywhere for non-dairy alternatives for milk, ice cream, etc. I am NOT dairy-free, but I do buy almond milk occasionally, and use it on my cereal or in oatmeal. I became aware of oat milk via commercials on TV and wondered about this product. Truthfully it sounded kind of odd to me, but I was still curious about it.
I discovered a recipe for how to make oat milk in a book by celebrity chef Michael Symon and thought I’d give it a try. Wow! It was SO EASY to make, and costs a fraction of what a carton in the store costs nowadays! It only takes a couple ingredients to make, and it tastes great on my morning cereal. WHO KNEW?
I would like to show you how to make oat milk, as a cheaper alternative to buying it, or as a tasty alternative for those who don’t use dairy products. I think you’ll be surprised how easy and inexpensive it is to make.
Scroll Down For A Printable Recipe Card At The Bottom Of The Page
Soak The Oats
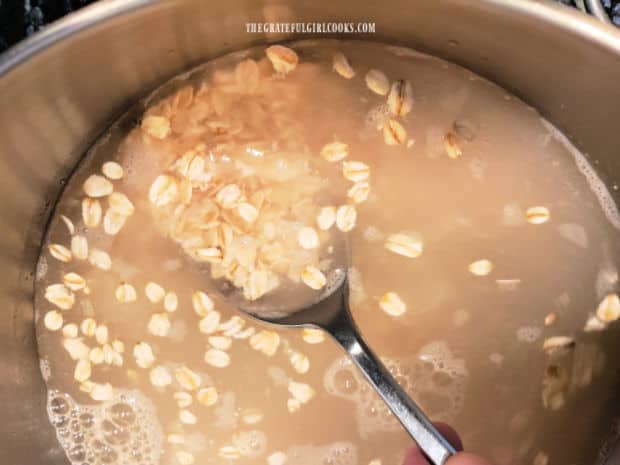
Place 1 cup of old-fashioned oats (not instant!) in a large mixing bowl, and cover with 4 cups of cold water. Stir to combine, then let the oats sit and soak in the water at room temperature for 1 hour. Think of it as a “swimming pool” for oats.
Strain The Soaked Oats
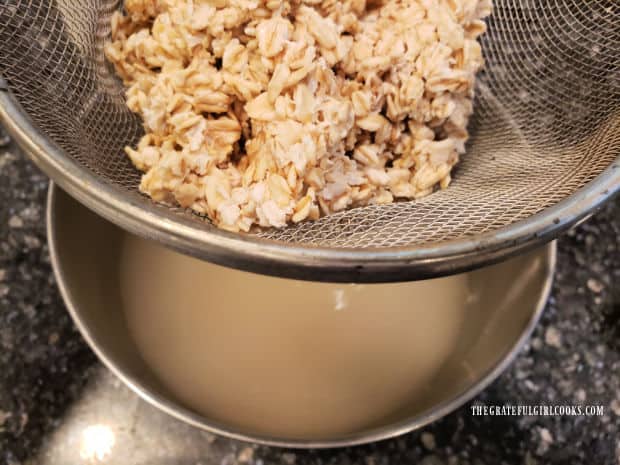
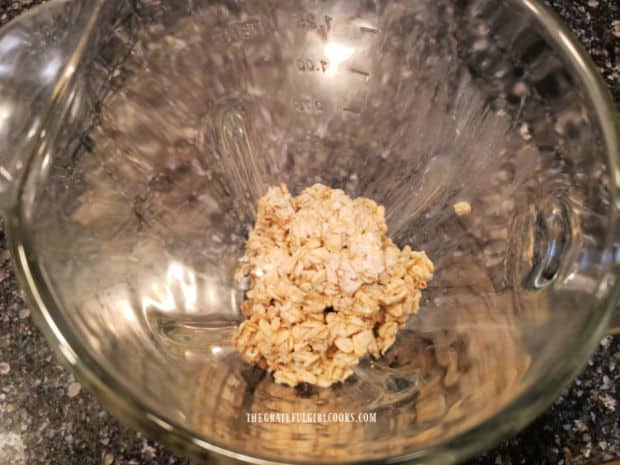
After the oats have soaked for an hour, position a fine mesh strainer over a large bowl or sink. Slowly pour the water/oat mixture into the strainer to drain the oats. Give the oats a quick rinse (still in the strainer), then dump the accumulated water in the bowl underneath the strainer. Place the drained oats in a blender.
Ready To Blend
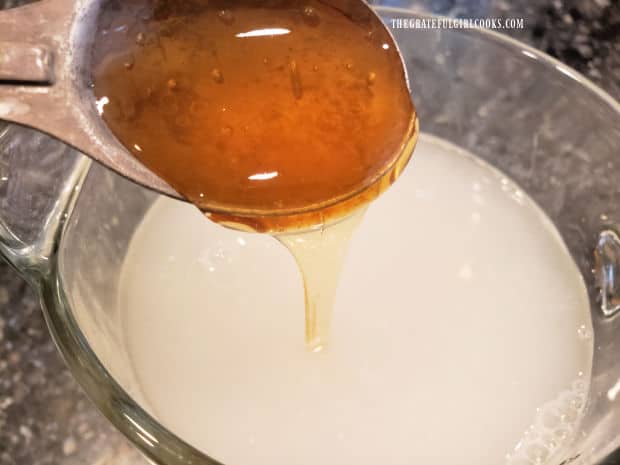
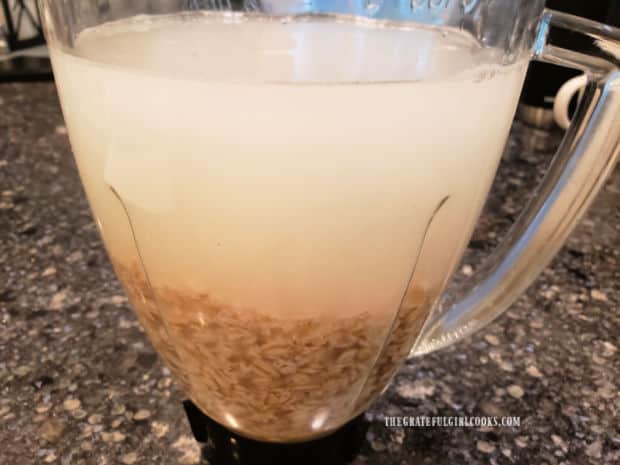
Pour 4 cups of FRESH cold water into the blender with the oats. Add a small pinch of salt and a Tablespoon of raw honey OR real maple syrup to the blender, as well. The blender will be pretty full at this point, so make sure you have a tight fitting lid.
How To Make Oat Milk
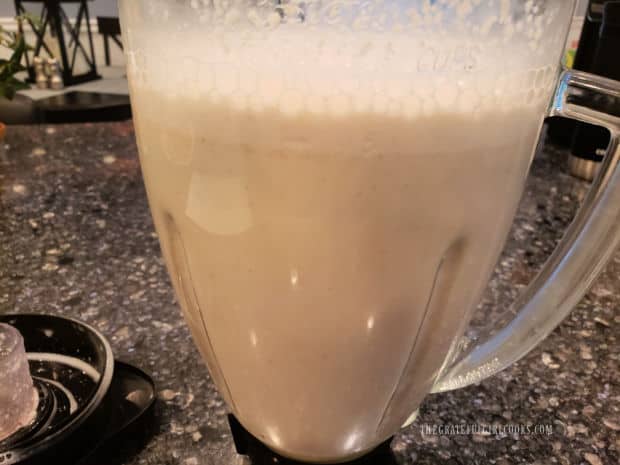
Put the lid on the blender and blend the oat milk for 2-3 minutes, until it is completely smooth. Start the blender on low speed, then increase it as you go, eventually blending it on high speed, holding the lid in place while mixing!
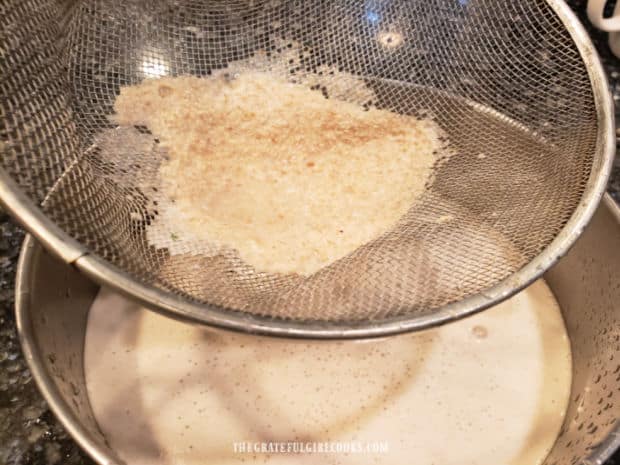
Once the oat milk is smooth and finished blending, pour it AGAIN through a fine mesh strainer positioned over a large bowl. The oat milk will collect in the bowl underneath the strainer, and any leftover “pulp” will be caught in the strainer. Discard the pulp. Keep the oat milk! Strain the oat milk again, and discard any more pulp left in the strainer. Now it’s done.
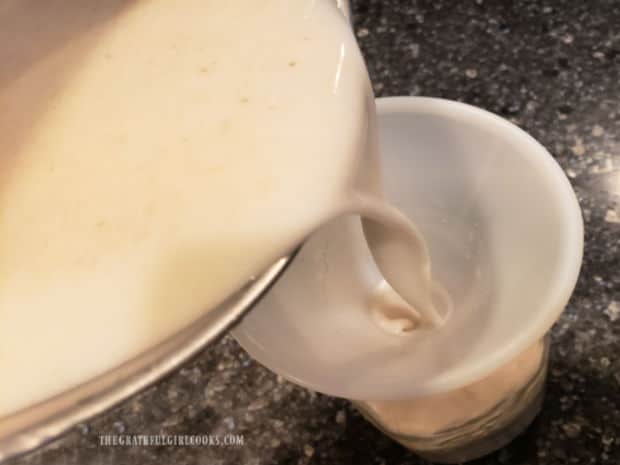
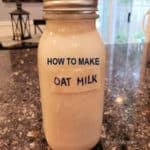
Pour the oat milk (using a funnel if you have one) into a bottle or other storage container. The recipe will make about 5 cups of oat milk. A quart jar will hold about 4 cups of the milk, so either use two jars or a larger container.
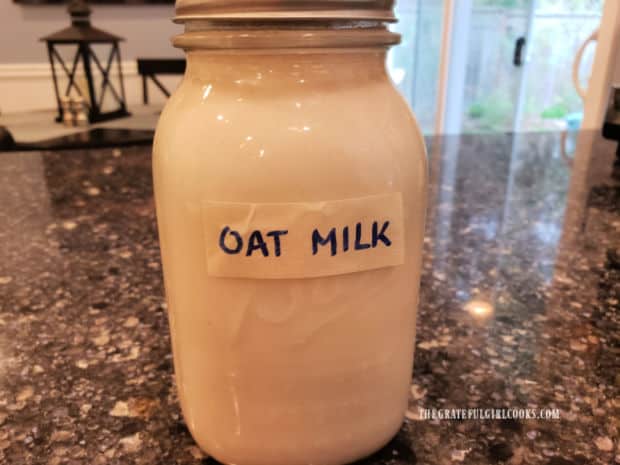
Label the container and place the oat milk in the refrigerator to fully chill. Congratulations! You’ve just learned how to make oat milk! It’s really not difficult at all to make, and will keep for up to 5 days in the refrigerator. Not bad, right?
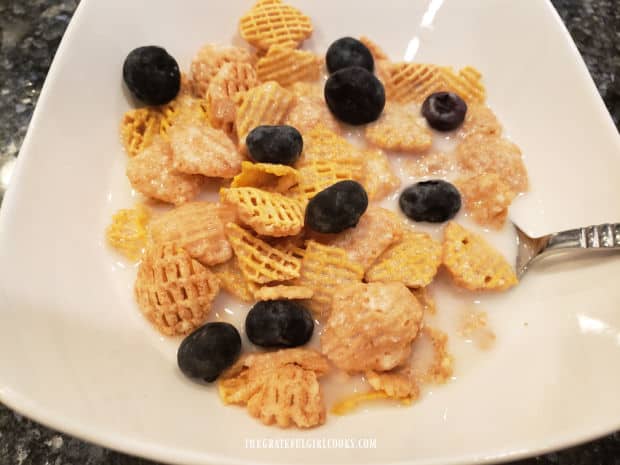
Once fully chilled, shake the oat milk well before each use to reincorporate the ingredients, as they settle a bit and separate during refrigeration. Once mixed, enjoy it over a bowl of cereal, and take pride in knowing you made it yourself, for a fraction of the price of store-bought oat milk.
I hope you will have the opportunity to try this “recipe” for oat milk, and hope you will be as pleased with the results as I am! Thanks for stopping by today, and I hope you will come back again soon for more recipes. Take care, and have a GREAT day!
Looking For More Tips?
You can find all my tips and recipes in the Recipe Index, located at the top of the page. I have a variety of interesting tips available, including:
Interested In More Recipes?
Thank you for visiting this website. I appreciate you using some of your valuable time to do so. If you’re interested, I publish a newsletter 2 times per month (1st and 15th) with all the latest recipes, and other fun info. I would be honored to have you join our growing list of subscribers, so you never miss a great recipe!
There is a Newsletter subscription box on the top right side (or bottom) of each blog post, depending on the device you use, where you can easily submit your e-mail address (only) to be included in my mailing list.
You Can Also Find Me On Social Media:
Facebook page: The Grateful Girl Cooks!
Pinterest: The Grateful Girl Cooks!
Instagram: jbatthegratefulgirlcooks
Original recipe source: “Fix It With Food: More Than 125 Recipes To Address Autoimmune Issues And Inflammation- A Cookbook”, by Michael Symon and Douglas Trattner, page 245, published in 2019 by Clarkson Potter
↓↓ PRINTABLE RECIPE BELOW ↓↓
Ever wondered how to make oat milk? It's EASY! With only 2-3 common ingredients you can make 5 cups of non-dairy milk alternative.
- 1 cup old fashioned oats
- 4 cups water
- 1 Tablespoon raw honey OR real maple syrup
- 1 pinch salt
Place 1 cup of old-fashioned oats (not instant!) in a large bowl. Cover with 4 cups of cold water. Stir to combine; let oats soak at room temperature for 1 hour.
Position a fine mesh strainer over a large bowl or sink. Slowly pour water/oat mixture into the strainer to drain off water. Give oats a quick rinse (still in strainer), then dump any accumulated water.
Place drained oats in a blender. Add 4 cups of FRESH cold water into blender, along with salt and raw honey (or real maple syrup).
Put lid on blender. Blend 2-3 minutes, until oat milk is completely smooth. Start on low speed, then increase it as you go, eventually blending it on high speed, holding lid in place while mixing!
Pour oat milk through a fine mesh strainer positioned over a large bowl. Oat milk will collect in the bowl, and any leftover "pulp" will be left in the strainer. Discard pulp. Strain milk again, then pour oat milk through a funnel into bottle or other storage container, with a lid. Refrigerate until fully chilled.
Once fully chilled, shake or stir oat milk well before using to re-blend, as it settles during refrigeration. Oat milk will keep up to 5 days in refrigerator.
NOTE: Caloric Calculation made using raw honey.
Here’s one more to pin on your Pinterest boards!