Learn how to make pumpkin puree from “pie” or “sugar” variety pumpkins! Make about 6 cups of puree (from 2 pumpkins) to freeze and use throughout the year!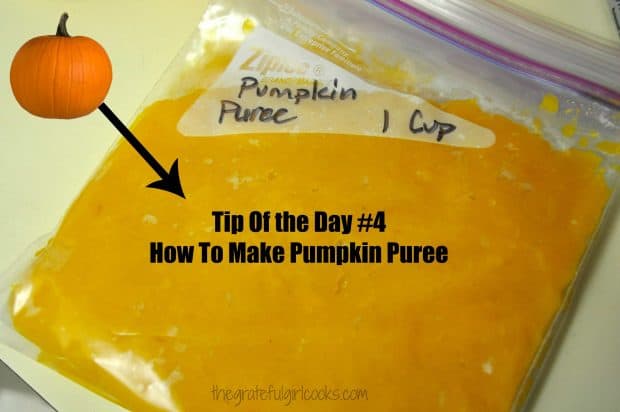
Well… Fall is officially here, and just like clockwork, pumpkins are EVERYWHERE! It’s THAT time of year once again. Do you know how to make pumpkin puree? It’s easy.
I use pumpkin puree for making Pumpkin Streusel Coffeecake, Double-Glazed Pumpkin Scones, Glazed Pumpkin Buttermilk Doughnuts, and Pumpkin Bread, as well as many other Fall recipes!
I’ve been making my own pumpkin puree for years and years. I used to use our Halloween pumpkins, but found the water content of those BIG pumpkins was too high.
What Kind Of Pumpkins Are Best For Making Puree?
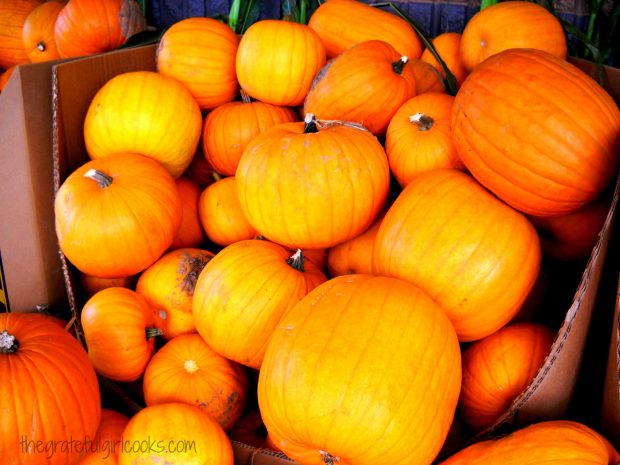
Years ago I switched and started buying “Sugar” or “Pie” pumpkins. They are smaller than traditional pumpkins, but are perfect for making puree (more flavor and LESS water). Most grocery stores carry this variety of pumpkin.
I like to make puree out of a couple pumpkins each year, then freeze it. By doing so, we can have pumpkin puree to use any time we want, during the year.
The convenience of having pumpkin puree in the freezer for baking pumpkin bread, muffins, etc., is to NOT have to run to the grocery store and buy it. All you will need to do is thaw it!
How To Make Pumpkin Puree
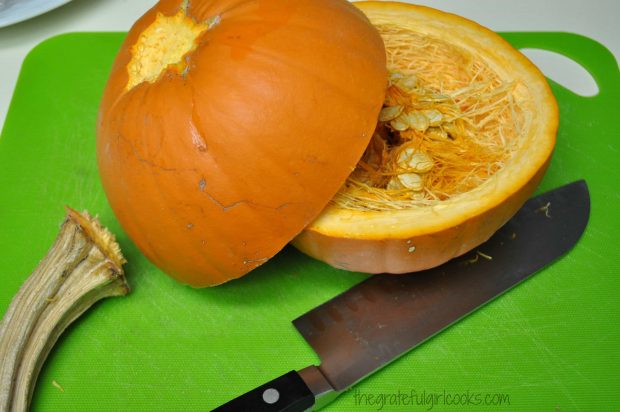
First buy a couple Sugar pumpkins (also called a Pie pumpkin). Cut it in half horizontally with a very sharp knife. Use a spoon and remove the seeds and stem. I like to save the seeds and roast them later for a good snack!
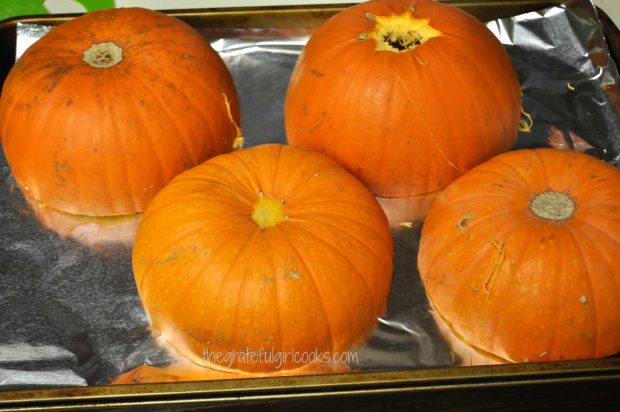
Remove all the seeds and the stem from the pumpkin(s). Put the pumpkins, cut side down on a aluminum foil lined baking sheet that’s been sprayed with a non-stick cooking spray.
You don’t want to have a sticking pumpkin now, do you? Nope. You sure don’t!
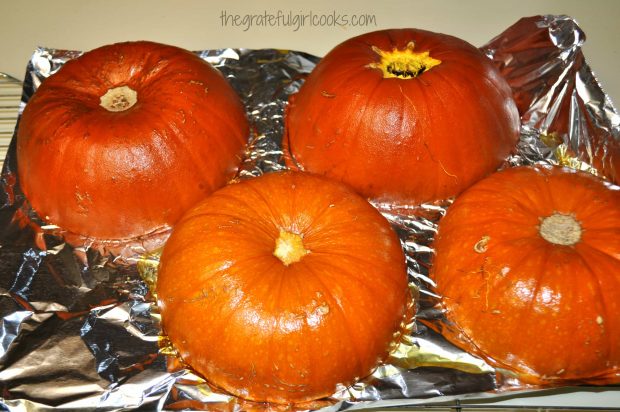
Bake the pumpkins at 375 degrees for about 45-50 minutes, depending on the size of the pumpkins.
When they are “done”, the skin will be much darker, and you will easily be able to pierce the skin with a sharp knife. Remove pan from oven.
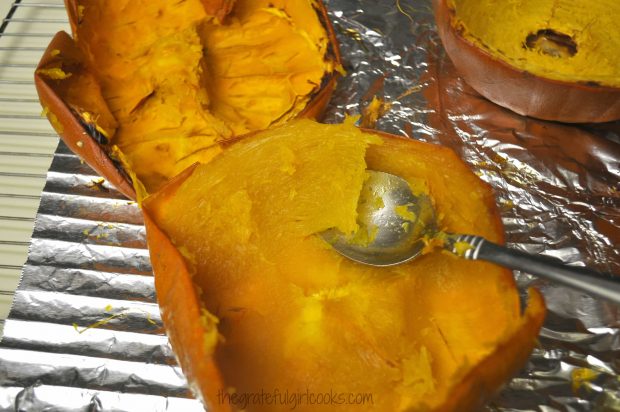
Turn the pumpkin halves over. Use a large spoon to remove the cooked pumpkin. Transfer to a large mixing bowl.
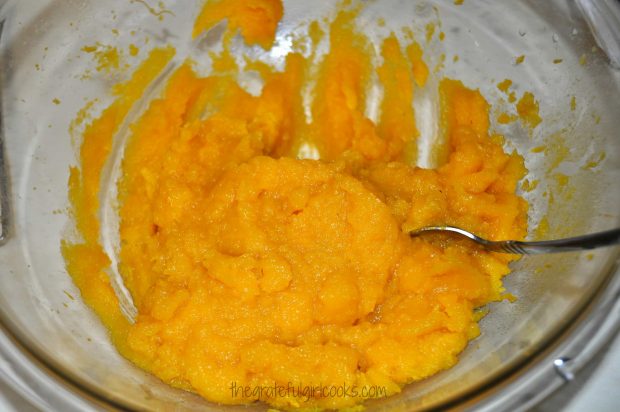
Once all the pumpkin meat has been removed, puree the pumpkin. You can use a blender, food processor, stand mixer, or an immersion blender to make the pumpkin puree.
Puree until smooth. Once it is smooth, put the pumpkin puree in a strainer over a bowl for a few minutes (or you can use cheesecloth), to help remove any remaining liquids.
Now you have pumpkin puree! You can use it as is, in recipes, or you can freeze it in bags to use at other times.
Freezing Pumpkin Puree For Long Term Storage
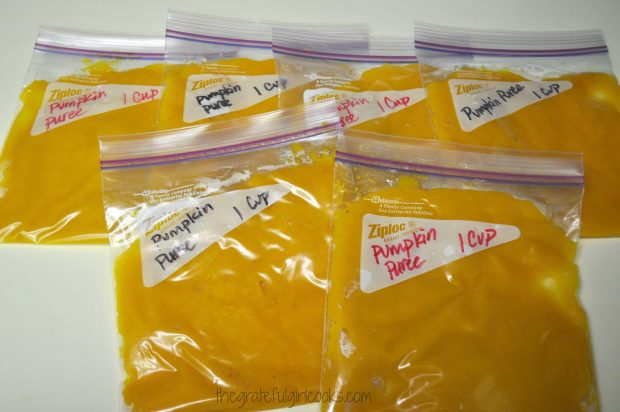
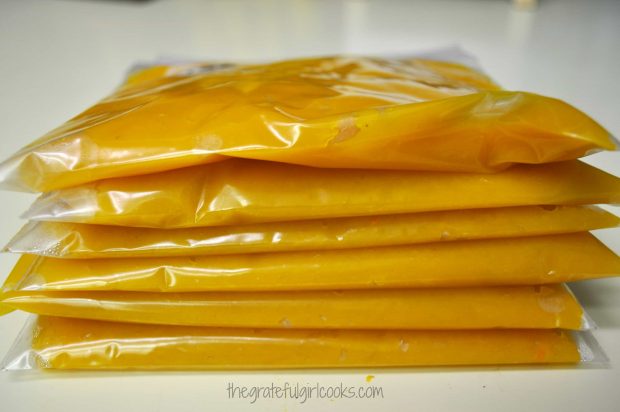
To freeze the pumpkin puree for later use, measure out 1 cup of the puree and spoon it into a quart sized freezer bag. Try to get as much air out of the bag as possible, flatten the bag out, seal, and label bags.
My two little pie pumpkins yielded 6 cups to freeze. Yeehaw! By flattening the bags out, you will be able to get a lot of pumpkin into the freezer in a very small space!
The process for doing this is not hard at all, and won’t take too much of your time! Making pumpkin puree is a GREAT way to have extra pumpkin around for baking pumpkin bread, pumpkin bars, etc.
You can use the pumpkin puree throughout the year, without having to go out and buy a can of pumpkin at the grocery store. I sure hope you will try this tip this Fall!
Have a great day!
Interested In More Recipes?
Thank you for visiting this website. I appreciate you using some of your valuable time to do so. If you’re interested, I publish a newsletter 2 times per month (1st and 15th) with all the latest recipes, and other fun info. I would be honored to have you join our growing list of subscribers, so you never miss a great recipe!
There is a Newsletter subscription box on the top right side (or bottom) of each blog post, depending on the device you use, where you can easily submit your e-mail address (only) to be included in my mailing list.
You Can Also Find Me On Social Media:
Facebook page: The Grateful Girl Cooks!
Pinterest: The Grateful Girl Cooks!
Instagram: jbatthegratefulgirlcooks
Cut sugar pumpkins in half horizontally with a very sharp knife. Use a spoon and remove the seeds and stem. Discard seeds, etc. (unless you will be roasting them).
Put the pumpkins, cut side down on a aluminum foil lined baking sheet that's been sprayed with a non-stick cooking spray. Bake the pumpkins at 375 degrees for about 45-50 minutes, depending on the size of the pumpkins. When they are "done", the skin will be much darker, and you will easily be able to pierce the skin with a sharp knife. Remove pan from oven.
Turn the pumpkin halves over. Use a large spoon to remove the cooked pumpkin. Transfer to a large mixing bowl. Once all pumpkin "meat" has been removed, puree the pumpkin. Use a blender, food processor, stand mixer, or an immersion blender to puree the pumpkin until smooth. Once smooth, put the pumpkin puree in a strainer over a bowl for a few minutes (or you can use cheesecloth), to help remove any remaining liquids. Puree is now ready to use.
To freeze the pumpkin for later use, measure out 1 cup of the puree and spoon it into a quart sized freezer bag. Try to get as much air out of the bag as possible, flatten the bag out, seal, and label bags. Place in freezer. Use within 9 months.
Here’s one more to pin on your Pinterest boards!