Trying to figure out if your dry yeast is still good for baking? It’s really simple to learn how to test yeast for viability in about 10 minutes.
Well… here it is April 2020, and most grocery stores have been cleaned out of toilet paper… and YEAST. Whaaat? Apparently every living human being in the country has taken up baking while staying at home due to the big ol’ virus. Go figure!
I was surprised and totally bummed last month to see that my half-full jar of yeast in the refrigerator had expired. I tested it to see if it was still “good”, but it was really good and DEAD. Really dead, which is a total bummer. My husband said he would pick up a new package of yeast when he went to get our groceries (he’s been a good helper!). Well… that was 6 weeks ago, and we still cannot find yeast at the grocery store, or online, etc.
Scroll Down For A Printable Instruction Card At The Bottom Of The Page
A CHRISTMAS MIRACLE… In April!
Well, guess what? Last week I discovered a plastic container that had fallen over in the very back of our pantry. Apparently at some point in the past year and a half, I had purchased a large bag of active dry yeast, opened it, and stored it in a sealed plastic container in our pantry. I couldn’t believe my eyes, since I normally buy small jars and keep them in our fridge. I don’t even remember buying it, so it was a Christmas miracle… in April! But was the yeast still GOOD???? I couldn’t tell because it was out of the original packaging that had the expiration date on it (face-palm).
I was so excited, and could hardly wait to test the yeast to see if it could still be used. WOW… it was! My day was made, cinnamon rolls were made, and all was good again in the world! So I thought I would show you how to test yeast to see if it is still good. Maybe you will find this tip as valuable as I did if you have yeast that has recently expired or is on the verge of expiring! Here’s a simple way that shows how to test yeast for viability (it’s EASY):
How To Test Yeast To Make Sure It Is Still “Good”
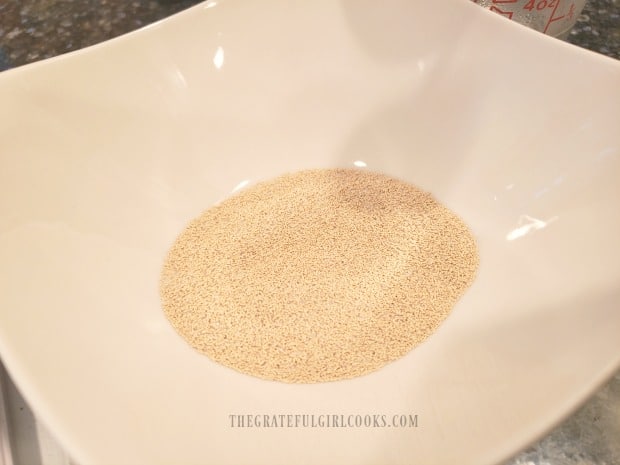
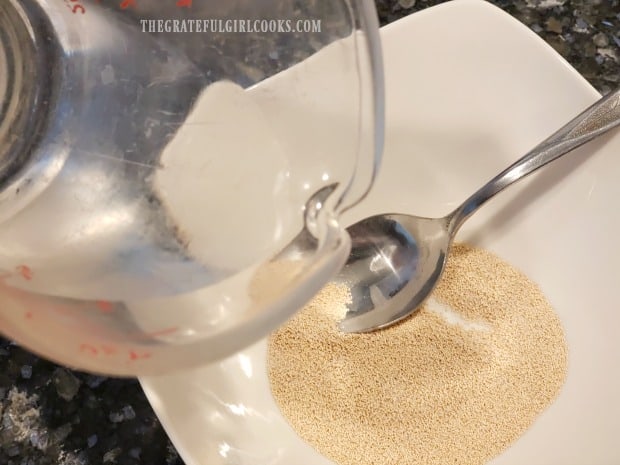
It’s simple to test yeast for viability, and see if it can still be used for baking. Measure out 2¼ teaspoons of dry yeast (active, quick rise, etc.) into a small bowl. Add 1 teaspoon of granulated sugar, and combine the two ingredients.
Add Warm Water (At Just The Right Temperature!)
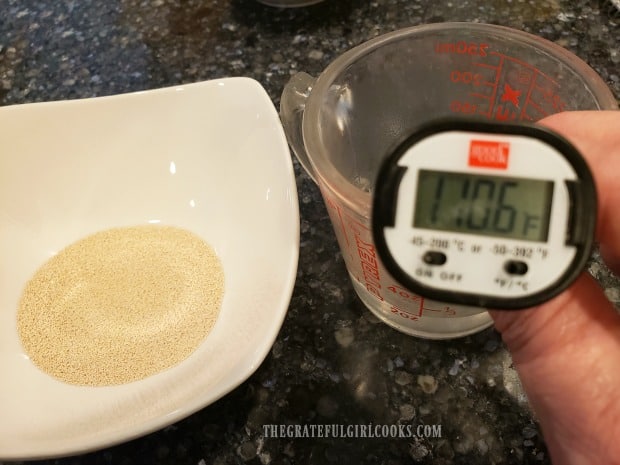
Now you will need to add warm water to the yeast and sugar, BUT there is a catch! The water needs to be at 110°F. to activate the yeast. If the water is too hot, it will kill the yeast. Think of the story of the Three Bears. The water needs to be JUST RIGHT.
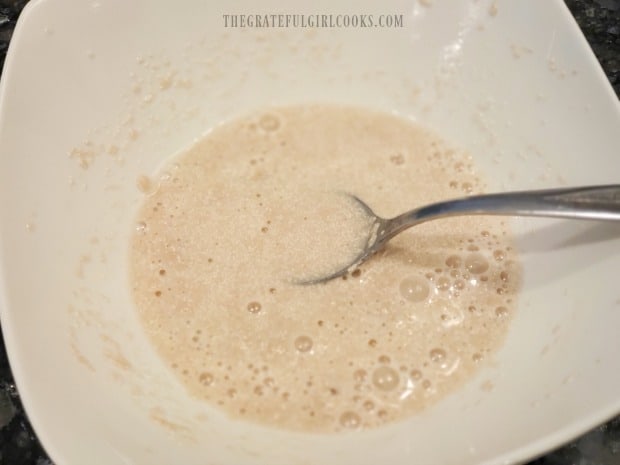
The way I do it is to bring some water to almost a boil, then pour out ¼ cup of it into a measuring cup. Let let the water slowly drop in temperature until it registers 110°F. on a digital thermometer. As soon as it hits 110 degrees, pour the water into the yeast mixture and stir well, to combine.
When you first mix the water, yeast and sugar, there will be some air bubbles that pop up while stirring. Once combined, set the bowl aside for 10 minutes.
Check For Bubbles And A “Yeasty” Smell
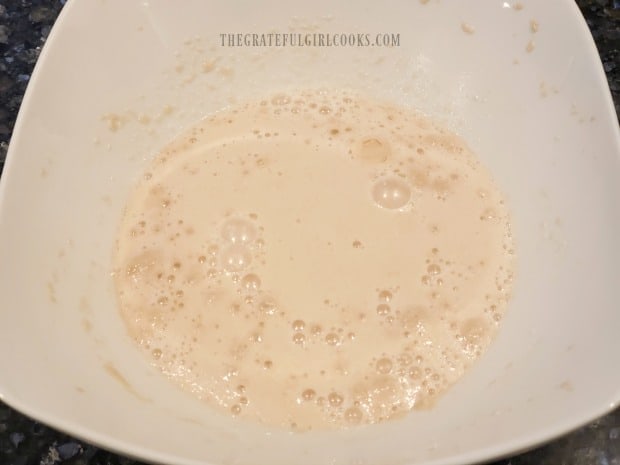
After 10 minutes, check on your yeast experiment. You should have a bubbly mixture that smells very “yeasty”. If the bubbles are non-existent, the yeast is unfortunately dead as a doorknob.
IF the yeast is still quite bubbly, kind of frothy, and has a yeasty aroma, then it can still be used for recipes that call for yeast. Discard your little yeast experiment, and bake away! See how easy it was to learn how to test yeast? Trust me, I was giddy with excitement to see those bubbles after 10 minutes! As it sat, the liquid even began to rise just a little bit… whoo hoo!
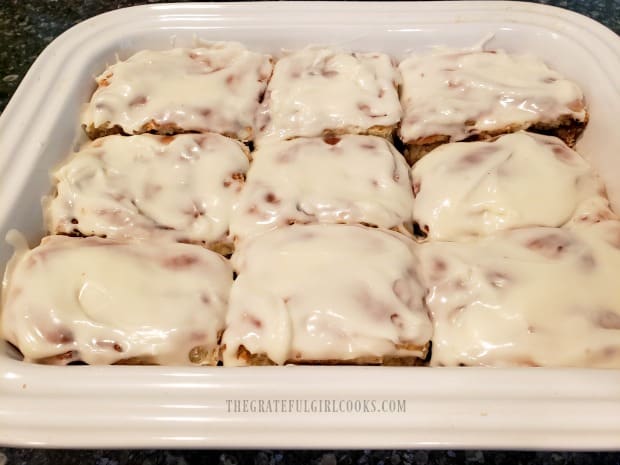
I proceeded to make some homemade cinnamon rolls using the yeast I found. YUM! Now I can hardly wait to use this yeast to make New York style blueberry bagels, miracle bread, and even homemade pita bread!
Thanks for reading, friends. I hope this tip helps you, if you ever find yourself in the same situation with a jar of yeast you’re not sure about! Take care of yourself and those you love. Come back again for another visit! You can also find all of my recipes in the Recipe Index, located at the top of the page.
Interested In More Recipes?
Thank you for visiting this website. I appreciate you using some of your valuable time to do so. If you’re interested, I publish a newsletter 2 times per month (1st and 15th) with all the latest recipes, and other fun info. I would be honored to have you join our growing list of subscribers, so you never miss a great recipe!
There is a Newsletter subscription box on the top right side (or bottom) of each blog post, depending on the device you use, where you can easily submit your e-mail address (only) to be included in my mailing list.
You Can Also Find Me On Social Media:
Facebook page: The Grateful Girl Cooks!
Pinterest: The Grateful Girl Cooks!
Instagram: jbatthegratefulgirlcooks

Trying to figure out if your dry yeast is still good for baking? It's really simple to learn how to test yeast for viability in about 10 minutes.
- 2¼ teaspoons dry yeast
- 1 teaspoon granulated sugar
- ¼ cup water (heated to 110°F)
Measure out 2¼ teaspoons of dry yeast (active, quick rise, etc.) into a small bowl. Add 1 teaspoon of granulated sugar, and combine the two ingredients.
Now you will need to add warm water to the yeast and sugar, BUT there is a catch! The water needs to be at 110°F. to activate the yeast. If the water is too hot, it will kill the yeast. The way I do it is to bring some water to almost a boil, then pour out ¼ cup of it into a measuring cup. Let let the water slowly drop in temperature until it registers 110°F. on a digital thermometer. As soon as it hits 110 degrees, pour the water into the yeast mixture and stir well, to combine. Once combined, set the bowl aside for 10 minutes.
After 10 minutes, check on yeast. You should have a bubbly mixture that smells very "yeasty". If bubbles are non-existent, the yeast is unfortunately dead as a doorknob. IF the yeast is bubbly and has a yeasty aroma, then it can still be used for recipes that call for yeast. Discard your yeast experiment, and use unused yeast to bake away!
Here’s one more to pin on your Pinterest boards!


This worked perfectly! Thank you. My regular yeast didn’t bubble quite as fast as my instant yeast (I guess that makes sense), but they both produced enough bubbles for me to keep them. On to more bread baking!
Okay I did the test on my yeast and it sank to the bottom and then it fogged the glass with the color of coffee and milk makes. The tan color. But it did not bubble. So does that mean it is good or bad? Please help! So I know for sure. Thank you so much for the time you put into this post/ recipe/ training. Lol
Hi, Laura… if it bubbles that means the yeast is actively working. My suggestions would be to check the expiration date on the container to see how old the yeast is, and to make sure the water you test it in is not too hot so it doesn’t kill the yeast.
What happens if you use your test yeast in whatever you are making? Just wondering as I have not had had any experiments turn good. I don’t test my yeast I know is good. And if I did wondering if I could use it. Thank you so much.
Thank you for this easy to follow test. I thought my 1lb pack of yeast that I just opened was bad because I had two batches of rolls and a loaf of bread not turn out. Must have been my fault not the yeast because this yeast is definitely good after the test. It got bubbly and rose way up almost turned into bread.