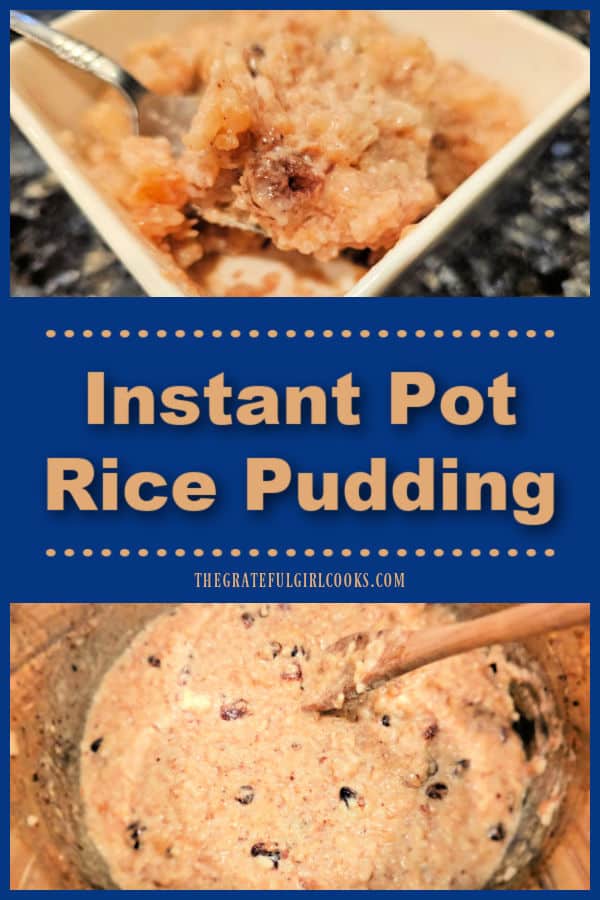
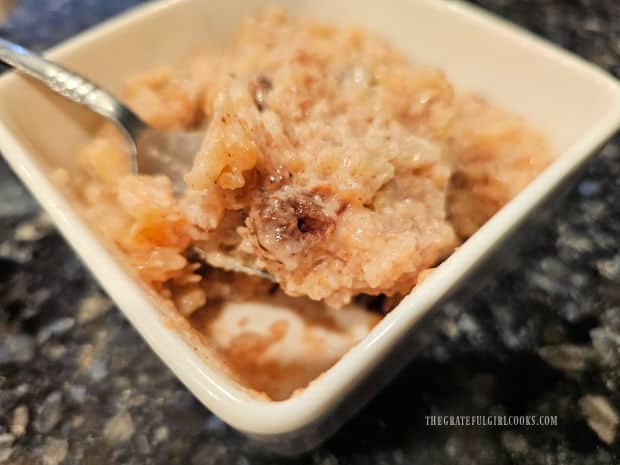
Instant Pot Rice Pudding is an easy dessert to make! This classic recipe yields 8 yummy servings, with raisins, cinnamon and nutmeg!
Do you enjoy rice pudding? This simple dessert has been around for many centuries, and it’s origins are unclear. Many people believe it originated in China, others argue it was created in India! Others insist it was created and used by the Romans for medicinal purposes…so who really knows?
At its very core, modern day rice pudding is typically made with rice that is combined with milk (or cream) and water. The mixture is typically sweetened before cooking it on the stovetop or in the oven, and sometimes dried fruits are added.
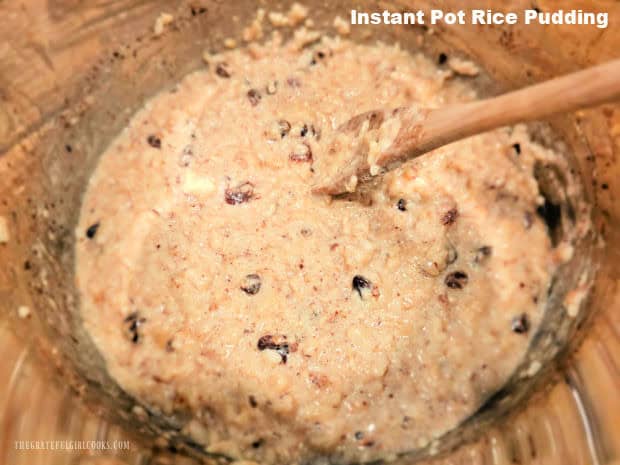
Today I want to share a fantastic way to make Rice Pudding using an Instant Pot. This method is easy because there’s no need to heat the house using an oven (especially in warm months), AND there’s no need to stir it constantly on the stove while it cooks.
Using an Instant Pot for this creamy dessert is a game-changer, for sure! If you are fortunate enough to own this kitchen appliance, I hope you will check out this simple recipe for Instant Pot Rice Pudding!
Scroll Down For A Printable Recipe Card At The Bottom Of The Page
Prepare The Rice Pudding
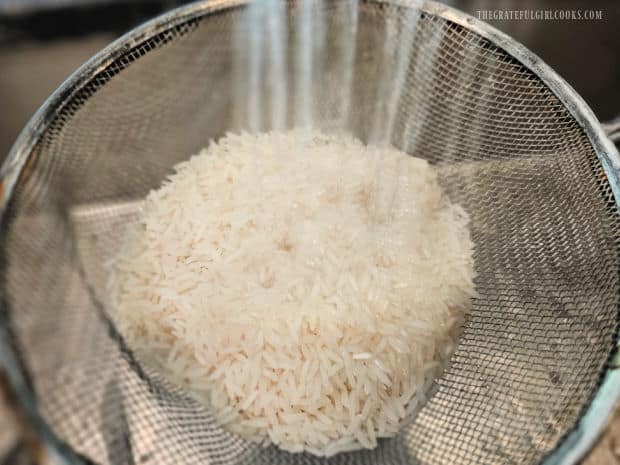
Place one cup of Arborio rice into a fine mesh strainer. TIP: I highly recommend using Arborio rice, but if you don’t have it, you can substitute the same amount of long grain white rice.
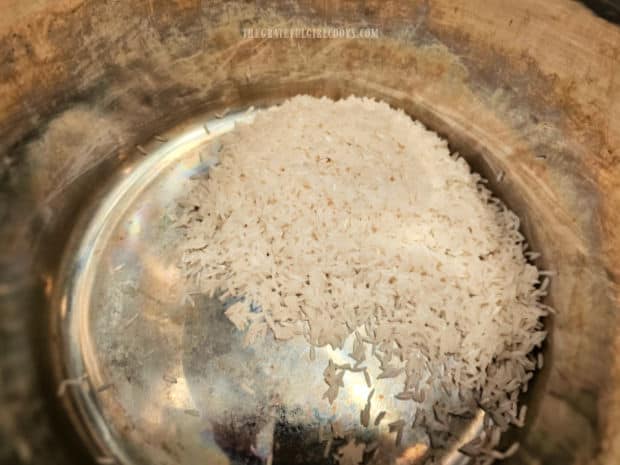
Rinse the rice very well, then drain the water off the rice. Place the rinsed, drained rice into the inner pot of the Instant Pot.
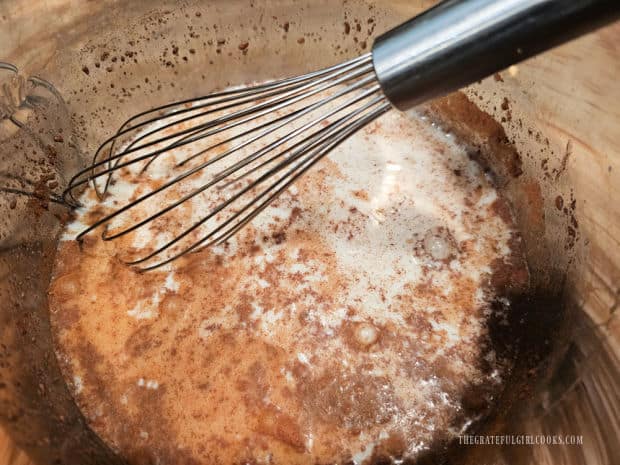
Add milk, water, ground cinnamon, raisins, salt, and a pinch of nutmeg to the rice in the pot. Use a whisk to combine these ingredients well.
It will not blend perfectly (because of the raisins, rice and cinnamon!), but mix it together as best as possible.
Cooking The Rice Pudding
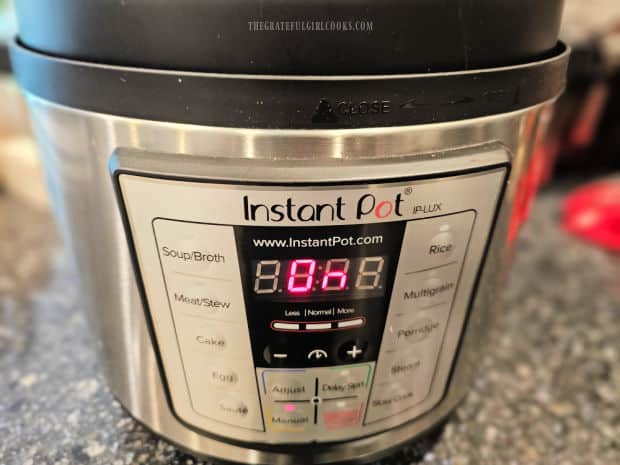
Lock the lid of the Instant Pot in place, and turn the knob on top to the SEALING position. Push the MANUAL button (High heat) and set the timer for 11 minutes.
It will take about 15 minutes for the Instant Pot to reach full pressure, then the pressure button on top will pop up and the cooking timer will begin.
When the rice pudding has finished cooking, let the pressure release NATURALLY for 10 minutes (do nothing while it does this!). AFTER the 10 minute natural release takes place, flip the pressure release knob to VENTING to allow any remaining steam to escape.
Add Remaining Ingredients
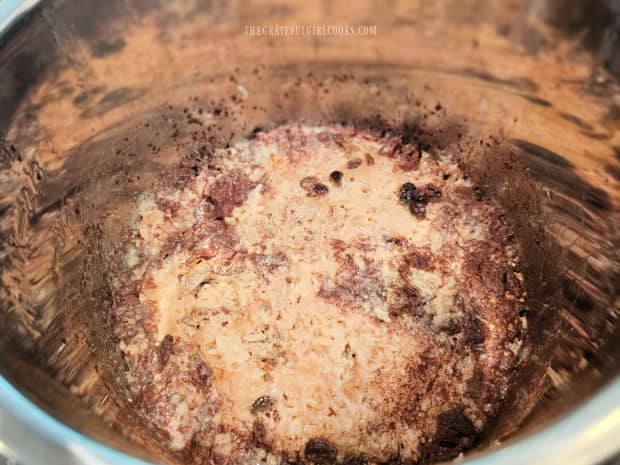
Once all pressure has been released (and the pressure button drops back down), it is safe to unlock and open the lid.
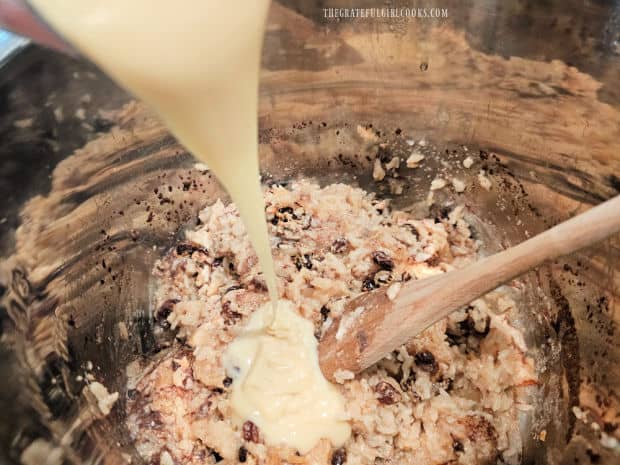
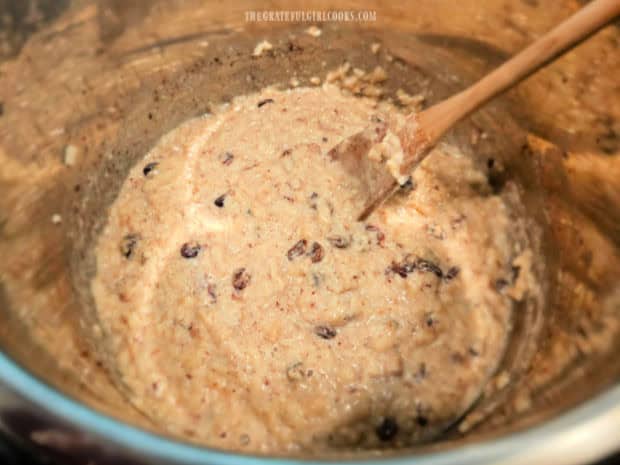
The mixture inside will be quite thick, so give it a quick stir. Add a can of sweetened condensed milk and vanilla extract to the rice pudding in the pot.
Stir well, until the condensed milk and vanilla have been fully combined into the rice pudding. Once combined, the rice pudding is ready to be served.
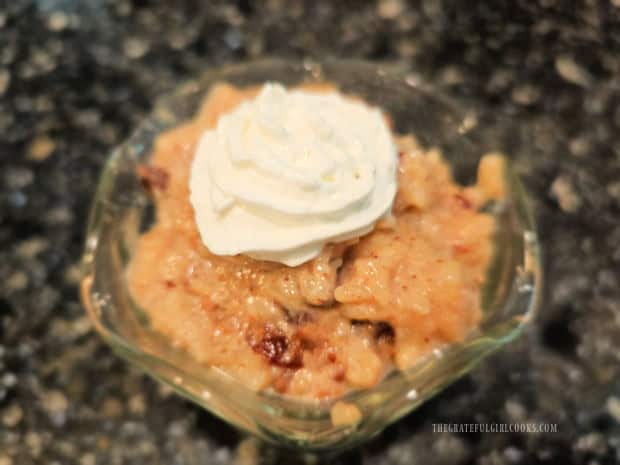
We transfer the rice pudding out of the Instant Pot straight into small serving dishes. Rice pudding can be eaten warm or cold. If you enjoy your rice pudding warm, simply let it cool down a bit before digging in.
Serve The Instant Pot Rice Pudding
If you like your rice pudding cold, cover the pudding with plastic wrap AFTER it has cooled to room temperature. Place the pudding in the refrigerator until it is fully chilled.
We enjoy our Instant Pot Rice Pudding best served cold, and sometimes we top each serving with a dollop of whipped cream! This dessert is a thick and delicious treat we gobble up… any time of day!
I really hope you have the opportunity to make this simple, classic dessert for those you love. Using an Instant Pot really helps make this a very simple dessert to prepare.
Thank you for stopping by, and I invite you to come back again soon for more family-friendly recipes. Take care, may God bless you… and have a wonderful day!
Looking For More INSTANT POT Recipes?
You can find ALL of my recipes in the Recipe Index, which is located at the top of the page. I have some delicious Instant Pot recipes, including:
- Butter Chicken (Instant Pot)
- Instant Pot Ground Beef Stroganoff
- Broccoli Cheese Soup (Instant Pot)
- Instant Pot Pork Carnitas
Want More Recipes? Get My FREE Newsletter!
I publish a newsletter 2 times per month (1st and 15th) with lots of recipes, tips, etc..
Would you like to join our growing list of subscribers?
There is a Newsletter subscription box on the top right (or bottom) of each blog post, depending on the device you use.
You can submit your e-mail address there, to be added to my mailing list.
Find Me On Social Media:
Facebook page: The Grateful Girl Cooks!
Pinterest: The Grateful Girl Cooks!
Instagram: jbatthegratefulgirlcooks
Recipe adapted from: Kelsey, at: bakemesomesugar.com/instant-pot-rice-pudding
↓↓ PRINTABLE RECIPE BELOW ↓↓

Instant Pot Rice Pudding is an easy dessert to make! This classic recipe yields 8 yummy servings, with raisins, cinnamon and nutmeg!
- 1 cup Arborio rice can substitute long grain white rice
- 2 cups low-fat milk can substitute whole milk, if desired
- 1¼ cups water
- ½ cup raisins
- 2 teaspoons ground cinnamon
- ¼ teaspoon salt
- 1 pinch ground nutmeg
- 14 ounces sweetened condensed milk =1 can- (NOT evaporated milk!)
- 1 teaspoon vanilla extract
Place rice into a fine mesh strainer. Rinse it very well, then drain rice. Place rice into the inner pot of the Instant Pot.
Add milk, water, cinnamon, raisins, salt, and nutmeg. Use a whisk to combine these ingredients. mixing them as much as possible.
Lock lid in place; turn knob on top to SEALING position. Push MANUAL button (High heat); set timer for 11 minutes. It takes about 15 minutes to reach full pressure, then pressure button on top will pop up and cooking timer will begin. When finished cooking, let pressure release NATURALLY for 10 minutes (do nothing). AFTER 10 minute natural release takes place, flip pressure release knob to VENTING to allow remaining steam to escape.
Once all pressure is released (and pressure button drops down), it's safe to unlock/open the lid. Pudding will be thick, so give it a stir. Add sweetened condensed milk and vanilla. Stir until they're fully incorporated.
Transfer rice pudding into serving dishes. Serve warm or cold. If chilling, let it cool to room temperature, cover with plastic wrap; refrigerate until cold. Enjoy!
