You will LOVE these classic Lemon Bars! Sweet and tangy lemon filling on a buttery crust, they are a perfect treat to serve for dessert, or any special occasion!

When life hands you lemons, or in this case, when a sweet friend MAILS you lemons… make LEMON BARS for dessert! I have made them so many times over the years, and they are always a favorite!
These luscious lemon bars are a sweet, tart, and amazingly awesome dessert treat! We absolutely LOVE them, and I’m confident you will too. Here’s how to make them.
Scroll Down For A Printable Recipe Card At The Bottom Of The Page
A Gift Of LEMONS!
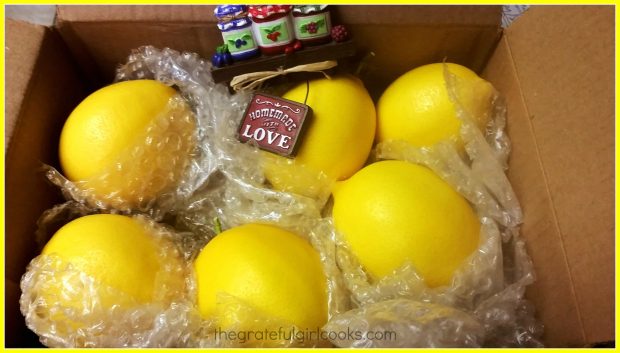
A couple of months ago I mailed my life-long friend, Lenita, a box containing several jars of my homemade jams and jellies, as a gift. I had no idea that she would surprise me with a box of 6 of her prized Meyer lemons, picked from her very own tree in Southern California!
She mailed this box to me so it arrived just before Christmas.They were the most gorgeous lemons I have ever seen! Our son thought they were plastic, because they were so absolutely perfect!
This was for sure a Christmas MIRACLE! She also sent me the cool Homemade Jam Christmas ornament seen in the photo below.
I hung THAT on our tree and did not cook it in this recipe- (heh heh). Here’s my gift box… SEE-aren’t those lemons gorgeous?
I Used The Lemons To Make LEMON BARS!
I was giddy with excitement (who DOESN’T like to receive wonderful surprises in the mail?)! My next task was to come up with different ways to use these beauties, so they would not go to waste.
This recipe for lemon bars is one of the ways I used a portion of those lemons. For this particular recipe you will use the entire lemon, except for the seeds (duh!).
The lemon bars are absolutely fantastic! Here’s some pics I took while making this scrumptious dessert:
Making The Bottom Crust For The Lemon Bars
Before making the crust, preheat your oven to 350°F. This crust doesn’t take long to make, so to save time, you will want the oven preheated and ready to go!
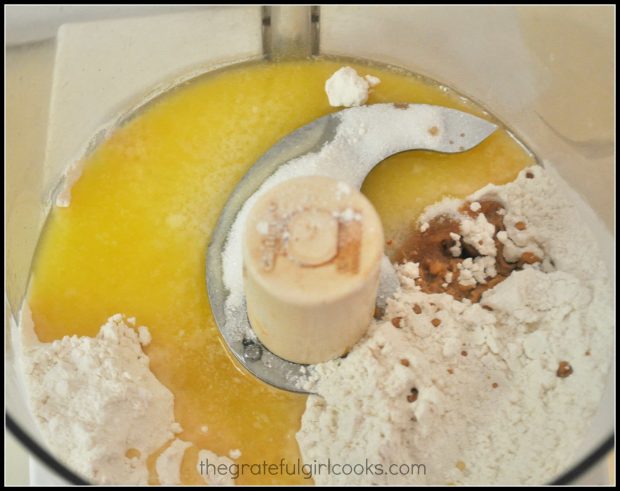
Place the ingredients for the bottom crust layer in a food processor, and then process the ingredients until they are combined into a crumbly dough mixture.
Form The Bottom Crust
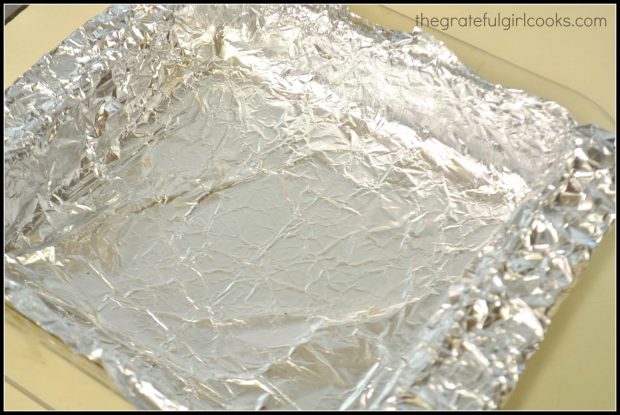
Line an 8×8 pan with aluminum foil, leaving some to overhang on all 4 sides. You will be able to easily lift the entire pan of finished lemon bars out of the baking dish before serving.
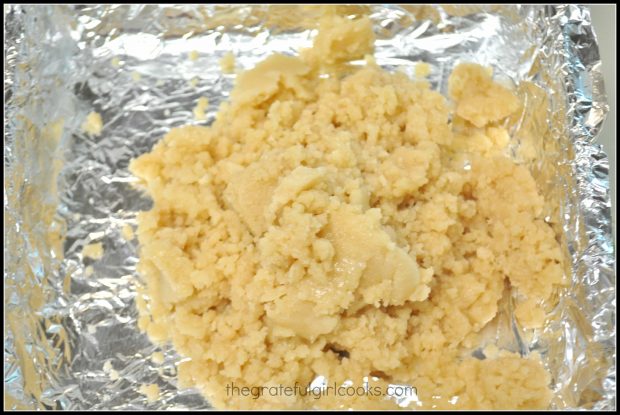
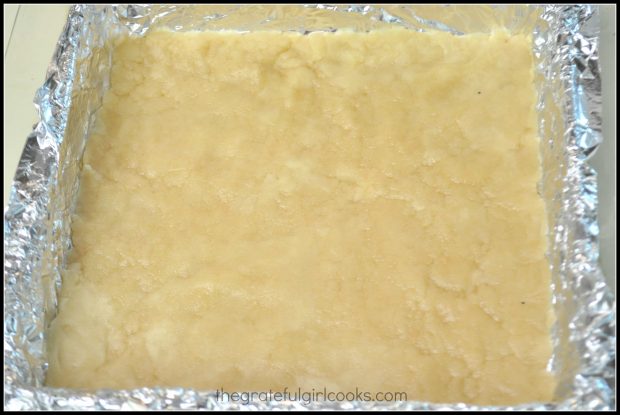
Now it’s time to form the bottom crust layer. Transfer the crumbly dough from the food processor into the foil wrapped 8×8 pan.
Spread the dough firmly with your fingers until the crumbly dough has been compacted solidly together to form a bottom crust. Now it’s time to bake the crust!
Bake The Crust
Bake the crust in a preheated 350°F. oven for 20 minutes. When done, remove the baking dish from the oven and transfer it to a wire rack.
NOTE: After you bake the crust and remove the pan from the oven, reduce the oven heat to 300°F. This lower temperature is what you will need to bake the lemon bars.
Making The Filling for The Lemon Bars
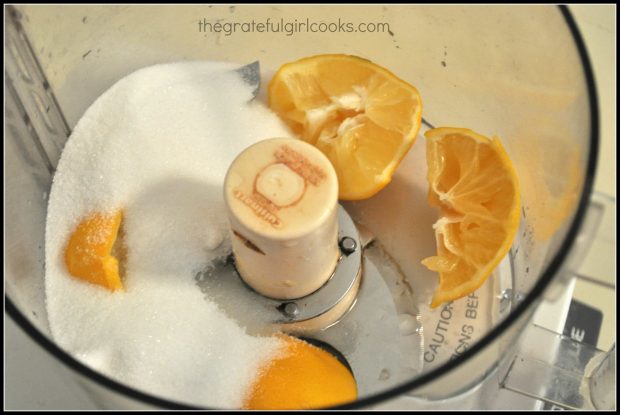
While the bottom layer bakes, make the lemon filling for the lemon bars. Remove the lemon seeds, then place the cut up lemons in the food processor with granulated sugar.
Process the lemon and granulated sugar on high speed. The food processor does a great job of completely pulverizing the granulated sugar AND the entire lemon.
YES… you heard that right, friends! Use the WHOLE lemon (including the peel), because this provides maximum flavor for the lemon bars!
Once done with processing, be sure to check for any stray seeds that might have been stowaways and snuck into the mixture, and remove them.
Finish Making The Lemon Filling
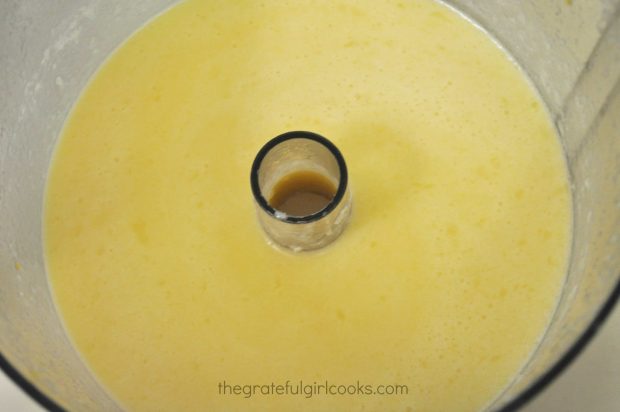
Add lemon juice, eggs, melted butter (cooled) and cornstarch to the lemon filling in the food processor. Pulse all these ingredients until the lemon filling becomes very smooth in texture.
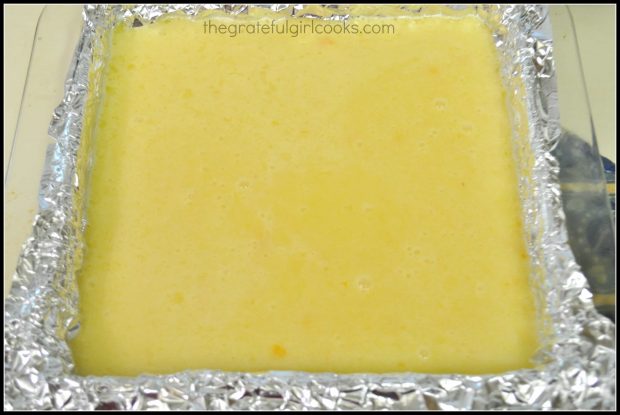
Carefully pour the lemon filling over the hot, baked crust. Now the lemon bars are ready to be baked.
Bake The Lemon Bars
Bake the lemon bars at 300°F. for 25-30 minutes, or until the center is “set” and no longer “jiggly”. Once done, transfer the baking dish to a wire rack to cool.
Let the lemon bars cool completely to room temperature while still in the baking dish.
Refrigerate Lemon Bars Before Serving
Place the baking dish in the refrigerator for 3-4 hours (or more) to allow the lemon bars to become firm before serving. Once refrigerated, remove the dish from the refrigerator.
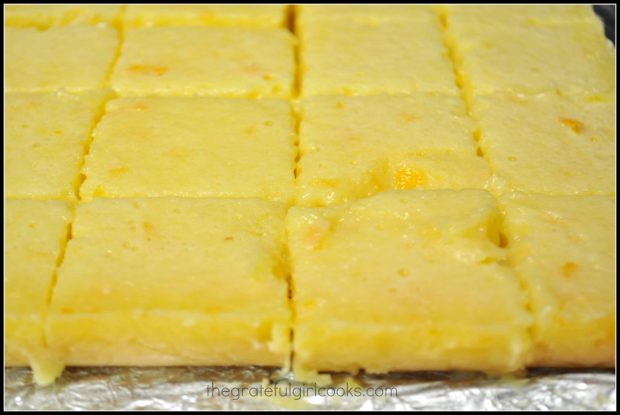
Carefully lift the entire batch of lemon bars up and out of the baking dish using the aluminum foil overhanging the edges.
Peel back the foil and slice the lemon bars into 16 two inch squares. Okay…there’s only one final itty bitty step before serving these yummy bars.
Serve The Lemon Bars
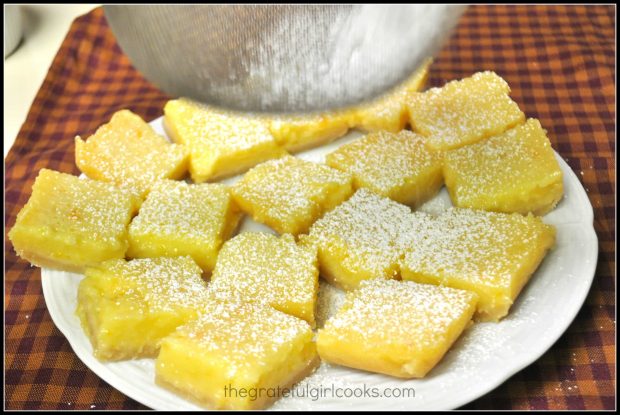
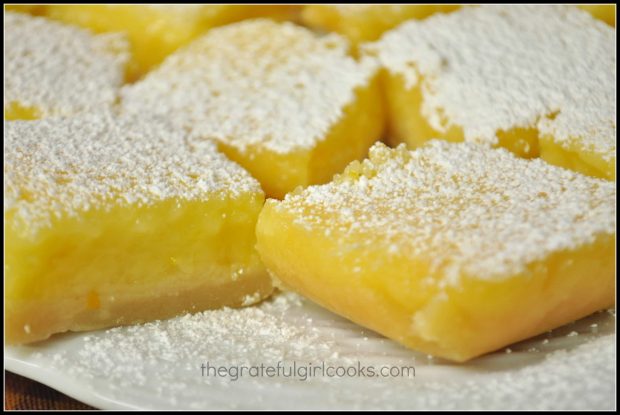
Lightly sift some powdered sugar over the top of the lemon bars, immediately before they are served. Transfer the bars to a pretty platter, serve, and enjoy these mouth-watering dessert treats.
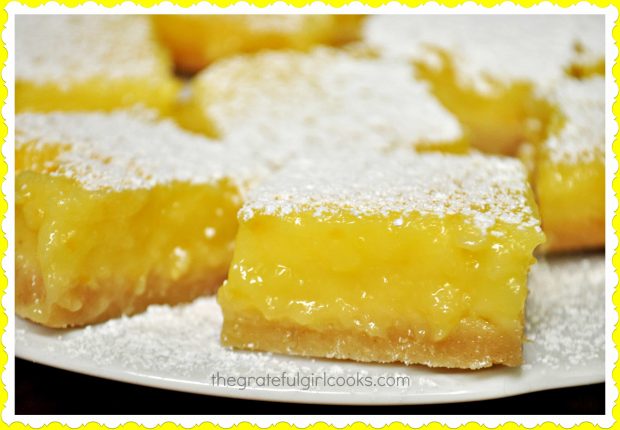
And just like that, these gorgeous lemon bars are ready to eat! Make sure any leftovers are kept refrigerated in a covered container, if you don’t eat them all in one sitting!
C’mon… you KNOW you want one of these lemon bars, right? Go ahead… reach out and grab yourself one really delicious lemon bar. I don’t mind sharing! ENJOY!
Hope you will try these fabulous treats, and hope you will enjoy them as much as we do! They are amazing, and once you try them, you’ll want them again and again.
Thank you for stopping by today. I invite you to come back again soon for more family-friendly recipes. Take care, may God bless you, and have a GREAT day!
Looking For More BAR COOKIE Recipes?
You can find ALL of my recipes in the Recipe Index, which is located at the top of the page. I have a nice variety of yummy bar cookie recipes. All are delicious, and will pretty much satisfy your sweet tooth craving, including:
Chocolate Chip Swirl Bars
Sprinkle Bars
Blackberry Pie Bars
Strawberry-Rhubarb Dream Bars
Chocolate Pecan Pie Bars
Want More Recipes? Get My FREE Newsletter!
I publish a newsletter 2 times per month (1st and 15th) with lots of recipes, tips, etc..
Would you like to join our growing list of subscribers?
There is a Newsletter subscription box on the top right (or bottom) of each blog post, depending on the device you use.
You can submit your e-mail address there, to be added to my mailing list.
Find Me On Social Media:
Facebook page: The Grateful Girl Cooks!
Pinterest: The Grateful Girl Cooks!
Instagram: jbatthegratefulgirlcooks
 Recipe Source: http://www.fridaycakenight.com/2014/12/whole-meyer-lemon-bars/
↓↓ PRINTABLE RECIPE BELOW ↓↓

- 1 cup all purpose flour
- 1/4 cup granulated sugar
- 1/2 cup butter , melted
- 1 teaspoon vanilla extract
- 1 Meyer lemon (seeds removed) A regular lemon may be substituted.
- 1 cup granulated sugar
- 3 Tablespoons lemon juice (fresh or bottled- I used fresh)
- 3 large eggs
- 1 1/2 Tablespoons cornstarch
- 3 Tablespoons butter , melted (then cooled to room temp.)
- Preheat your oven to 350 degrees. Cover an 8x8 baking pan with aluminum foil, leaving extra hanging over the edges on each side (this foil and foil overhang will help you to easily remove the entire pan of lemon bars at one time, after baking)
- Place the crust ingredients into a food processor or the base of a stand mixer. Process the ingredients until well combined and crumbly dough is formed. Put the dough into the foil-lined baking pan and press down on crust until dough is compacted into a solid crust.
- Bake the crust at 350 degrees for 20 minutes. Remove to a wire rack.
- While the crust is baking, make the lemon filling. Place the seeded lemon (yep... the WHOLE thing!) and sugar into a food processor. Process the lemon and sugar on high speed until the lemon is completely "pulverized". Check the mixture for any remaining seeds that might have secretly snuck into the food processor. Remove them, if you find any. They are sneaky!
- Add the lemon juice, eggs, cornstarch, and the melted butter to the lemon/sugar mixture. Pulse until mixture is smooth.
Once crust is done baking and is removed from oven, LOWER THE OVEN TEMP. to 300 degrees. Pour the lemon filling over the baked crust; continue baking for 25-30 minutes, or until center is set, and is no longer "jiggly" (mine took 28 minutes).
Remove pan to wire rack. Let cool to room temp, then place entire pan into refrigerator. Let bars refrigerate for 3-4 hours (the longer the better!) before you serve them. After the bars have chilled, lift the entire batch out of the pan at one time, by lifting them out via the aluminum foil that is hanging over the edges.
Cut the bars into sixteen 2" squares, then sift powdered sugar over the tops. Serve and enjoy. Keep remaining bars stored in refrigerator.
Here’s one more to pin on your Pinterest boards!

