These tasty dessert bites, featuring filled lemon curd won ton cups, garnished with whipped cream, mint and a raspberry, will be a big hit!
Another Easter celebration as a family has come and gone. These Lemon Curd Won Ton Cups were a big hit for dessert at our family’s Easter brunch.
I love “little bite” desserts (my favorite!), where you can try several different goodies, rather than having a huge slice of only ONE thing. Eat more dessert? That’s a “win-win” in my dessert handbook.
Scroll Down For A Printable Recipe Card At the Bottom Of the Page
Lemon Curd Won Ton Cups Were Perfect For Easter Brunch!
My husband and I were invited to Easter Brunch with our sons, their girlfriends and friends, after we got home from church services. My assigned food to bring was dessert. Actually, I might have volunteered for this!
I ended up bringing several “mini” small bite desserts, including these Lemon Curd Filled Won Ton Cups for us to share.
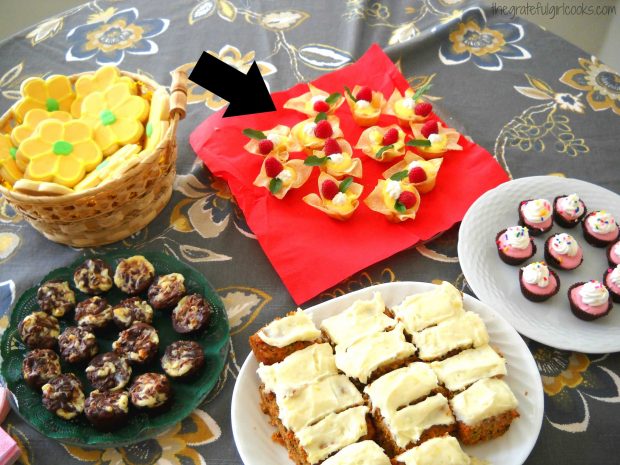
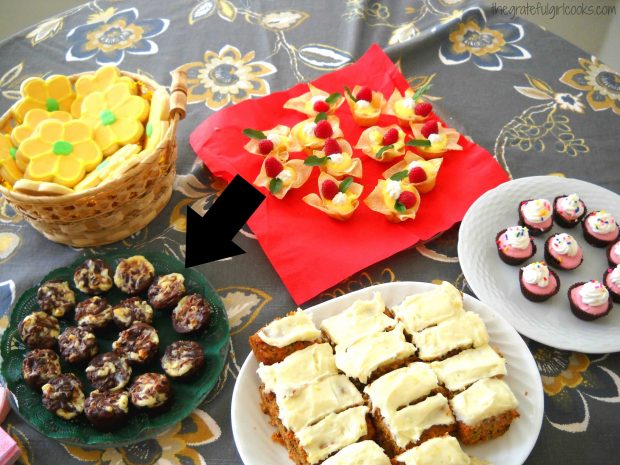
In the photo (above), you can also see my Spring Flower Sugar Cookies, Chocolate Dream Cups with Raspberry Mousse, and my Chocolate Chip Cheesecake-Swirl Brownie Bites. These were the other “small bite” desserts I made for the Brunch.
I found this recipe for lemon curd won ton cups on Pinterest and thought it sounded interesting. The sugar dusted, baked won ton cups filled with chilled lemon curd sounded like a sweet/tart little bite of goodness to me! I had never made lemon curd before, so I was excited and curious to learn how.
Lemon Curd Won Ton Cups Can Be Made Ahead If Necessary
Guess what? It was EASY…and delicious! I made the lemon curd and the won ton cups the day before Easter, so all I had to do at the last minute was fill the won ton cups with chilled lemon curd. Once that was done, I garnished each one with a fresh raspberry, a dollop of whipping cream. and a mint leaf.
Make The Lemon Curd
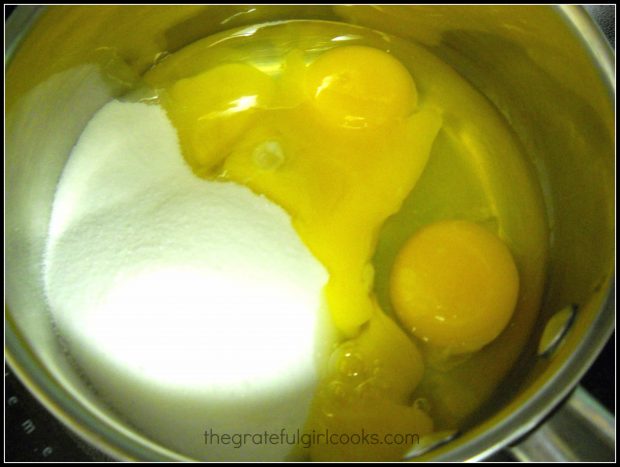
Here’s a few photos of what the process looked like. If you would like detailed instructions, check out my post for how to make lemon curd. Making the lemon curd involves cooking sugar, eggs, lemon juice, etc. in a pan on the stove. It is much easier to make than you might think!
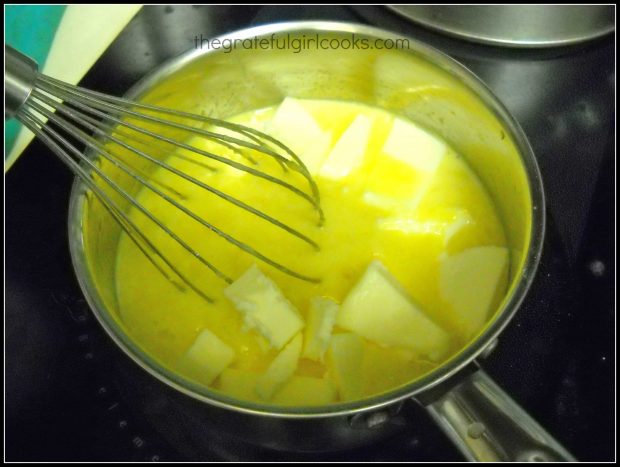
Stir the butter into the lemon curd mixture and cook it until the lemon curd thickens.
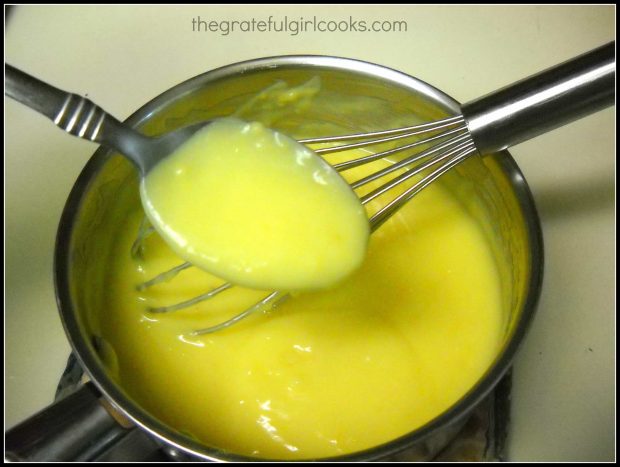
The lemon curd is now thickened and done. Set it aside, so the lemon curd can cool. Hooray! You just made sweet and tangy lemon curd!!! The hardest part is trying to not lick the spoon… it is so yummy!
Prepare The Won Tons
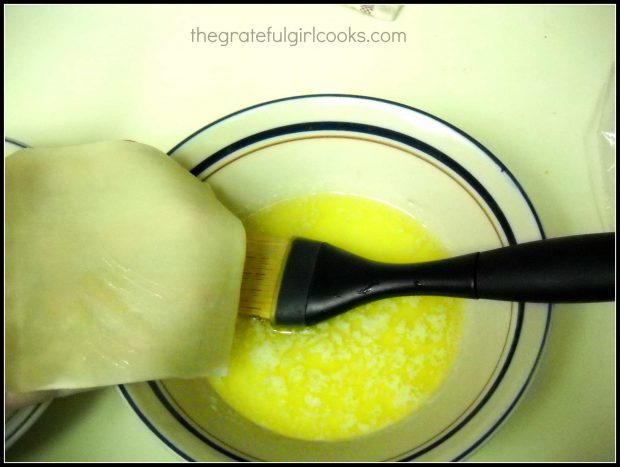
Hold the won ton with one hand, and brush melted butter on it with the other!
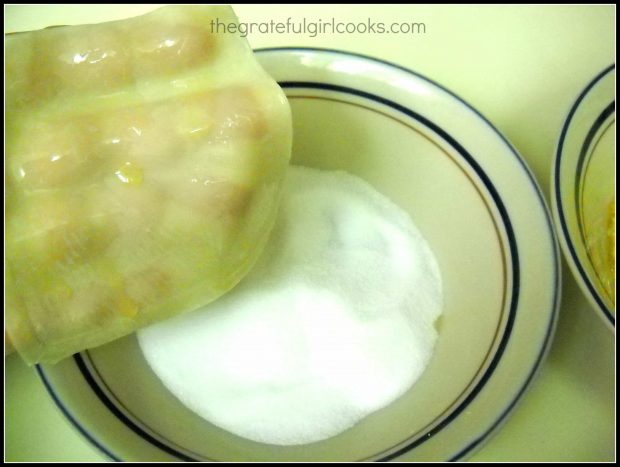
See how the won ton has been brushed with butter on both sides? Now you need to sprinkle it with some of the granulated sugar.
How To Shape The Won Ton Cups
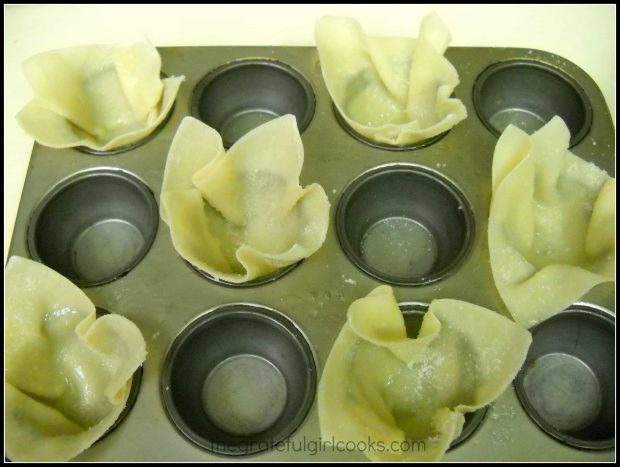
This photo below, shows how to shape the won ton cups, using a muffin tin. Use every other muffin holder to prevent the won tons from sticking to each other while baking.
Bake Won Ton Cups
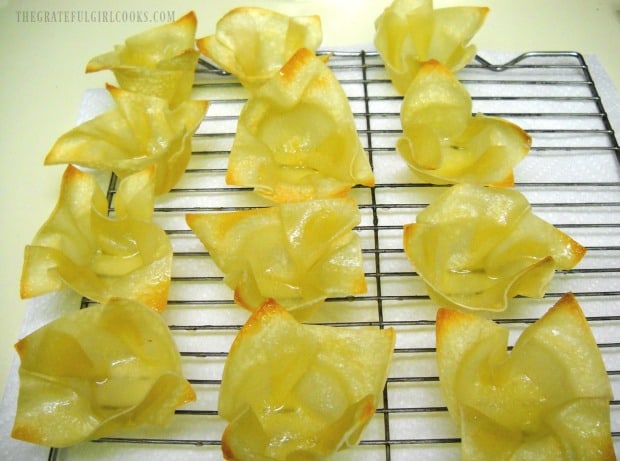
The won ton cups are baked at 350 degrees for about 7 minutes. Transfer them to a wire rack after baking, so they can cool. NOTE: If there is an accumulation of butter in the bottom of the cups, simply turn them over on a paper towel to “drain”.
Garnish Each Lemon Curd Won Ton Cup
Once they have cooled to room temperature, fill the won ton cups with thickened lemon curd that has been chilled . Garnish each lemon curd won ton with a spray of whipped cream, a whole fresh raspberry, and a mint leaf, if desired!
A lemon curd won ton cup tastes the best eaten on the day they are prepared! That way, the won ton cups will be nice and crunchy!

I would definitely make these again. Each lemon curd won ton cup is very festive looking and scrumptious! They are at their very best when served the very same day you fill the cups! They are delicious, and I hope you will consider making them for those you love!
Looking For More DESSERT Recipes?
You can find ALL my recipes in the Recipe Index, located at the top of the page. I have a large variety of dessert recipes you’ll want to check out, including:
Interested In More Recipes?
Thank you for visiting this website. I appreciate you using some of your valuable time to do so. If you’re interested, I publish a newsletter 2 times per month (1st and 15th) with all the latest recipes, and other fun info. I would be honored to have you join our growing list of subscribers, so you never miss a great recipe!
There is a Newsletter subscription box on the top right side (or bottom) of each blog post, depending on the device you use, where you can easily submit your e-mail address (only) to be included in my mailing list.
 Recipe Adapted From: http://www.littlemisscelebration.com/2013/06/16/lemon-lime-curd-in-sugared-wonton-cups/
These tasty dessert bites, featuring filled lemon curd won ton cups, garnished with whipped cream, mint and a raspberry, will be a big hit!
Category: Dessert
Cuisine: American
Keyword: lemon curd won ton
Servings: 12 servings
Calories Per Serving: 166 kcal
Author: JB @ The Grateful Girl Cooks!
For the lemon curd:
- 2 eggs , plus 2 egg yolks
- 1/2 cup granulated sugar
- 8 Tablespoon cold , unsalted butter, cut into small pieces
- 6 Tablespoon fresh lemon juice
- 2 teaspoon finely grated lemon rind
- 1/8 teaspoon salt
For the won ton cups:
- 12 won ton wrappers
- 1/4 cup granulated sugar
- 2-3 Tablespoon melted butter
To make the lemon curd:
In a small saucepan (over medium heat), combine the eggs, egg yolks, and sugar. Whisk these together well.
Once mixed, whisk in the lemon juice, lemon zest, and the salt.
Add the butter to the pan and cook, whisking constantly, until the butter has melted and the curd has thickened. This will take approx. 3-4 minutes. DO NOT LET THE MIXTURE BOIL! Just keep on whisking.
Once curd has thickened, remove pan from heat and let the curd cool to room temperature. While the curd is cooling, give it a good stir every few minutes. Once the lemon curd has cooled to room temp, cover the pan with plastic wrap and put it in refrigerator. The lemon curd will need to be well chilled prior to serving (at least 3-4 hours). While the curd is chilling, make the won ton cups.
To make the won ton cups:
Preheat oven to 350 degrees.
Melt 2-3 TBSP of butter in a small saucepan or in your microwave. When done, remove from heat. In a SEPARATE bowl, place 1/4 cup granulated sugar. Set melted butter and the bowl with the sugar next to each other on the counter, to make the won tons.
Prepare one won ton at a time. Using a pastry brush, brush both sides of the won ton with the melted butter, making sure to completely coat each side. Once done, sprinkle ONE side of the won ton with granulated sugar. **I held the won ton in one hand and sprinkled the sugar on it with my other hand. Take the won ton, sugar-side UP, and lightly press it into the well of a miniature muffin pan. Place won ton wrappers in every other cup, so the edges will not touch. If you have two mini-muffin tins, use both. Repeat with remaining won ton wrappers.
Bake the won ton cups at 350 degrees, until they are lightly browned (about 7 minutes). When done, remove pan(s) from oven and place on wire rack. Let cups cool slightly, then CAREFULLY remove them from pan. (I found there was still some melted butter in the bottom of the cups when they were done baking, so I just turned them upside down on paper towel to let it run off).
Fill each (completely cooled) cup with chilled lemon curd, garnish with a dollop of whipped cream, a raspberry and a mint leaf. Voila! Grab one and ENJOY!
The original recipe was for lemon-lime curd. To make this version, use 3 TBSP each lemon juice and lime juice. Also change recipe to 1 tsp. each grated lemon and lime rind. Everything else stays the same.
Nutrition Facts
Lemon Curd Filled Won Ton Cups
Amount Per Serving (1 serving)
Calories 166 Calories from Fat 90
% Daily Value*
Fat 10g15%
Saturated Fat 6g38%
Cholesterol 53mg18%
Sodium 161mg7%
Potassium 23mg1%
Carbohydrates 17g6%
Sugar 12g13%
Protein 1g2%
Vitamin A 330IU7%
Vitamin C 3.3mg4%
Calcium 10mg1%
Iron 0.4mg2%
* Percent Daily Values are based on a 2000 calorie diet.
Here’s one more to pin on your Pinterest boards!

Save
Save
Save
Save
Save
Save

