Farfalle Pasta with Arugula and Sun-Dried Tomatoes is a delicious dish, cooked in a skillet and topped with Parmesan cheese and breadcrumbs!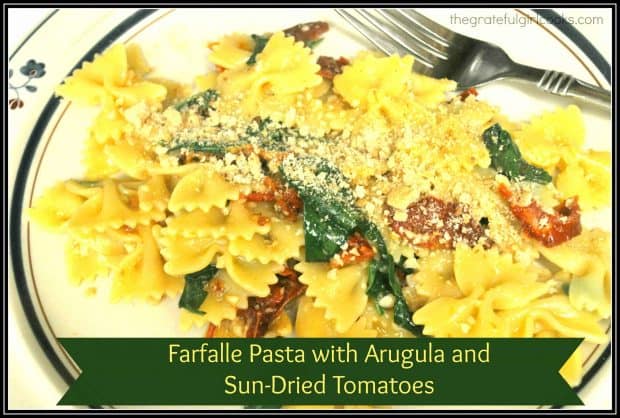
A few nights ago I made this Farfalle Pasta with Arugula and Sun-Dried Tomatoes for our dinner. I found the recipe on Pinterest, and noticed the original recipe was from celebrity chef, Mario Batali (from the TV Show “The Chew”. It sounded good, so I decided to give it a try.
I was happy that two of the main ingredients in the dish were sun-dried tomatoes and arugula. Hmmm…how convenient! Last Fall I dehydrated some of the yummy tomatoes from my garden, and still had some nestled in a jar of olive oil. I am growing arugula in my garden this year, so out to the garden I went to gather the amount needed for this recipe. The original recipe called for spaghettini pasta, but I decided to go with Farfalle (bow-tie pasta), because I had it in my pantry! I made a couple of minor tweaks to the original recipe to suit our taste, then prepared it for dinner! It was really quite good (and TOTALLY easy to make!).
My husband and I loved that this is not a “heavy” pasta dish (AKA “Gut-Bomb”), loaded down with thick sauces. The concentrated flavor of sun-dried tomatoes, paired with the slightly “peppery” taste of the arugula, a touch of white wine, a little Parmesan cheese, etc. makes this a great entree!
Scroll Down For A Printable Recipe Card At The Bottom Of The Page
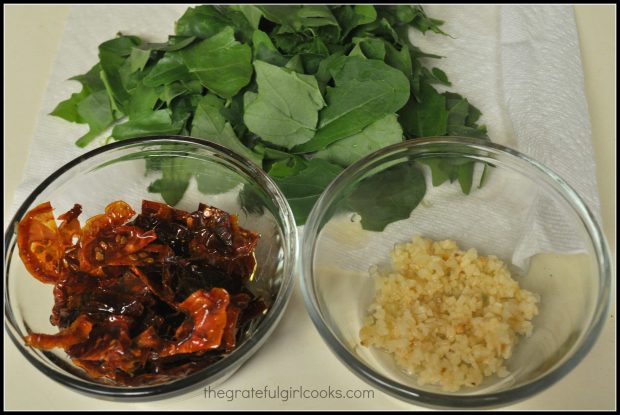
Prepping Some Of The Ingredients
Here’s how to make this dish: Get your ingredients prepped before beginning. Arugula from the garden. Check. Sun-Dried Tomatoes in oil. check. Minced garlic. Check. Begin cooking the pasta according to package directions, remembering to reserve the starchy cooking water when done.
Making the Sauce
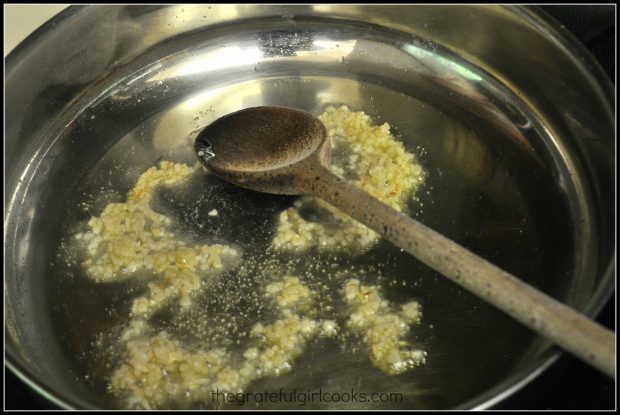
Gently cook the garlic in olive oil. You will notice how it smells pretty good in the ol’ kitchen right now!
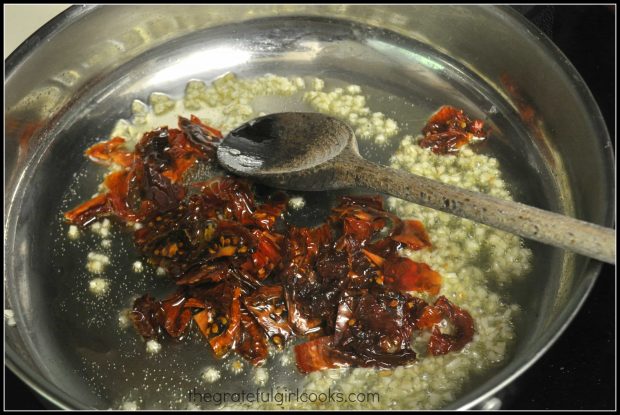
Add the sun-dried tomatoes and some red chili flakes to the garlic. Stir well to combine and keep the garlic from burning.
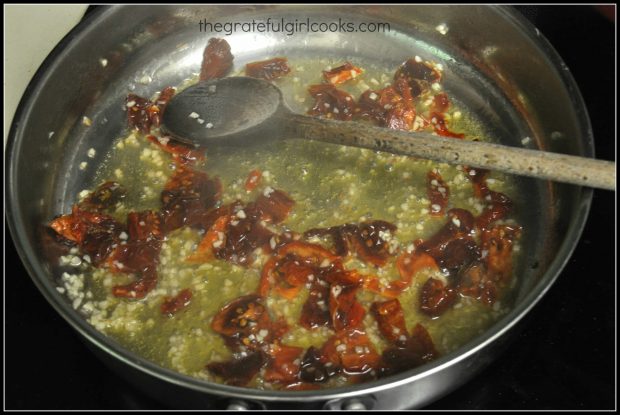
Pour white wine and some of the starchy pasta water (from cooking the pasta) into the skillet.. Give it all a good stir to combine these ingredients.
Last Steps
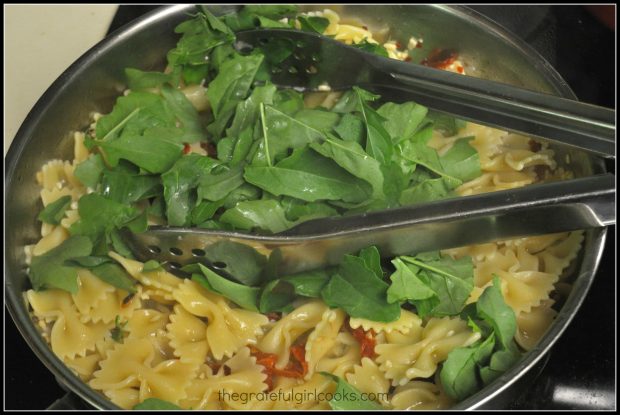
Add the al dente cooked and drained pasta and arugula to the tomato mixture. Use tongs to combine. The heat will wilt down the arugula. The farfalle pasta with arugula is starting to look pretty good, right?
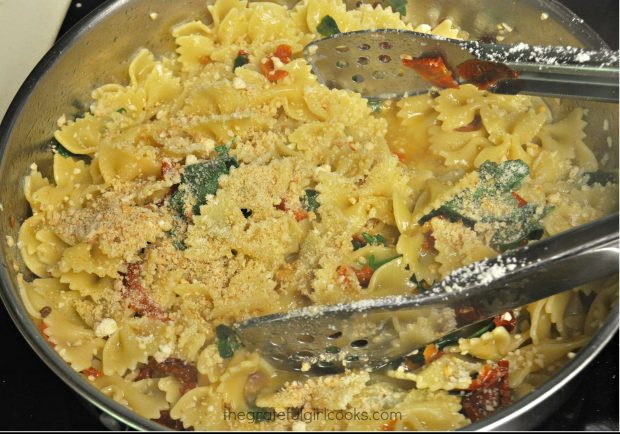
Sprinkle the pasta with some Parmesan cheese, bread crumbs and a little extra salt, to taste. Toss to combine. Now it’s REALLY smelling good in the ol’ kitchen! Make sure the ingredients are heated through, and then the dish is ready to enjoy.
Serve The Farfalle Pasta With Arugula and Sun-Dried Tomatoes
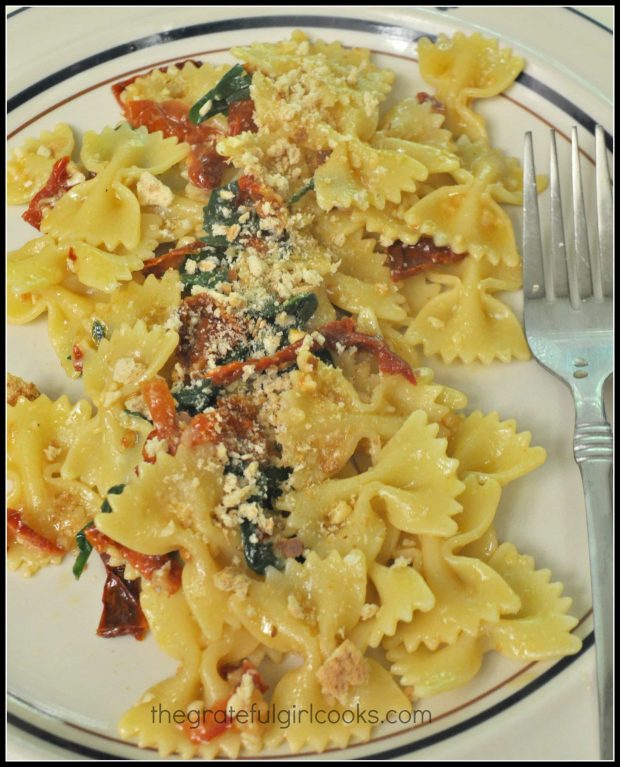
Divide the farfalle pasta with arugula evenly between serving plates. Garnish each serving with extra bread crumbs, Parmesan cheese, and serve hot. Easy Peasy.
See? That wasn’t very hard to make, was it? Trust me- the farfalle pasta with arugula and sun-dried tomatoes really tastes GOOD!
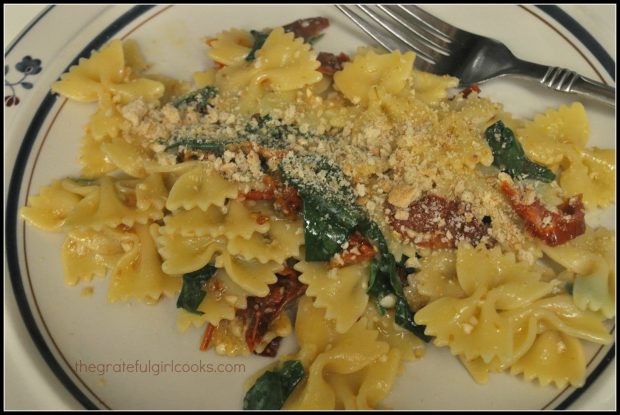 Hope you enjoy this meal! I enjoyed the simplicity involved with making this dish, and was pleasantly surprised how much flavor was in every bite! I hope you’ll give it a try when you want to get dinner on the table in a short amount of time! The recipe serves 4, so there’s plenty for everyone! Have a great day!
Looking For More PASTA Recipes?
You can find ALL of my recipes in the Recipe Index, located at the top of the page. I have some wonderful recipes featuring pasta, including:
Interested In More Recipes?
Thank you for visiting this website. I appreciate you using some of your valuable time to do so. If you’re interested, I publish a newsletter 2 times per month (1st and 15th) with all the latest recipes, and other fun info. I would be honored to have you join our growing list of subscribers, so you never miss a great recipe!
There is a Newsletter subscription box on the top right side (or bottom) of each blog post, depending on the device you use, where you can easily submit your e-mail address (only) to be included in my mailing list.
You Can Also Find Me On Social Media:
Facebook page: The Grateful Girl Cooks!
Pinterest: The Grateful Girl Cooks!
Instagram: jbatthegratefulgirlcooks
 Recipe Adapted From: http://abc.go.com/shows/the-chew/recipes/Mario-Batali-Spaghettini-Sun-Dried-Tomatoes-Arugula
↓↓ PRINTABLE RECIPE BELOW ↓↓

Farfalle Pasta with Arugula and Sun-Dried Tomatoes is a delicious dish, cooked in a skillet and topped with Parmesan cheese and breadcrumbs!
- 1/8 cup olive oil
- 4 garlic cloves , minced (or thinly sliced)
- 8 oil packed sun-dried tomato halves , sliced
- 1/8 cup dry white wine
- 1 Tablespoon salt (for pasta water)
- 3/4 lb. Farfalle (bow-tie) pasta
- 3 cups baby arugula , trimmed
- 8 quarts water (to cook pasta)
- 1/2 teaspoon red chili flakes
- 1/3 cup bread crumbs
- 1/3 cup Parmesan cheese (green shaker can variety)
- Additional salt and pepper , to taste
- Make the sauce: Bring the water to a boil in a large stockpot. Add the Tablespoon of salt to the boiling water.
- While the water is coming to a boil, heat the olive oil (medium heat) in a large skillet.
- Add the minced garlic to the olive oil and saute it until it is golden brown. This only takes a minute or so. Be careful NOT to burn the garlic!
- Add the white wine and the sun-dried tomatoes to the oil/garlic mixture in the skillet. Bring this to a boil, then remove skillet from the heat.
- Make the pasta: Drop the Farfalle into boiling, salted water. Cook the past for 1 minute less that the package instructions say. right before the pasta is finished, ladle out 1/4 cup of the pasta cooking water (be careful...it's HOT).
- Drain pasta, then add pasta and chili flakes to the skillet with the tomato mixture.
- Heat on medium heat, stirring the pasta, etc. This liquid will begin to be absorbed into the pasta as it finishes cooking.
- Add arugula to the skillet and mix well. Cook for another minute or so, until pasta is nicely coated with the sauce.
- Add Parmesan cheese and breadcrumbs to top of pasta.
- Taste pasta, to determine whether to add additional salt and pepper. We found adding a bit of salt and a little bit extra Parmesan to the pasta made it perfect!
- Serve immediately while pasta is hot! Garnish with additional breadcrumbs or Parmesan cheese, if desired. Enjoy!
Here’s one more to pin on your Pinterest boards!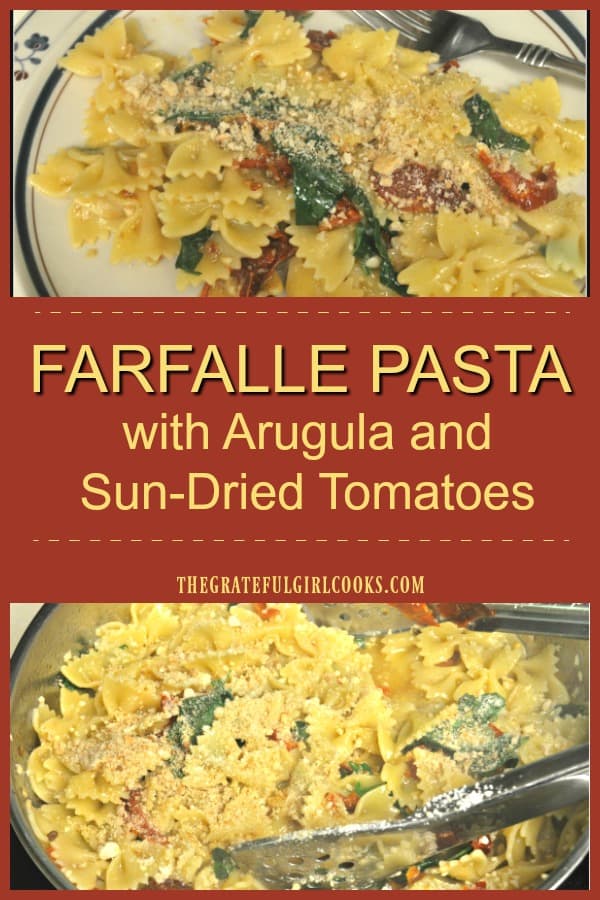












 These Cookies Are LARGE!


 Ready To Bake The Pepperoni Pizza!


 Preparing The Marinade