Make a batch of cinnamon glazed almonds for a fantastic, crunchy snack. Almonds are coated and baked in a buttery cinnamon sugar glaze!
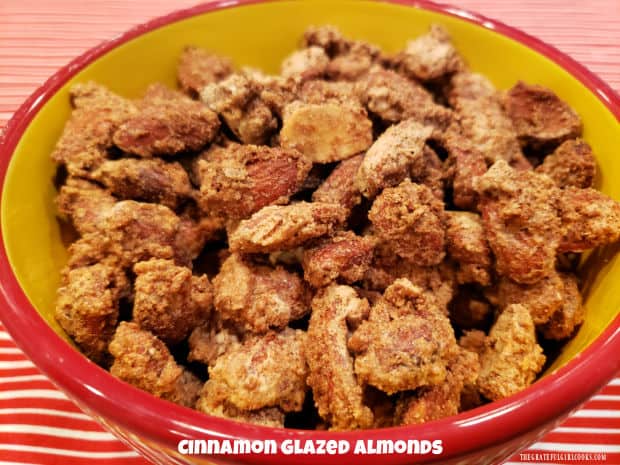
If you’re looking for a fun and tasty snack (or appetizer) that friends and family will LOVE, you’ve got to try these cinnamon glazed almonds! Wow… they are really good!
Delicious and crunchy, this is one treat that will rapidly disappear when served! The recipe as written will yield about 12 small servings (about 3 cups in total), so there’s plenty to go around!
I found the handwritten recipe many years ago in an old recipe box, and it is a KEEPER! Here’s how to make this fun, yummy snack.
Scroll Down For A Printable Recipe Card At The Bottom Of The Page
Preheat The Oven And Melt The Butter!
Place the butter onto a large (at least 13″ x 9″), rimmed baking sheet. Put the baking sheet with the butter in the oven and set the temperature for 325°F.
While the oven preheats, the butter will melt while you work on the almonds! This is a timesaver so the butter melts and the oven is preheated when the almonds are ready for baking!
Prepare The Egg White Glaze
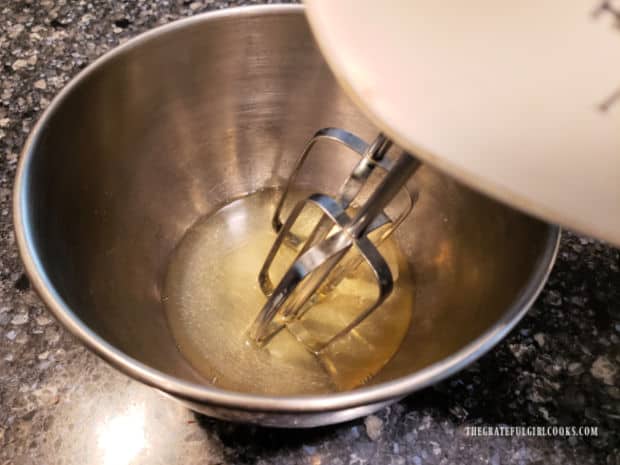
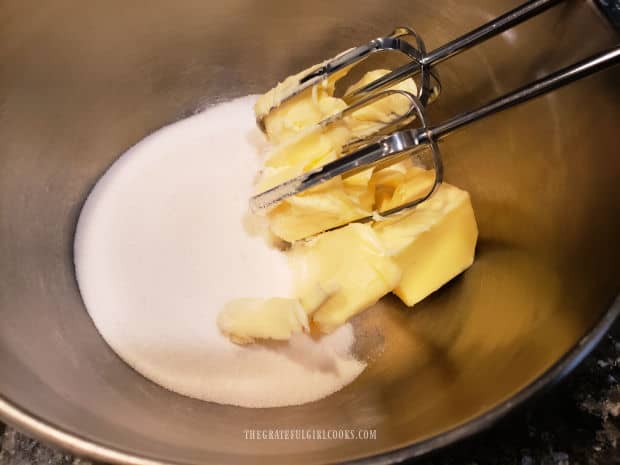
Beat two egg whites in a large mixing bowl, using an electric mixer. If you have a stand mixer, you can use this, as well.
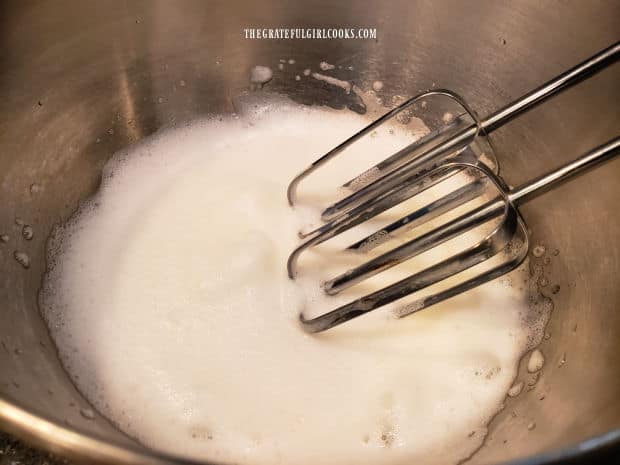
Continue to beat the egg whites until soft peaks are formed. The mixture will be quite foamy, and will increase in volume, too.
Time For The Sugar
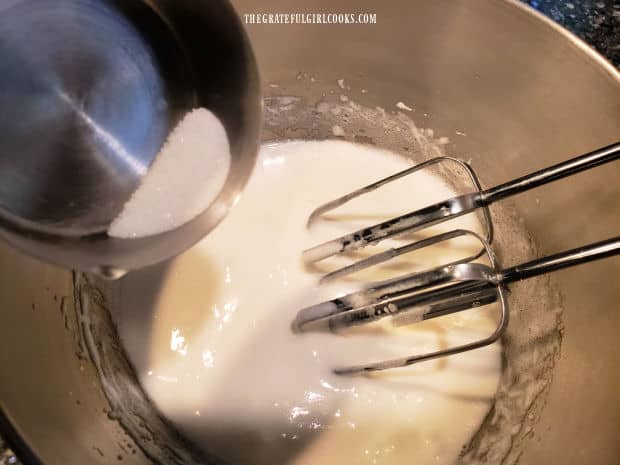
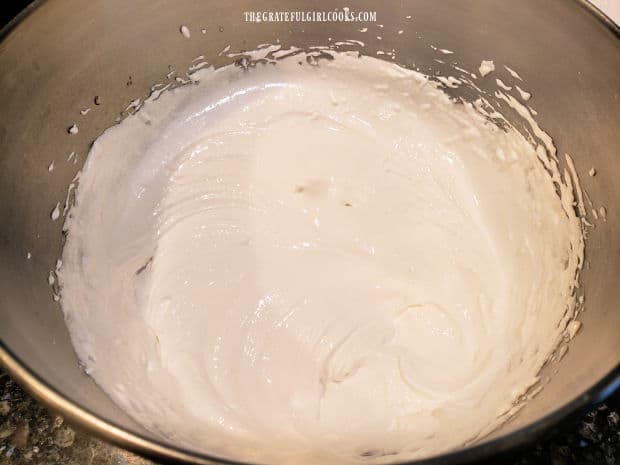
Add granulated sugar, a little at a time, to the egg white mixture, beating as you add each little bit. Keep beating until all the sugar has been added, and stiff peaks can be formed
TIP: A stiff peak is when you can lift the thick egg whites with a spoon or the beater into a peak, and they hold their shape.
Add The Almonds And Cinnamon
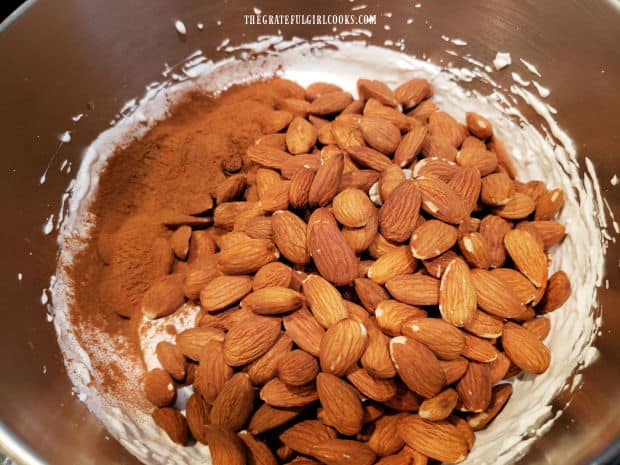
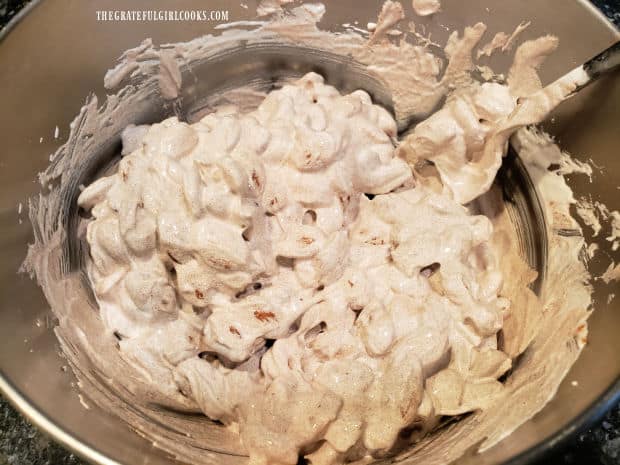
Use a spatula or a large spoon to fold the cinnamon and almonds into the egg white mixture in the bowl. Keep folding until all the almonds have been coated with the thick mixture.
Bake The Cinnamon Glazed Almonds
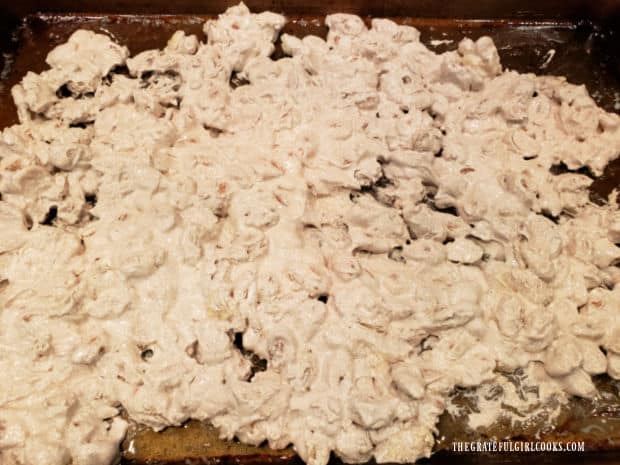
Place the coated almonds on the buttered baking sheet. Stir, to incorporate the melted butter into the egg white mixture.
After that, carefully spread the coated almonds out in as much of a single layer as possible. The almonds will stick together a bit, but do the best you can!
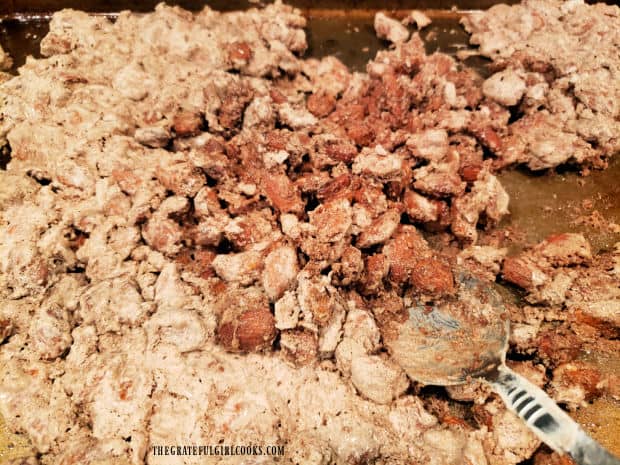
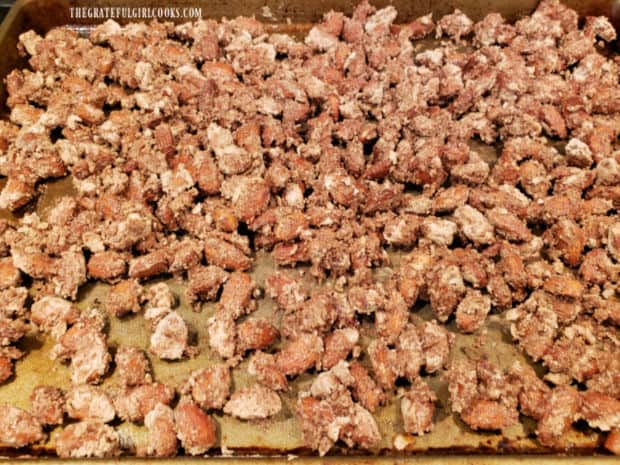
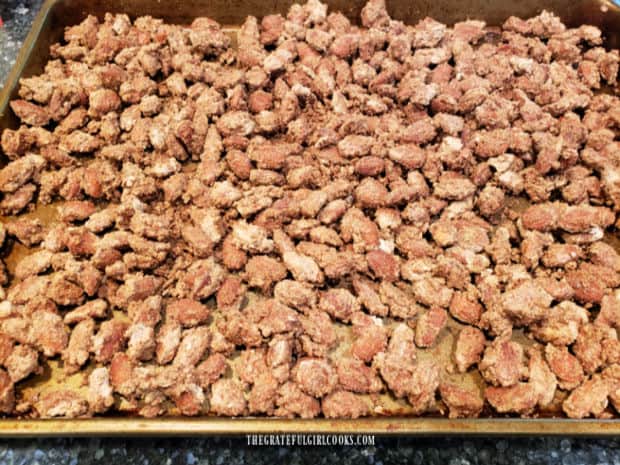
Bake the cinnamon glazed almonds at 325°F. for 10 minutes. After 10 minutes, remove the pan from the oven. Quickly stir and turn the nuts on the baking sheet.
Put the almonds back in the oven in a single layer, and continue baking. Continue to cook the almonds for 30 more minutes, giving them a gentle stir every 10 minutes.
The total cooking time for the cinnamon glazed almonds is 40 minutes, but you will need to stir and turn the nuts every 10 minutes.
Before Serving
After the cinnamon glazed almonds have finished baking, remove the baking sheet from the oven, and let them cool on the tray. If desired, you can transfer them to wax paper to cool, but that is optional.
The almonds are at their very best when served at room temperature. If you will not be serving them right away, store them (once cooled) in an airtight container.
Serve The Cinnamon Glazed Almonds!
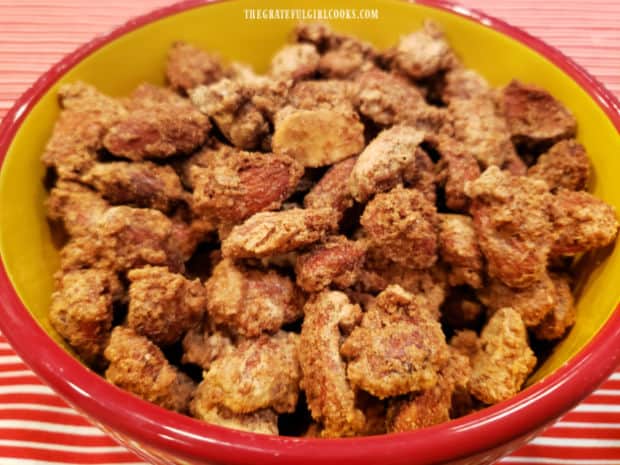
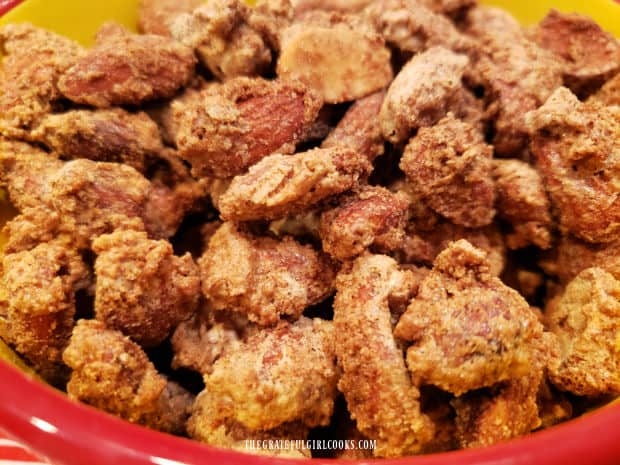
When the cinnamon glazed almonds have cooled to room temperature, they are ready to be gobbled up! Transfer the nuts to a serving bowl, and watch how fast they disappear.
Store any leftover cinnamon glazed almonds in an airtight container, to preserve their crispness, and enjoy them for days! I have even frozen them for later in a freezer bag, with good results. They are so delicious!
I really hope you enjoy this yummy snack! It is pretty hard to stay out of them, once you get started, so be warned (ha ha)! Yes- I speak from experience, because these crunchy cinnamon glazed almonds are absolutely delicious!
Thanks for stopping by, and I invite you to come back again soon for more family-friendly recipes. Take care, may God bless you, and have a wonderful day.
Looking For More SNACK Recipes That Use Nuts?
You can find ALL of my recipes in the Recipe Index, which is located at the top of the page. I have quite a few delicious recipes for snacks that feature a variety of nuts, including:
Want More Recipes? Get My FREE Newsletter!
I publish a newsletter 2 times per month (1st and 15th) with lots of recipes, tips, etc..
Would you like to join our growing list of subscribers?
There is a Newsletter subscription box on the top right (or bottom) of each blog post, depending on the device you use.
You can submit your e-mail address there, to be added to my mailing list.
Find Me On Social Media:
Facebook page: The Grateful Girl Cooks!
Pinterest: The Grateful Girl Cooks!
Instagram: jbatthegratefulgirlcooks
Original recipe source: unknown (found recipe handwritten on a 3×5″ index card in an old recipe box)
↓↓ PRINTABLE RECIPE BELOW ↓↓

Make a batch of cinnamon glazed almonds for a fantastic, crunchy snack. Almonds are coated and baked in a buttery cinnamon sugar glaze!
- 5½ Tablespoons butter
- 2 egg whites
- 1 pinch kosher salt
- 1⅛ cups granulated sugar (equals 1 cup + 6 teaspoons)
- 4 teaspoons ground cinnamon
- 3 cups raw almonds
Place butter on large rimmed baking sheet (at least 13" x 9"). Put baking sheet in oven; set temp. for 325°F.
Beat egg whites in large mixing bowl with an electric mixer. Continue to beat egg whites until soft peaks form. Mixture will be foamy, and will increase in volume.
Add sugar, a little at a time, to egg white mixture, beating as you add. Keep beating until all sugar has been added, and stiff peaks can be formed TIP: A stiff peak is when you can lift thick egg whites with a spoon or beater into a peak, and they hold their shape.
Gently fold cinnamon and almonds into egg white mixture, until almonds have been fully coated. Place almonds on buttered baking sheet. Stir, to mix melted butter into egg white mixture.
Carefully spread coated almonds out in single layer. Bake at 325°F. for 10 minutes. After 10 minutes, remove pan from oven. Quickly stir and turn the nuts. Put the almonds back in the oven in a single layer; continue baking. Bake almonds 30 more minutes, stirring every 10 minutes.
When done, remove pan from oven; let almonds cool on the tray. Serve almonds at room temperature. If not serving them right away, store cooled almonds in an airtight container (room temp.). Enjoy!
Here’s one more to pin on your Pinterest boards!
