Enjoy a “lighter” version of Chicken Marsala (21 Day Fix recipe) with baby portabella mushrooms, chicken, shallots, garlic and Marsala wine.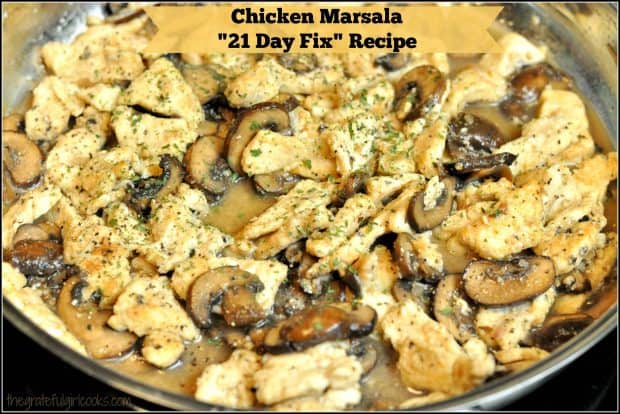
I recently found this recipe for Chicken Marsala that is compliant with the “21 Day Fix” clean eating program. After trying it, I found it to be full of flavor, easy to prepare, and a dish I would choose to make again.
This recipe features sautéed baby portabella mushrooms, with shallots and garlic, served alongside pan browned chicken breast slices, in a light, slightly creamy sauce. Here’s how you make it:
Cook the Mushrooms
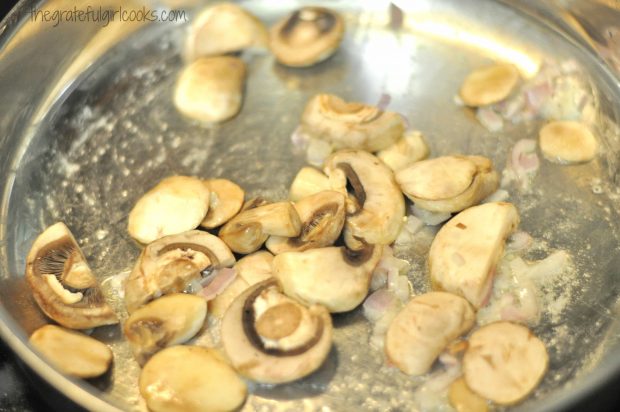
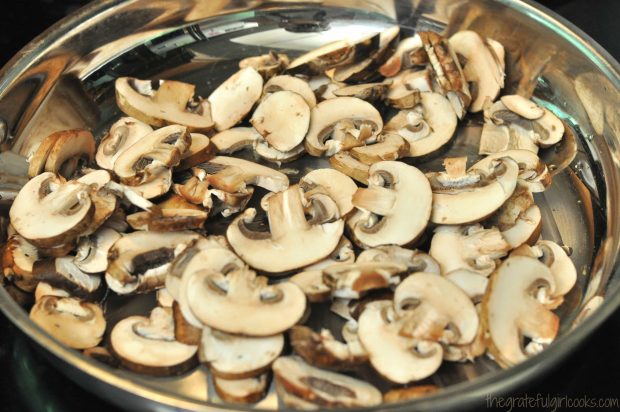
Melt a small amount of coconut oil in a medium skillet on low to medium heat. Add sliced baby portabella mushrooms and sauté them for about 8 minutes, stirring occasionally.
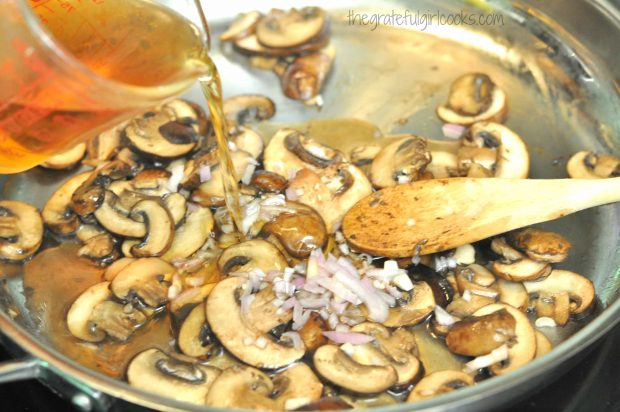
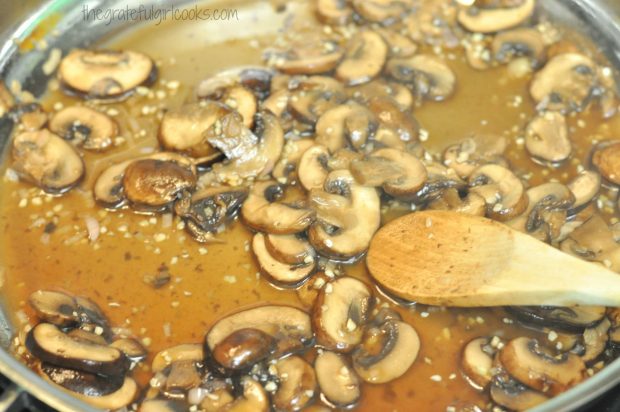
Once the mushrooms are cooked, add Marsala wine, chopped shallots and minced garlic to the skillet. Let this mixture simmer for about 15 minutes, until the wine reduces quite a bit. Stir the mixture occasionally.
It will look like this when it’s just about done (see photo below). The mushrooms are lightly browned, and a fairly thin sauce will be in the bottom of the skillet.
Slice And Season The Chicken Breasts
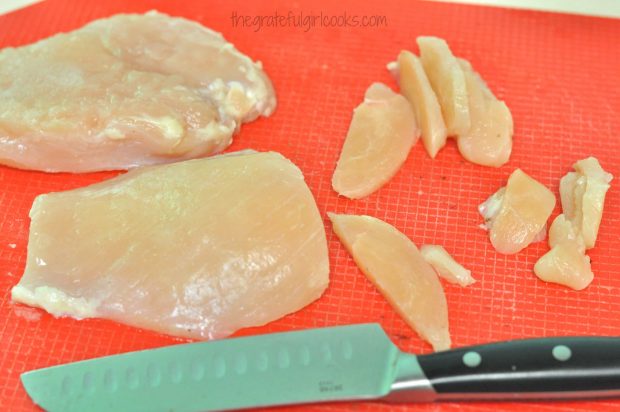
While the mushrooms are cooking, prepare the chicken. Slice chicken breasts thinly, then place chicken strips in a large bowl or Ziploc bag, along with the wheat flour and spices.
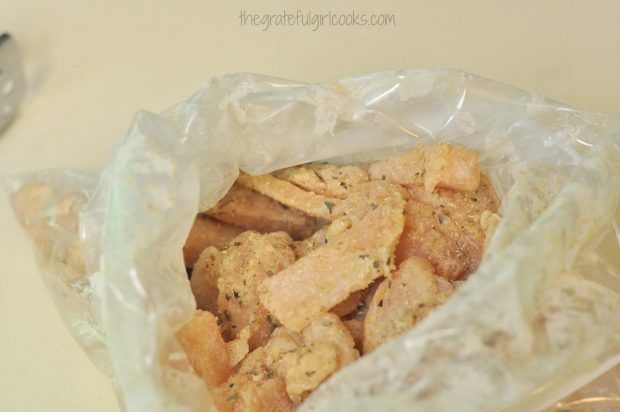
Mix well, to fully coat the pieces of chicken in the flour and spice mixture.
When done, all the pieces of chicken should be lightly covered on all sides with the seasoning mix.
Cook The Chicken Marsala
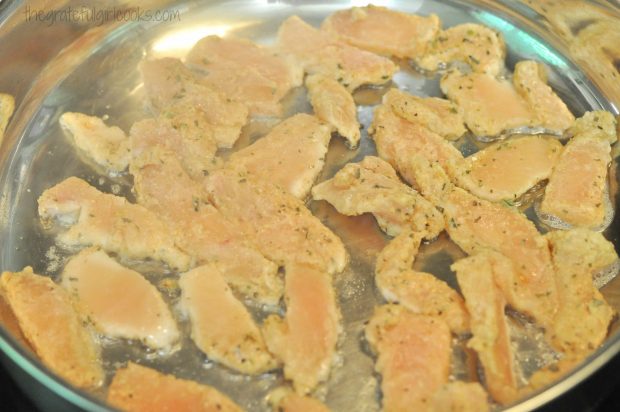
Shake off the excess flour from the chicken. In a large skillet, melt coconut oil and heat on medium. Once skillet is hot, add chicken pieces, and cook for 2-3 minutes per side, until the chicken is lightly browned on both sides.
Once the chicken is cooked through and lightly browned, add the mushrooms and sauce. Sprinkle with 1 teaspoon wheat flour and stir (nominal amount added to thicken sauce).
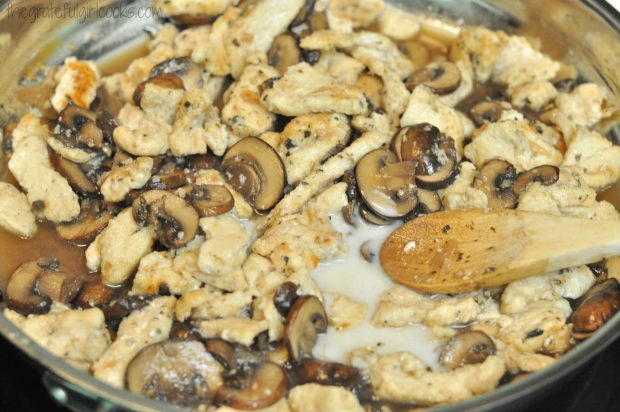
Add chicken broth and almond milk. Stir again, to fully combine. Let this simmer until fully heated through.
Serve The Chicken Marsala “21 Day Fix”
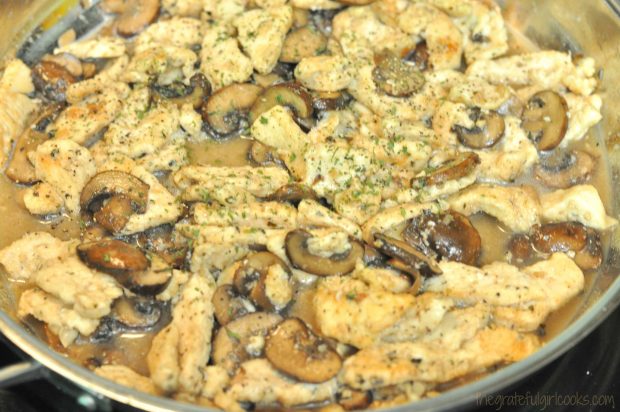
Once the chicken and sauce are re-heated through, sprinkle everything with chopped fresh parsley or dried parsley flakes and serve! The recipe makes enough for 4 servings, so divide it evenly!
If you are following the 21 Day Fix Plan, the counts for this chicken dish is 1 Red, 1 Green. The count for the wheat flour divided between 4 servings is so nominal it is not included.
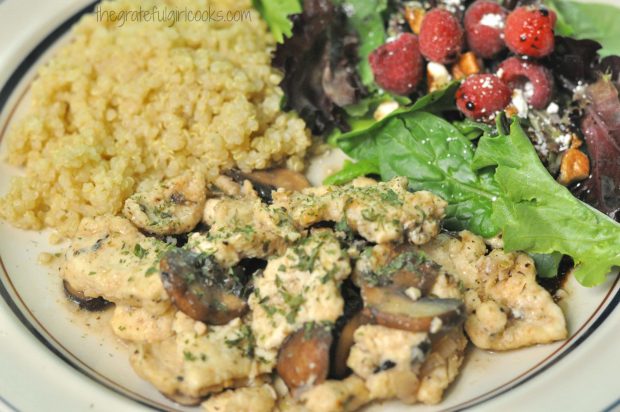
I served the chicken with a green salad and some cooked quinoa on the side. If you’re NOT following this eating plan, go right ahead and enjoy this dish! It really is quite tasty.
Enjoy this delicious chicken dish. I know my husband and I sure did! Don’t you just love it when a “lighter” version of a classic dish tastes just as great as the original? I think you are really going to love this dish.
Thanks for stopping by, and please come back again soon for more family-friendly recipes. Take care, may God bless you, and have a wonderful day.
Want More Recipes? Get My FREE Newsletter!
I publish a newsletter 2 times per month (1st and 15th) with lots of recipes, tips, etc..
Would you like to join our growing list of subscribers?
There is a Newsletter subscription box on the top right (or bottom) of each blog post, depending on the device you use.
You can submit your e-mail address there, to be added to my mailing list.
Find Me On Social Media:
Facebook page: The Grateful Girl Cooks!
Pinterest: The Grateful Girl Cooks!
Instagram: jbatthegratefulgirlcooks
 Recipe Source: http://www.fitmomangelad.com/21-day-fix-chicken-marsala/
↓↓ PRINTABLE RECIPE BELOW ↓↓
Enjoy a "lighter" version of Chicken Marsala (21 Day Fix recipe) with baby portabella mushrooms, chicken, shallots, garlic and Marsala wine.
- 1 Tablespoon coconut oil
- 8 ounces baby portabella mushrooms (Baby Bella), sliced
- 1/4 cup shallots , diced
- 3 cloves garlic , minced
- 3/4 cup Marsala wine
- 1 pound boneless , skinless chicken breast, thinly sliced
- 1/4 cup wheat flour
- 1 teaspoon onion powder
- 1 teaspoon garlic powder
- 1 teaspoon oregano
- 1 Tablespoon coconut oil
- 1 teaspoon wheat flour
- 2 Tablespoons almond milk
- 1/2 cup chicken broth
- Salt and pepper , to taste
- Fresh parsley , chopped OR dried parsley flakes
Melt 1 T. coconut oil in a medium skillet. Add chopped mushrooms; sauté for about 8 minutes. Add minced garlic, shallots and Marsala wine. Let mixture simmer for about 15 minutes, or until wine has reduced quite a bit, stirring occasionally.
While mushrooms cook, place chicken slices, along with ¼ cup wheat flour, onion powder, garlic powder, and oregano into a large bowl or Ziploc bag. Stir or shake to fully coat chicken with spices.
Heat 1 T. coconut oil in separate large skillet on medium heat. Shake off excess flour, then place chicken pieces into skillet. Cook 2-3 minutes per side, until lightly browned and cooked through.
Once chicken is cooked through, add mushrooms and sauce. Sprinkle mixture with 1 tsp. wheat flour. Stir to combine. Add almond milk and chicken broth; season to taste with salt and pepper. Let simmer for a few minutes until fully heated through.
- Garnish with fresh chopped parsley, or dried parsley flakes. Serve and enjoy!
21 Day Fix counts: 1 Red, 1 Green, 1 teaspoon (wheat flour is so nominal once divided into 4 servings, that is is not added to count).
Here’s one more to pin on your Pinterest boards!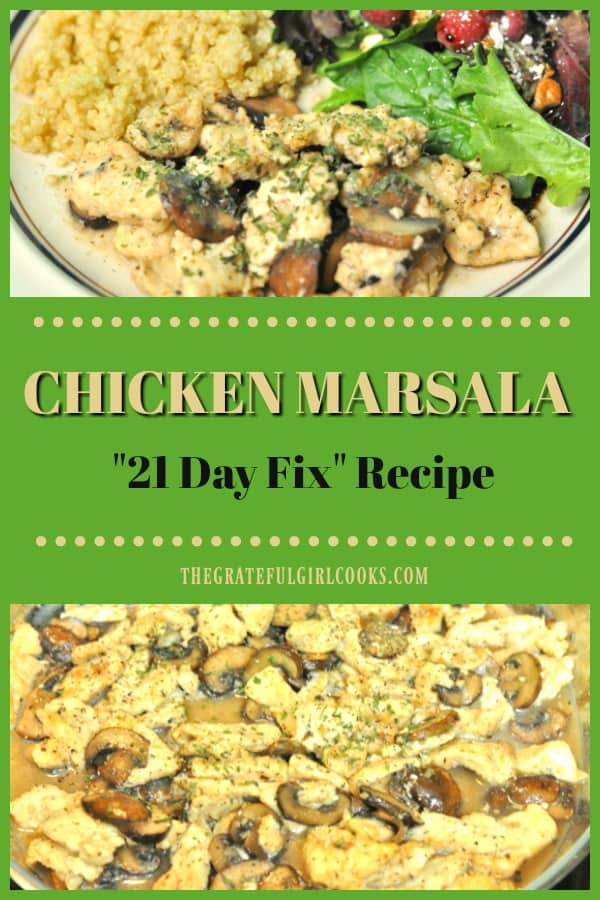


 Make The Ice Cream Base