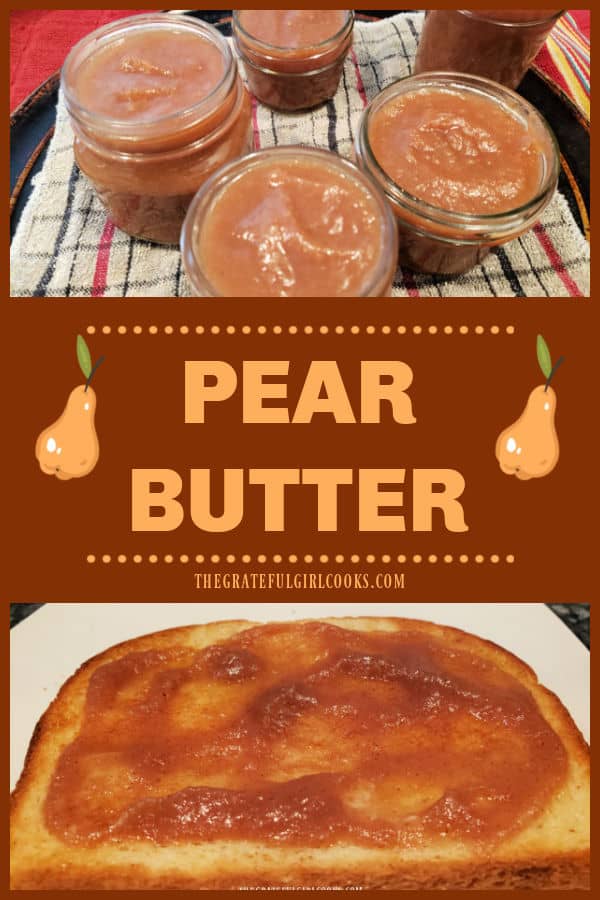
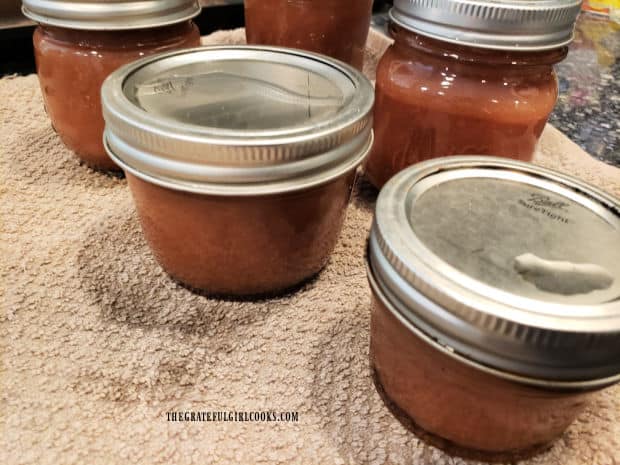
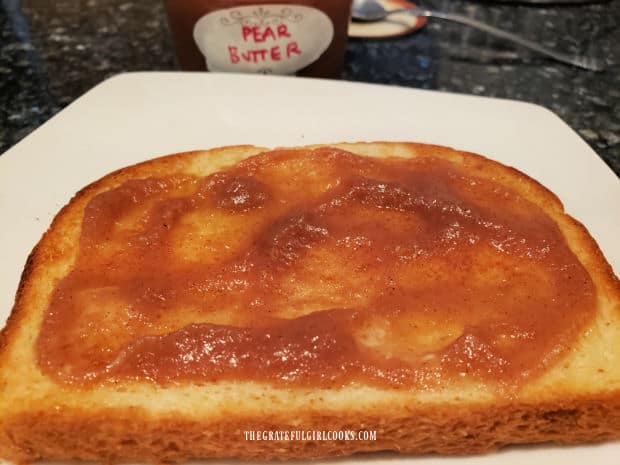
Make several jars of pear butter for yourself or to give to friends! Delicious on toast, yogurt or ice cream! Canning instructions are included.
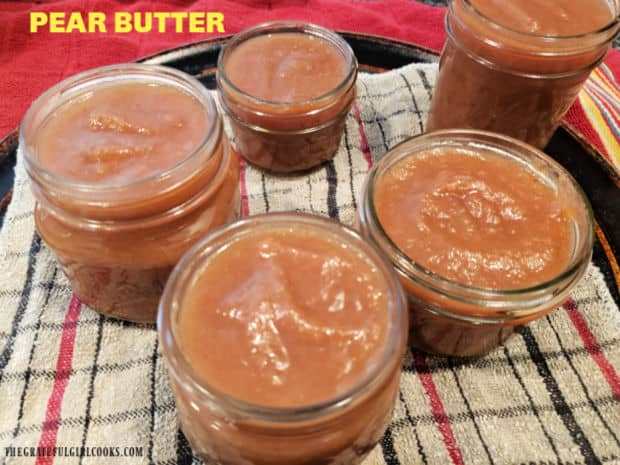
Today I want to share a recipe for making homemade pear butter, and have included instructions for canning this delicious spread for storage. One of my favorite fruit butters to make and can has always been apple butter, because I love the flavor of apples and cinnamon. Well. let me tell you, pear butter is equally awesome, and it’s filled with cinnamon and nutmeg flavor, too!
My husband and I were blessed to receive a large bag of ripe pears last summer from one of our neighbors who grows them. I knew immediately I wanted to make pear butter, so I got my canning “stuff” together and got busy! As a result, we’ve been enjoying it for almost a year now! Even if you don’t want to “can” it, you can make several jars to give to family or friends for immediate enjoyment. Here’s how to make it:
Scroll Down For A Printable Recipe Card At The Bottom Of The Page
Prepare The Pears For Cooking
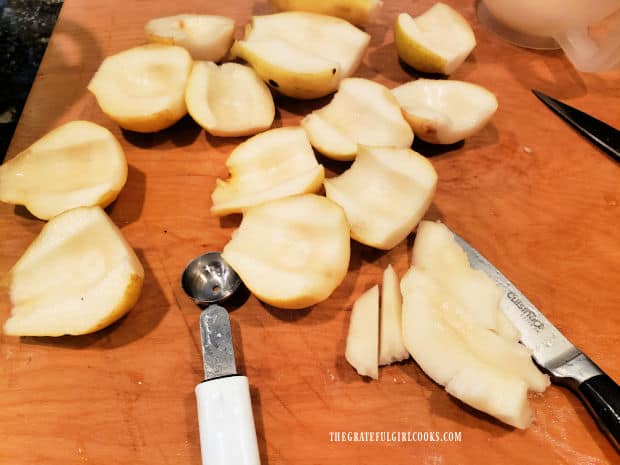
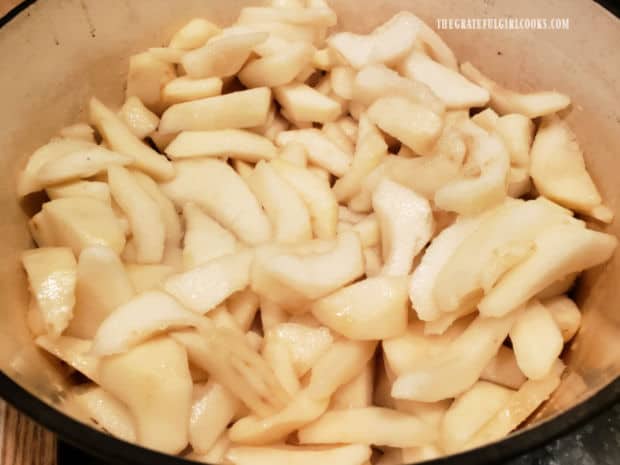
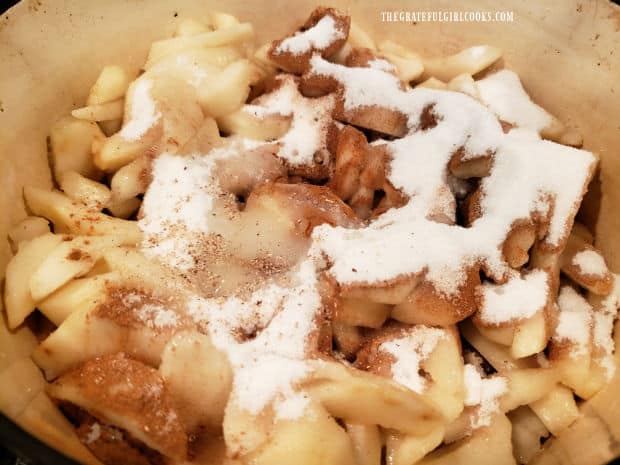
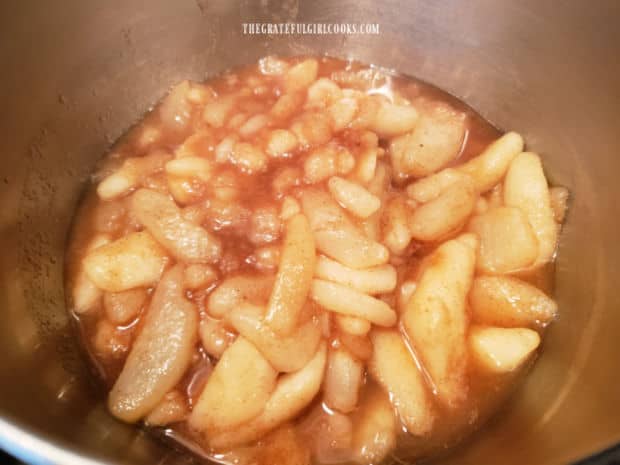
Peel the pears, and remove the core from each one (discard core). Slice the pears, then place them in a large Dutch oven or stockpot. Add granulated sugar, ground cinnamon, lemon juice, and nutmeg to the pot, and stir to combine. Cook for 10 minutes on medium heat, stirring occasionally, then remove the pan from the heat.
Puree The Pears (Two Methods)
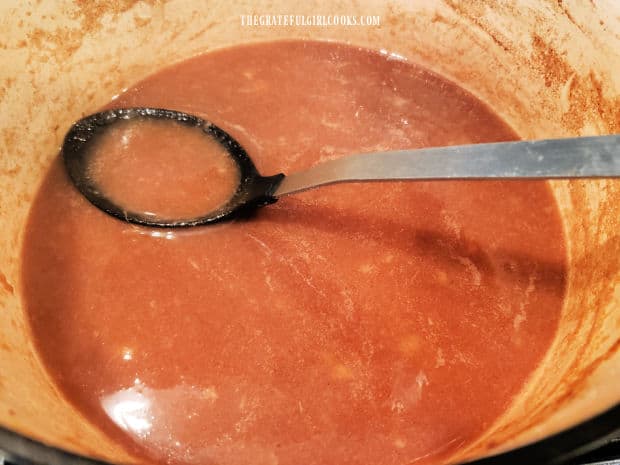
There are two methods for pureeing the pears. FIRST METHOD: If you have a hand-held immersion blender, you can puree the pears and juice right in the stockpot after cooking. SECOND METHOD: If you don’t have an immersion blender, you can use a standard blender. Here’s how: Use a SLOTTED spoon to remove the hot pears out of the pot, and transfer them to a large bowl. Leave the bulk of the “juice” still in the stockpot.
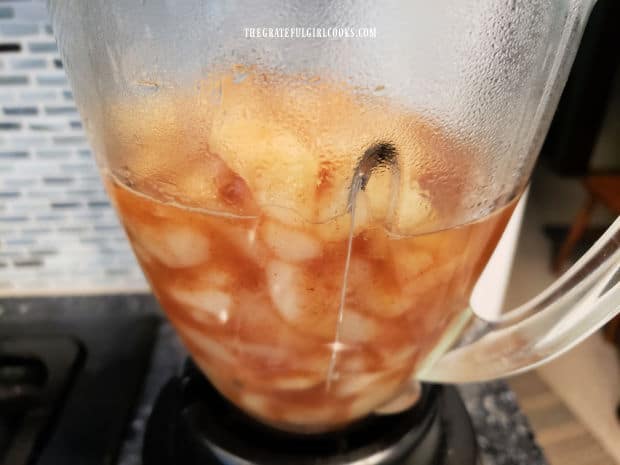
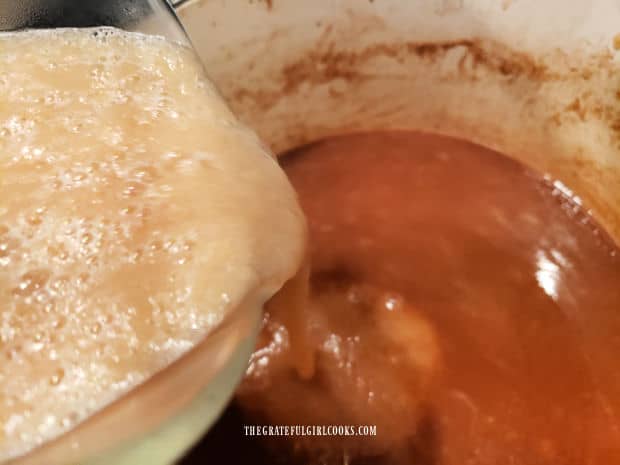
The next step is to blend the pears in a blender. You may need to do this in a couple batches, due to the amount of pears. Fill the blender about halfway with hot pears. Put the lid on (hold it down securely), and begin blending on low speed for a few seconds, then increase speed until the pears are pureed.
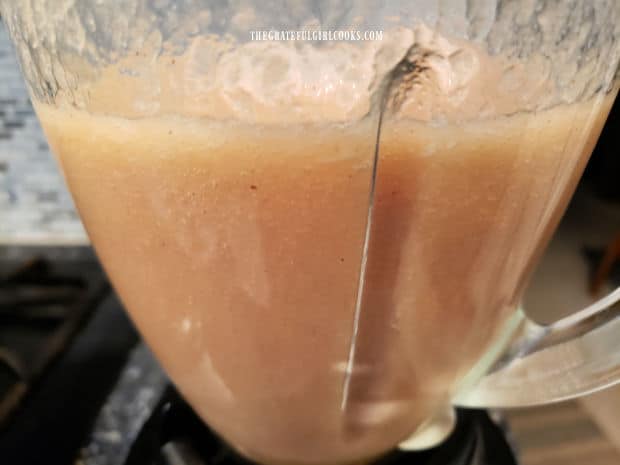
Blend just until the pears are smooth and liquified, then pour the “puree” back into the pot with the reserved juice. Repeat until all pears have been blended and added back into the pot. Continue cooking on LOW heat, stirring occasionally, for approximately 60 minutes.
How Do I Know When It Is Done?
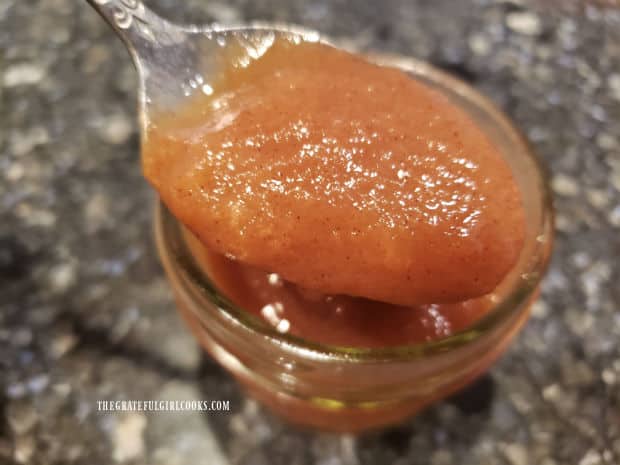
Pear butter is done when it can be lightly mounded on a spoon (without running) OR by using the method I call the “Frozen Plate Thing”. The frozen plate method is a great way to test for doneness when no pectin has been used to thicken jams or fruit butter. Pan ahead, because you will need to put a plate in the freezer for an hour before using this method. For this recipe I put it in the freezer when I start preparing and peeling the pears.
What exactly is this “No Plate Thing”? Basically, it is a tried and true method to check and see if the jam has thickened enough to be ready to be consumed. To do this, grab the plate out of the freezer. Put a teaspoon of the hot pear butter onto the frozen plate. If the pear butter “sets up” and doesn’t run on the plate within the first minute, it’s ready. If it is too runny, put the plate back in the freezer and continue to cook the pear butter a few more minutes. Try again, and once the pear butter will set up, it’s ready, and can be refrigerated for immediate use.
Canning Pear Butter For Long Term Storage
To can pear butter for long term storage, follow manufacturer instructions for preparing water bath canner, pre-heating jars, flat lids and screwbands. This recipe will typically yield between 5-6 cups of pear butter.
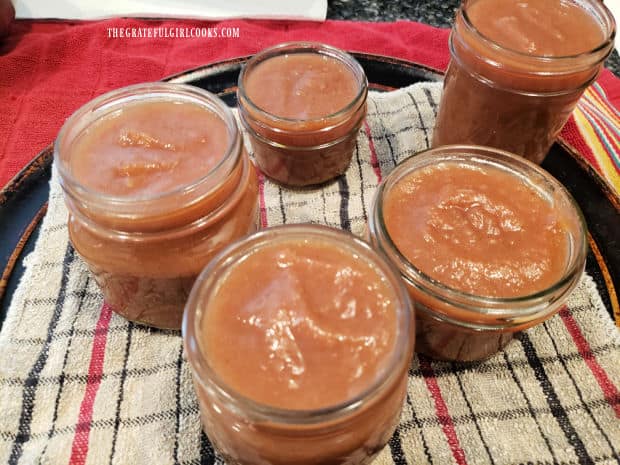
Use any combination of half-pint or pint sized jars that you have. Ladle the hot pear butter into pre-heated jars, being sure to leave a ¼” headspace. Insert a plastic knife several times to remove air bubbles, then wipe the rims of the jars until clean with a damp cloth. Add the flat lid and screwband (ring) to each jar, and tighten the ring to fingertip tightness.
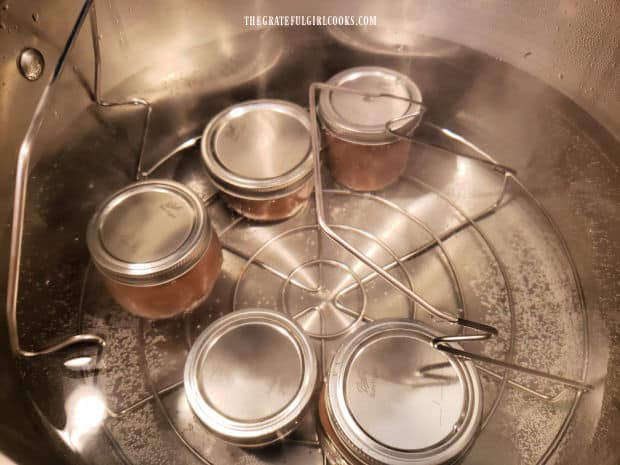
Place jars on wire rack and lower rack carefully into simmering water in canner. Make sure the water level is 1″ OVER the top of the jars (add more hot water if necessary). Turn the heat up and bring to a gentle, rolling boil. Process the jars for 10 minutes after the water comes to a boil. When done, use canning tongs to safely remove jars from the canner, and set jars on a dish towel (not directly on counter) to cool.
Storing And Using Home-Canned Pear Butter
Let the jars cool for at least 12 hours (or overnight) without moving them. You should hear the jars “pop” as each jar seals. If they’ve sealed properly, there should be no give when you press on the middle of the lid with a finger after jars have cooled. Test the seal on each jar and if there is a “good seal”, then the pear butter can be stored safely long-term. Any jars that do not properly seal are not safe to store long-term, but can be refrigerated and used as needed.
Pear butter is delicious as a spread for toast and biscuits, and it also tastes WONDERFUL served on plain yogurt or vanilla ice cream! The cinnamon flavor really makes this topping shine, and I believe you will love it as much as we do.
Thanks for stopping by today. I hope you enjoy this recipe! Please come back soon for more family-friendly recipes, take care… and have a great day!
Looking For More JAM or FRUIT BUTTER Recipes?
You can find ALL of my recipes in the Recipe Index, located at the top of the page. I have lots of jam recipes for you to enjoy, including:
Interested In More Recipes?
Thank you for visiting this website. I appreciate you using some of your valuable time to do so. If you’re interested, I publish a newsletter 2 times per month (1st and 15th) with all the latest recipes, and other fun info. I would be honored to have you join our growing list of subscribers, so you never miss a great recipe!
There is a Newsletter subscription box on the top right side (or bottom) of each blog post, depending on the device you use, where you can easily submit your e-mail address (only) to be included in my mailing list.
You Can Also Find Me On Social Media:
Facebook page: The Grateful Girl Cooks!
Pinterest: The Grateful Girl Cooks!
Instagram: jbatthegratefulgirlcooks
Recipe adapted from: https://chasingvibrance.com/old-fashioned-pear-butter/
↓↓ PRINTABLE RECIPE BELOW ↓↓
Make several jars of pear butter for yourself or to give to friends! Delicious on toast, yogurt or ice cream! Canning instructions included.
- 12 cups sliced fresh pears (RIPE!) peeled, cored & sliced
- 1 cup granulated sugar
- 2 Tablespoons fresh lemon juice
- 1 Tablespoons ground cinnamon
- ¼ teaspoon ground nutmeg
Peel, core and slice pears; place them in large Dutch oven or stockpot. Add sugar, cinnamon, lemon juice, and nutmeg; stir to combine. Cook 10 minutes on medium heat, stirring occasionally; remove pan from heat.
Use slotted spoon to remove pears from pan; transfer to large bowl. Leave "juice" in the stockpot.
Fill blender halfway with hot pears (do this in batches). Hold the lid on securely; blend on low speed for a few seconds, then increase speed just until pears are pureed and smooth. Pour "puree" back into the pot with the juice. Repeat until all pears are blended and added back to pot. Continue cooking on LOW heat, stirring occasionally, for approx. 60 minutes.
Pear butter is done when it can be mounded on a spoon (without running) OR by using a method I call the "Frozen Plate Thing". Frozen plate method is a way to test thickness when no pectin has been added. Plan ahead, as you need to put a plate in the freezer for an hour before you need it. After cooking pea butter, grab the plate out of the freezer. Put a teaspoon of hot pear butter onto frozen plate. If pear butter "sets up" and doesn't run on the plate within the first minute, it's ready. If it's too runny, put plate back in the freezer; Continue to cook pear butter a few more minutes. Try again- once pear butter will set up, it's ready, and can be refrigerated in airtight containers or jars for immediate use.
To can pear butter for long term storage, follow manufacturer instructions for preparing water bath canner, heating jars, flat lids and screwbands. This recipe will yield between 5-6 cups of pear butter.
Use any combination of half-pint or pint sized jars that you have. Ladle hot pear butter into pre-heated jars, being sure to leave a ¼" headspace. Insert a plastic knife or utensil several times to remove air bubbles. Wipe rims of jars until clean with a damp cloth. Add flat lid and screwband (ring) to each jar; tighten ring to fingertip tightness.
Place jars on wire rack; lower rack carefully into simmering water in canner. Make sure water level is 1" OVER the top of the jars (add more hot water if necessary). Turn heat up; bring to a gentle, rolling boil. Process jars for 10 minutes after water comes to a boil. When done, use canning tongs to remove jars from canner. Set hot jars on a dish towel (not directly on counter) to cool.
Let jars cool for 12 hours (or overnight) without moving them. You should hear jars "pop" as they seal. If sealed properly, there should be no give when you press down on the middle of the lid with a finger after jars have cooled. Test seal on each jar- if there is a "good seal", then jars can be stored safely long-term. Any jars that do not properly seal are not safe to store long-term, but can be refrigerated and used as needed.
NOTE: Caloric calculation was made assuming 5 cups is total quantity of pear butter made, with each serving equal to one Tablespoon.
Here’s one more to pin on your Pinterest boards!