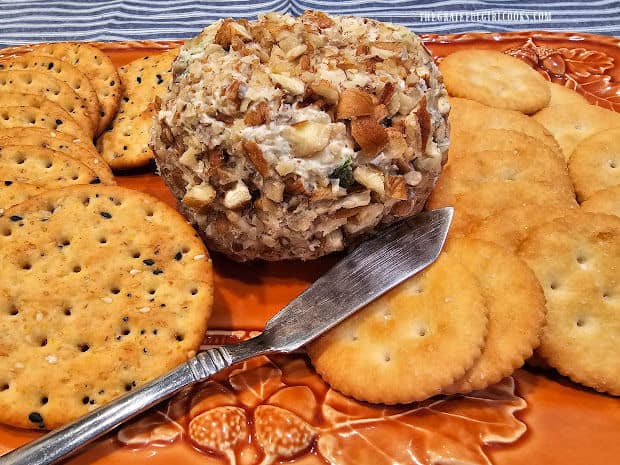
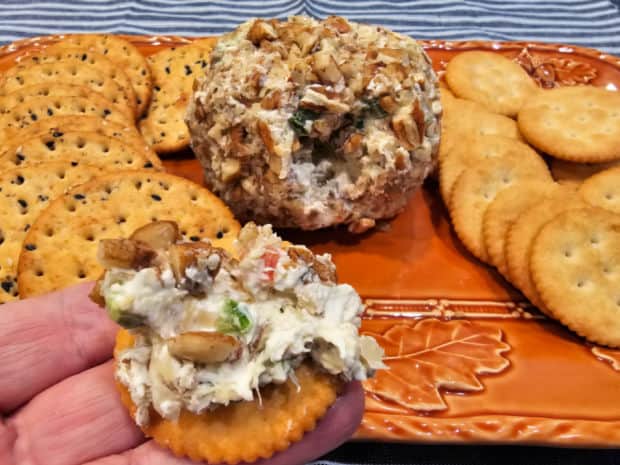
Serve a delicious Pecan Pineapple Cheese Ball with crackers at your next party! This simple appetizer recipe makes TWO yummy cheese balls!
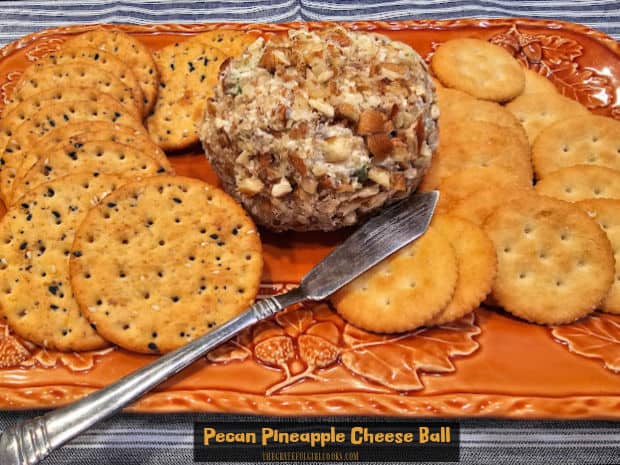
I don’t know about you, but our family can sure put away a homemade cheese ball when we get together! When I set a cheese ball and crackers out at a holiday event or family gathering, it’s one of the first things to disappear!
The recipe I’m sharing today is a recipe I found in a cookbook from almost ten years ago. I made a couple slight changes to the original, and love the look and taste of this yummy appetizer!
I’m pretty confident you will love it, too! Let me show you how truly easy it is to make a pecan pineapple cheese ball (recipe makes TWO medium cheese balls).
Scroll Down For A Printable Recipe Card At The Bottom Of The Page
Make The Cheese Balls
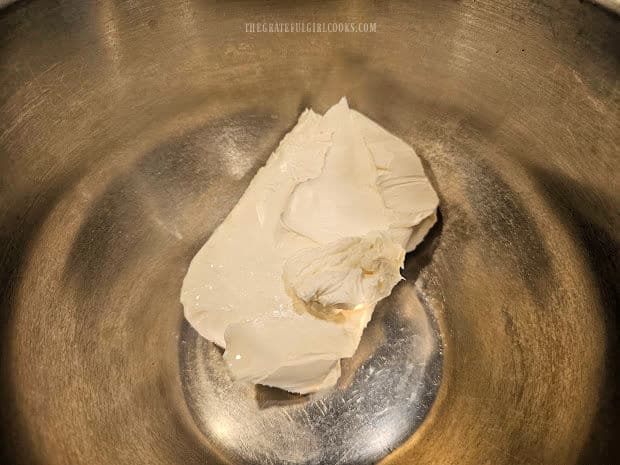
Place a softened block (8 ounces) of cream cheese in a medium-sized mixing bowl. Use an electric mixer to beat the cream cheese until it becomes smooth and fluffy.
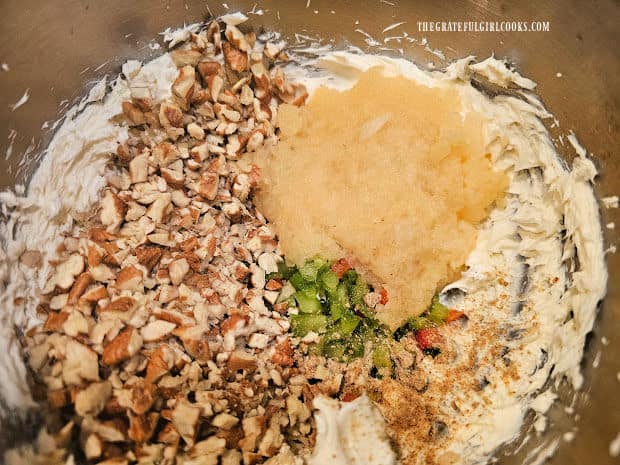
Add 1 cup of chopped pecans (half of the total amount), drained crushed pineapple, green and red bell peppers, green onions and seasoning salt.
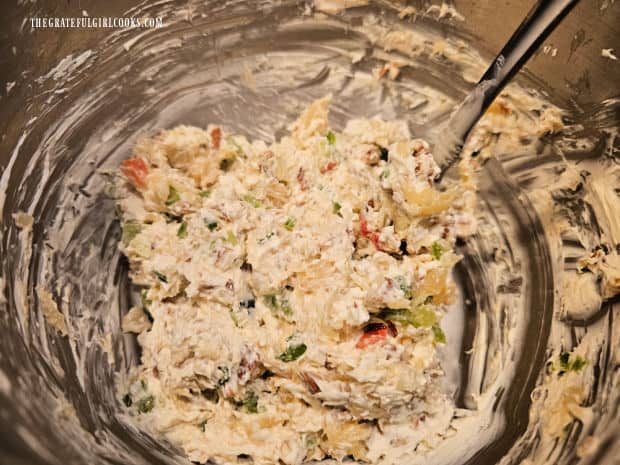
Stir these ingredients together until they have been fully combined. The cream cheese mixture will be thick and will seem quite “wet”.
Shape The Cheese Balls
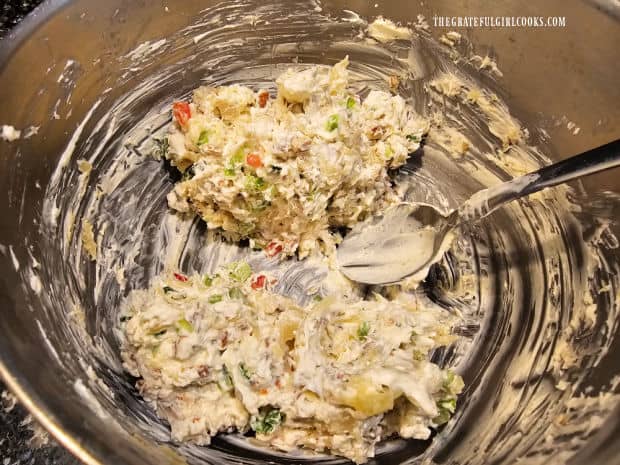
Once combined, use a large spoon to divide the cream cheese mixture into two equal halves while it is still in the bowl (just “eyeball it”). Set the mixture aside.
Cover The Cheese Balls With Pecans
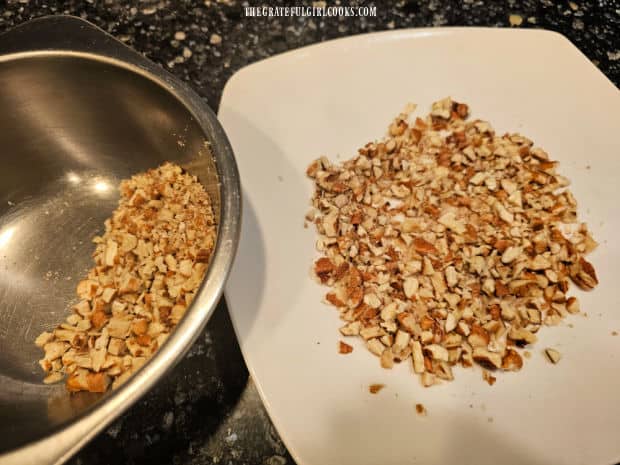
Divide the remaining cup of chopped pecans in half. Place one portion on a small plate, and reserve the other half.
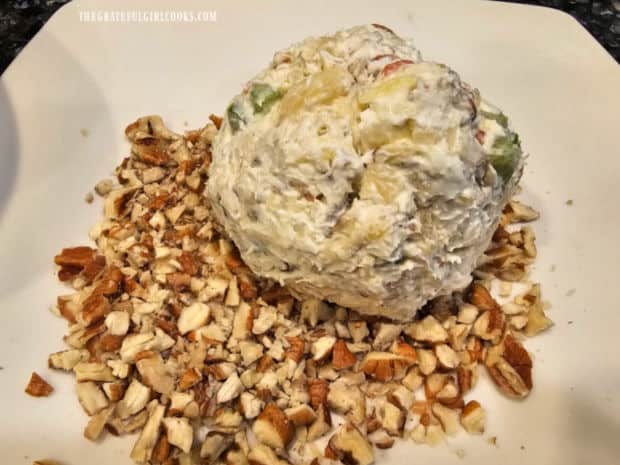
Use your hands (yes, it will be slightly “messy”), and shape one portion of the cream cheese mixture into a round ball.
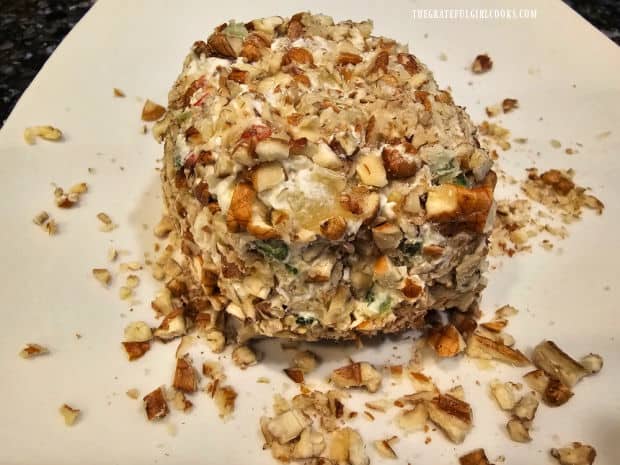
Place the pecan pineapple cheese ball in the middle of the pecans on the plate. Gently roll the cheese ball around until completely covered with pecans. If necessary, gently press the pecans into the cheese ball to adhere.
When you are finished with the first cheese ball, place it on a large piece of plastic wrap on a flat surface. Create the second cheese ball using the same process (with the other half of the reserved pecans).
Refrigerate The Cheese Balls
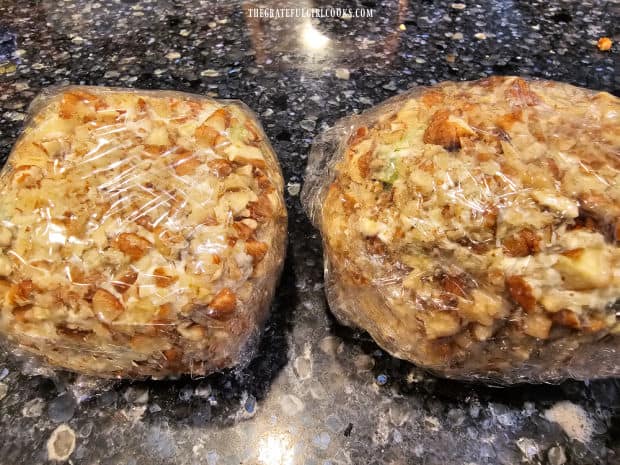
Wrap each cheese ball in the plastic wrap, and place on a flat surface in the refrigerator. Refrigerate them for at least two hours.
Don’t skip this step! The refrigeration time allows the cream cheese to firm up once again, and lets the flavors “mingle” together, for the very best taste!
Serve The Pecan Pineapple Cheese Ball
When ready to serve the pecan pineapple cheese ball, remove the plastic wrap, and place the cheese ball on a pretty plate or serving platter.
Serve it with an assortment of crackers (and a little spreading knife), and watch how fast it disappears once it is presented!
You can keep the second cheese ball refrigerated for a few days (for the next round), or serve both if providing appetizers for a large group of people.
Wrap and store any leftovers in the refrigerator for up to 4-5 days, OR give one (with some crackers) as a thoughtful food gift to a family member or friend!
I hope you try this amazing appetizer at your next get-together! It’s delicious! The pecan pineapple cheese ball is a popular treat that typically goes fast!
You can easily double or triple the recipe and make several cheese balls for gift-giving, too! A delicious cheese ball is always a welcome and delicious treat for those you love.
Thanks for stopping by, and I invite you to come back again soon for more family-friendly recipes. Take care, may God bless you, and have a GREAT day!
Looking For More APPETIZER Recipes?
You can find ALL of my recipes in the Recipe Index, which is located at the top of the page. I have a wonderful variety of delicious appetizers to choose from, including:
- Cheddar Jack Cheese Spread
- Mexican Layer Dip
- Parmesan Garlic Cheese Ball
- Tex-Mex Party Nuts
- Classic Cannellini Bean Dip
Want More Recipes? Get My FREE Newsletter!
I publish a newsletter 2 times per month (1st and 15th) with lots of recipes, tips, etc..
Would you like to join our growing list of subscribers?
There is a Newsletter subscription box on the top right (or bottom) of each blog post, depending on the device you use.
You can submit your e-mail address there, to be added to my mailing list.
Find Me On Social Media:
Facebook page: The Grateful Girl Cooks!
Pinterest: The Grateful Girl Cooks!
Instagram: jbatthegratefulgirlcooks
Adapted from: “Have Yourself A Homemade Christmas”, page , published 2014 by Time Home Entertainment, Oxmoor House, and Gooseberry Patch
↓↓ PRINTABLE RECIPE BELOW ↓↓
Serve a delicious Pecan Pineapple Cheese Ball with crackers at your next party! This simple appetizer recipe makes TWO yummy cheese balls!
- 8 ounces light cream cheese (or regular)-softened
- 2 cups chopped pecans *DIVIDED USE
- 8 ounces crushed pineapple (canned) drained well
- ¼ cup chopped green bell pepper
- 3 Tablespoons chopped red bell pepper
- 2 Tablespoons chopped green onion bulb and stem
- ¾ teaspoon seasoning salt
Place cream cheese in a medium mixing bowl. Use electric mixer to beat cream cheese until smooth and fluffy.
Add 1 cup pecans, pineapple, green/red bell peppers, green onions and seasoning salt. Stir until fully combined. Divide mixture into two equal halves while still in the bowl ("eyeball it"). Set aside.
Divide remaining 1 cup of pecans in half. Place ½ cup pecans on a small plate and spread them out. Use hands (slightly messy), to shape cream cheese mixture into a ball. Place cheese ball on top of pecans on the plate. Gently roll cheese ball around until fully covered with pecans. If necessary, gently press pecans into cheese ball, to adhere. Place cheese ball on a large piece of plastic wrap. Repeat process with remaining mixture and pecans.
Wrap each cheese ball in plastic wrap; refrigerate at least 2 hours. Don't skip this step! Refrigeration time allows cream cheese to firm up again, and lets flavors "mingle", for the very best taste!
To serve, remove plastic wrap; place cheese ball on serving platter with assorted crackers. Serve, and enjoy! Wrap/store leftover cheese ball in refrigerator up to 4-5 days.
Here’s one more to pin on your Pinterest boards!