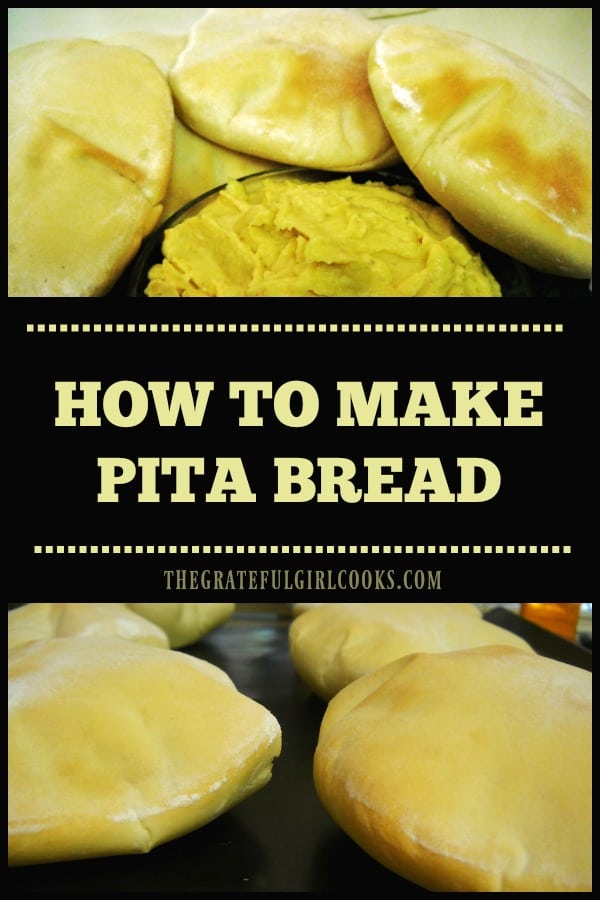
It’s EASY making pita bread from scratch! You will enjoy eating and using this traditional puffy pocket bread, for appetizers or sandwiches!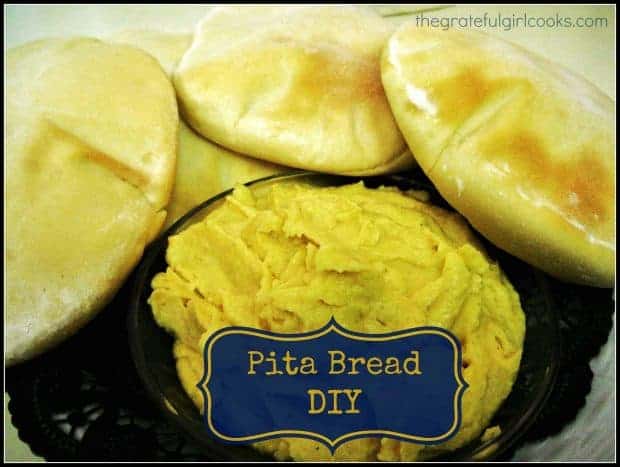
Do you ever see a recipe and think to yourself “Hmmm…that might be kinda fun to try?” Well, to be honest, making pita bread had never been high on my bucket list, and I was curious HOW to make it…then I saw a recipe for homemade pita bread posted on Pinterest, and made it. It was so fantastic, I want to share the recipe, so…here is a Pita Bread DIY!
I first saw the recipe more as a challenge to try something new, versus a food item I couldn’t live without, but the part of me that was up for a new challenge won out. And guess what? I now love them!
Scroll Down For A Printable Recipe Card At The Bottom Of The Page
What Can You Use Pita Bread For?
They are best served warm with some homemade Hummus, but are also very good when stuffed with sandwich meats or (my favorite) chicken salad. Yum. I’ve made them many times since I first tried this recipe. Trust me, this recipe for pita bread is a keeper.
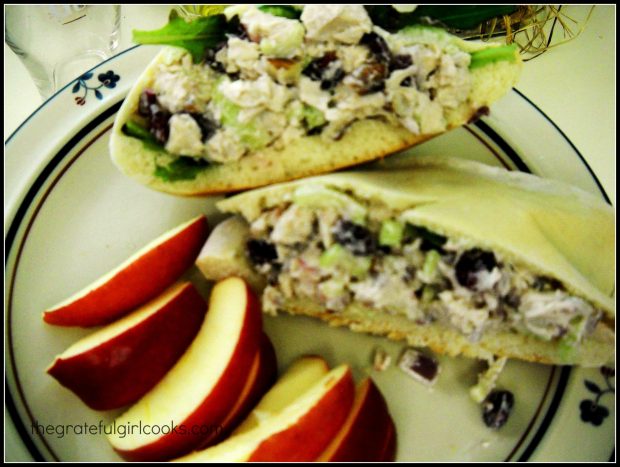
Here’s a pita, shown stuffed full with chicken salad! Simply slice the pita open, and stuff with your choice of meats and/or veggies, for a delicious sandwich!
Before Baking… And After Baking, This Pita Bread Is Amazing!
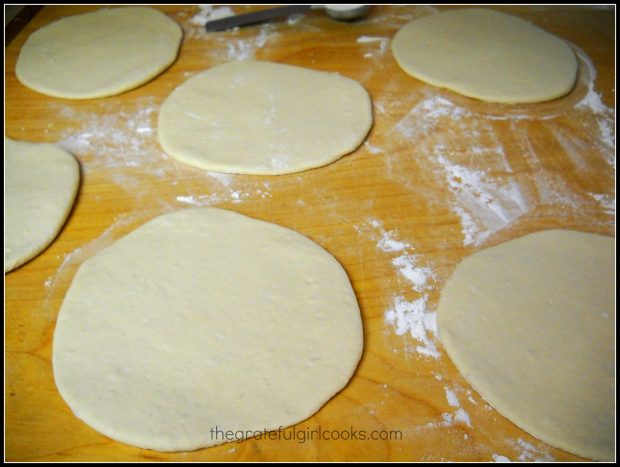
Here’s what the dough looks like, rolled out and ready to bake. They go into the oven flat as a pancake, but just wait until they are done baking…
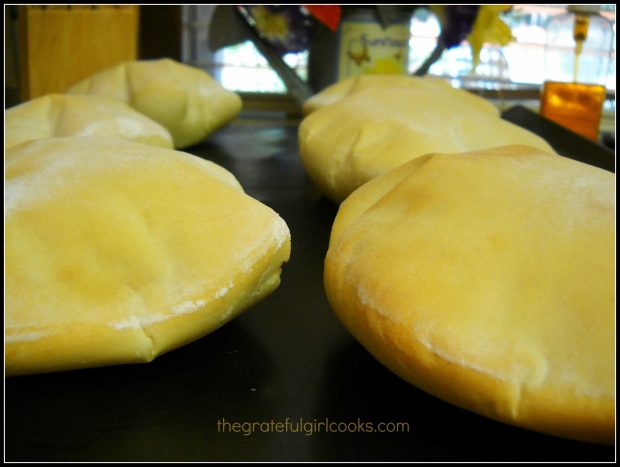
Here is the pita bread, hot out of the oven. See how it is gorgeous and puffed up. Isn’t that amazing?
They are actually very easy to make; there is something quite satisfying about seeing a flat little circle of dough puff up like the Stay Puft (yes, I did have to look up how to spell this!) Marshmallow Man in the movie Ghostbusters.
Sure hope you will give these a try. I think you will enjoy making them AND eating them! Have a great day, and come back soon!
Looking For More BREAD Recipes?
You can find all my recipes in the Recipe Index, located at the top of the page. I have quite a few delicious homemade bread recipes you may enjoy, including:
Interested In More Recipes?
Thank you for visiting this website. I appreciate you using some of your valuable time to do so. If you’re interested, I publish a newsletter 2 times per month (1st and 15th) with all the latest recipes, and other fun info. I would be honored to have you join our growing list of subscribers, so you never miss a great recipe!
There is a Newsletter subscription box on the top right side (or bottom) of each blog post, depending on the device you use, where you can easily submit your e-mail address (only) to be included in my mailing list.
You Can Also Find Me On Social Media:
Facebook page: The Grateful Girl Cooks!
Pinterest: The Grateful Girl Cooks!
Instagram: jbatthegratefulgirlcooks
 Recipe Source: http://www.underthehighchair.com/2009/04/diy-pita-bread.html
↓↓ PRINTABLE RECIPE BELOW ↓↓
It's EASY making pita bread from scratch! You will enjoy this puffy pocket bread, for appetizers or sandwiches!
- 1 Tablespoon active yeast
- 1 1/4 cups warm water
- 1 teaspoon salt
- 3-3 1/2 cups all-purpose flour
- In the bowl of a stand mixer, dissolve the yeast in the warm water. Let sit for 5 minutes. Add 1 tsp. salt and 1 1/2 cups of the flour to the yeast mixture. Put the dough hook attachment on the mixer and beat to make the batter. Continue to add the rest of the flour, a little at a time (you may not need the entire 3 1/2 cups), until a rough "shaggy" mess has formed. Continue kneading the dough for 8 minutes or so, until the dough has become somewhat smooth and elastic. (Add more flour if the dough is still too sticky).
- Transfer dough to a lightly floured work surface. Tear dough into 6 pieces (for larger pitas) or 10 pieces (for smaller pitas). Form each dough piece into a ball, trying to tuck the seams under, to the bottom of the "ball". Once the dough balls have been formed, put them back onto the slightly floured surface, and flatten them with a rolling pin to between 1/4-1/2 inch thick (try to keep an even thickness for each pita). Let the dough "rest" for approx. 30-40 minutes, till slightly "puffed".
Preheat the oven to 425 degrees. Using a spatula, scoop up each pita and flip it upside down onto a large cookie sheet (or sheets, depending on the number of pitas you are cooking). Bake the pitas at 425 degrees for 10-15 minutes (usually around 15), or till light golden brown. The pitas will miraculously puff up while baking...such fun just how they turn out! When done, remove pitas from oven and let cool on a wire rack. Enjoy!
Pitas are fantastic, served warm with hummus (cut them into triangles), or cut in half to form pockets for sandwiches. You can even cut them into triangles, brush them lightly with olive oil, and put them back in the oven till crisp (for pita chips). Enjoy!
Here’s one more to pin on your Pinterest boards!
