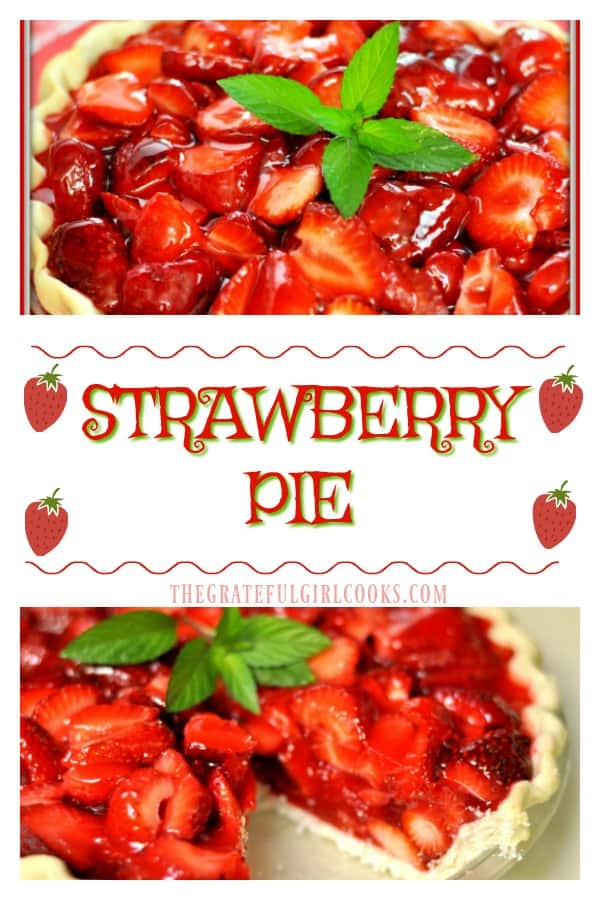
Nothing beats this classic dessert recipe for delicious homemade Strawberry Pie, with strawberry glaze! It’s SO QUICK AND EASY to make, you won’t believe it!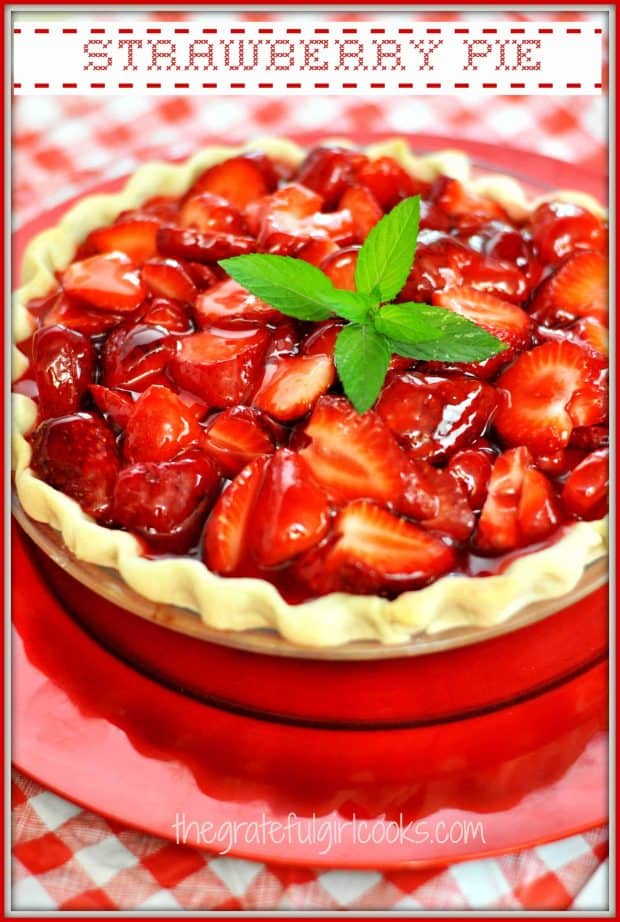
A couple days ago I was scrolling through my Facebook news feed, and found a recipe for an easy, fresh Strawberry Pie from “Taste of Home”, a website/magazine I have loved for years!
I recently bought 2 large containers of strawberries at the grocery store (got a screamin’ good deal on them), and had been looking for a “new” recipe for strawberry pie to make using them.
The next morning I got up and made this delicious strawberry pie, and I’m sure glad I did. Totally delicious, classic fruit pie!!!! I’m reminded of a quote I saw: “The best thing to put into a homemade pie is your teeth!” (author unknown). Honestly, this pie is super easy to make.
I made my own pie crust (here’s my recipe that I’ve used for years: (DIY-moms-pie-crust/), but if you want quick and easy, just buy a pre-made pie crust, and save yourself some time.
Once you’ve got your pie crust taken care of, making the pie is as simple as slicing strawberries, mixing the glaze up in a saucepan, and pouring the glaze on top. Seriously EASY.
How To Make This Classic Strawberry Pie
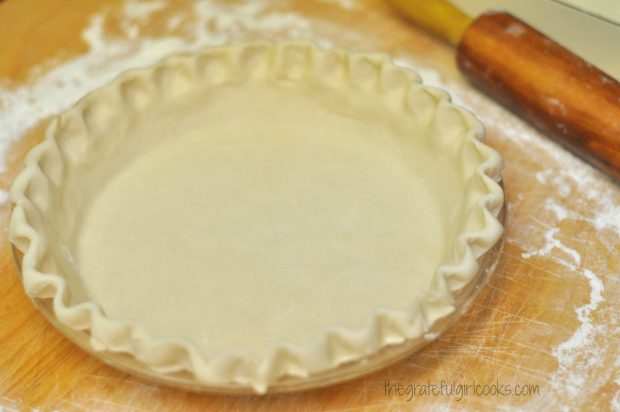
Start with a pie crust. Make your own pie crust or buy one. Either way, it’s all good. Make sure to flute the edges to form a pretty edge.
Pre-Bake The Strawberry Pie Crust
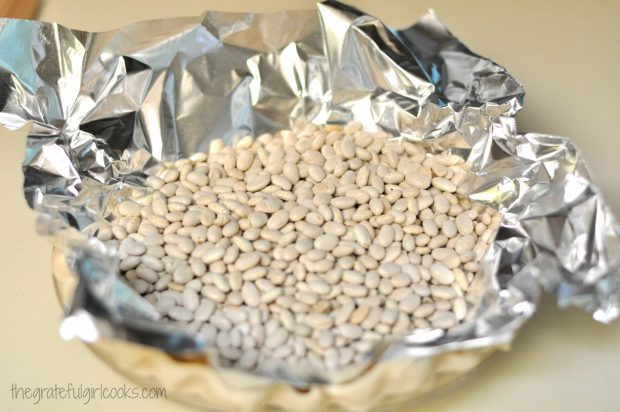
You will need to cook the pie crust before filling it. Put a layer of heavy duty aluminum foil over the crust, then fill it with dry beans to weigh it down.
Doing this simple step will help keep the pie crust from “puffing” up too much while cooking.
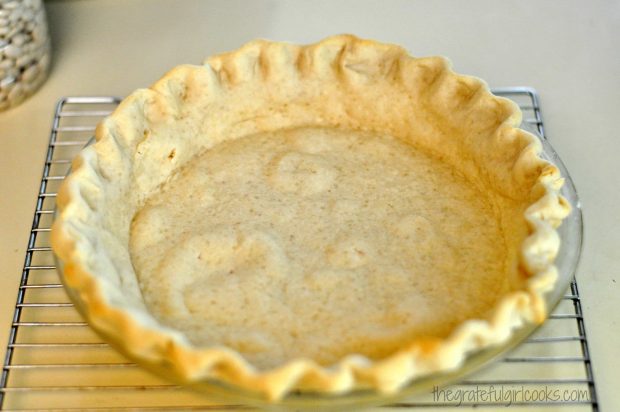
Bake the pie crust for 8 minutes, then lift out the foil and beans, and pop the crust back into the oven for 5-6 more minutes. When done, it will look something like this, shown below.
Make The Glaze For The Pie
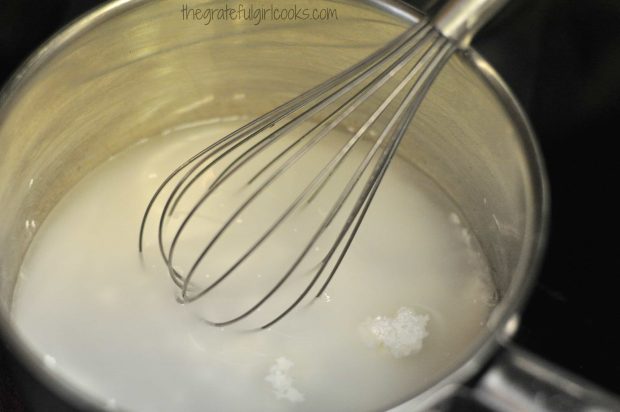
Let the pie crust cool completely. While it is cooling, mix up the sugar, cornstarch and water in a saucepan over medium heat, until thickened. This mixture will be part of your glaze for the strawberry pie.
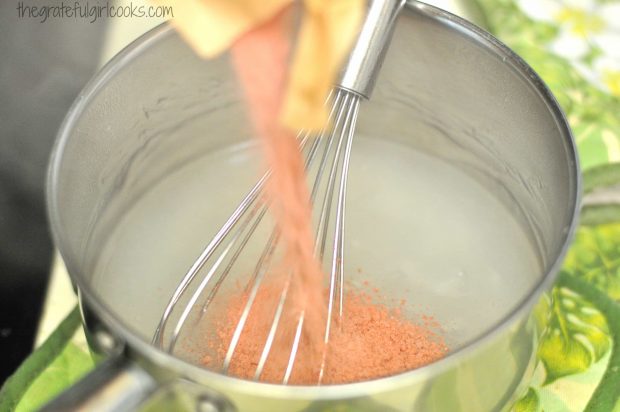
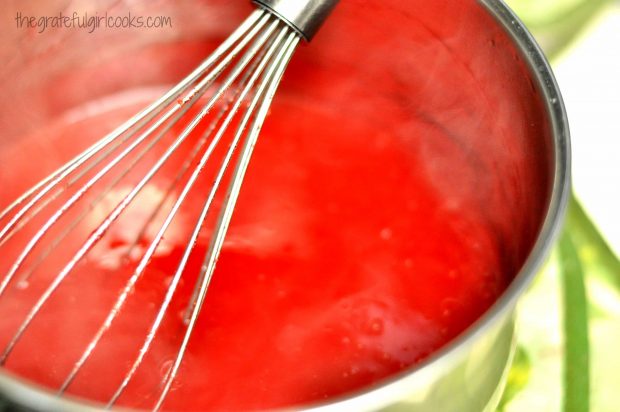
Once the liquid has thickened, add a small box of strawberry gelatin, and stir well to combine. This is the glaze for your strawberry pie!
Let the strawberry glaze cool for 15-20 minutes in the refrigerator before using it to fill the pie.
 Fill the Pie With Strawberries
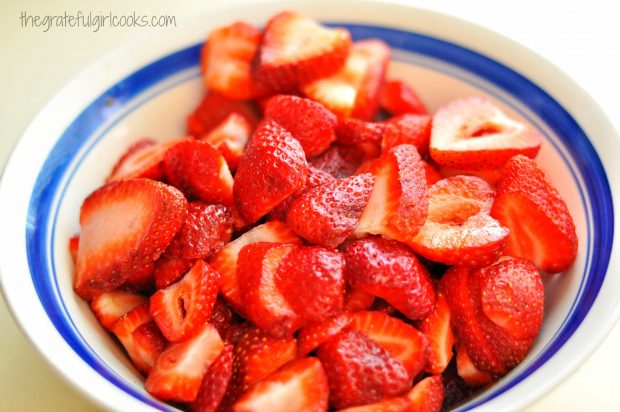
While the glaze is cooling in the refrigerator, go ahead and slice up 4½ cups of ripe, sweet, fresh strawberries.
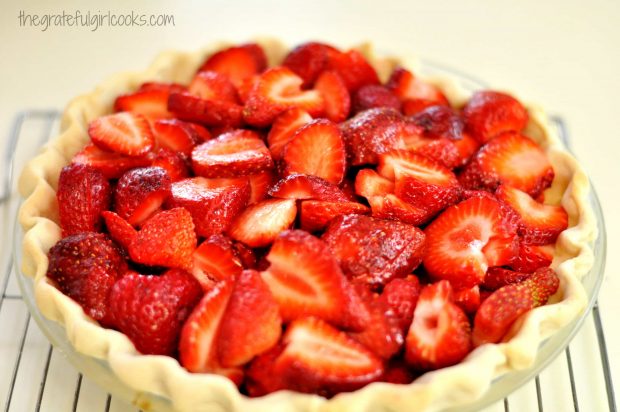
When the pie crust has cooled, arrange the strawberries in the crust. Now it’s starting to LOOK LIKE a REAL strawberry pie!
 Time To Glaze This Strawberry Pie!
Once the glaze has cooled, give it a stir, then carefully pour it all over the top of the strawberry pie.
Pour the glaze all around, to completely cover the strawberries on top, AND to fill any little spaces. Try not to drizzle it onto the crimped pie crust.
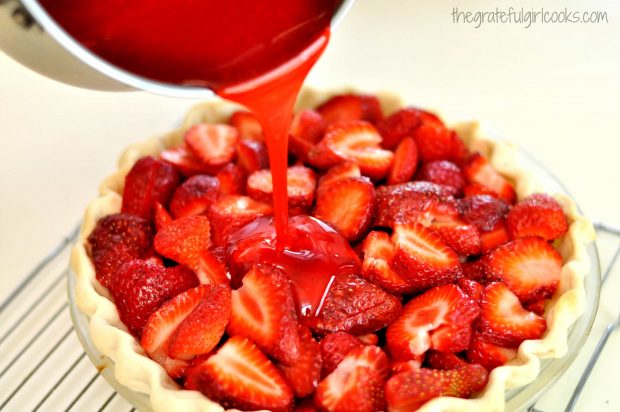
Once all the glaze is on the strawberry pie, place the pie in a refrigerator for several hours, so the glaze will firm up.
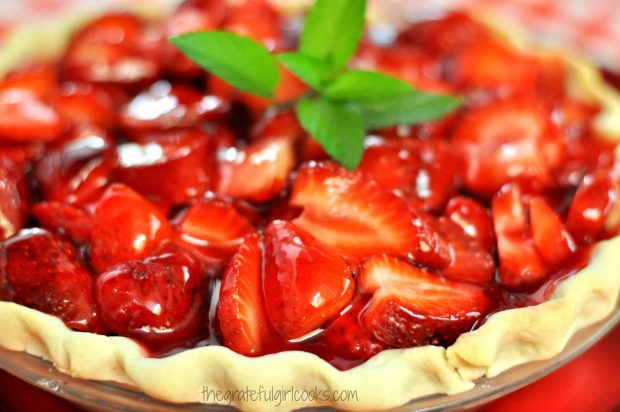
When ready to serve the strawberry pie, garnish the pie with a sprig of mint, and/or some whipped cream, slice and serve!
 Time To EAT!
Because the glaze has firmed up, this is not a messy pie to cut and serve. Just sayin’. See how “clean” the cuts in the strawberry pie are?
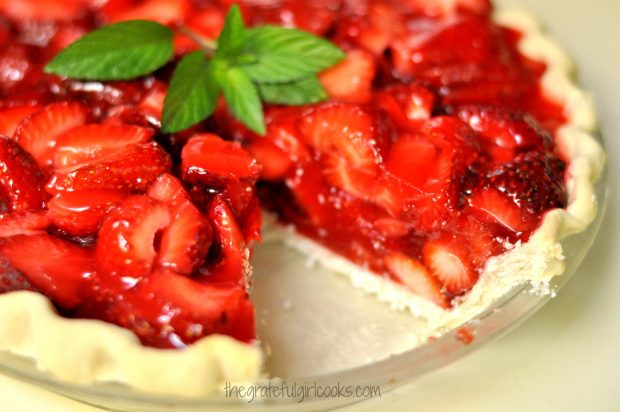
That’s it! Slice yourself a good sized piece, grab a fork, a can of whipped cream to decorate the slice with, and a good cup of coffee!
Hope you enjoy this delicious, fresh-tasting Strawberry Pie!
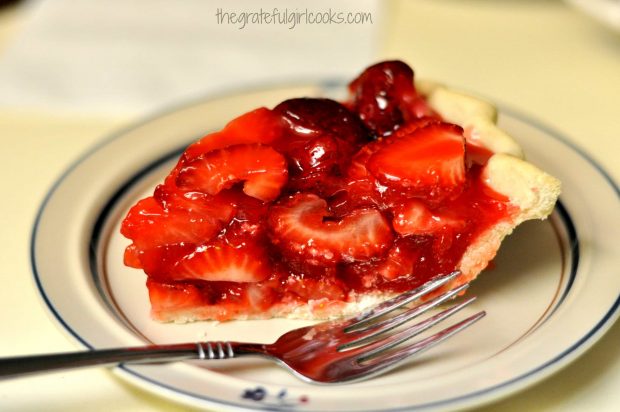
Thanks for stopping by, and try this pie! It’s awesome. Hope you have a great day, and trust you will come back soon!
Looking For Other PIE Recipes?
All of my recipes can be found in the Recipe Index at the top of the page. A few of our family favorite pie recipes include:
Want More Recipes? Get My FREE Newsletter!
I publish a newsletter 2 times per month (1st and 15th) with lots of recipes, tips, etc..
Would you like to join our growing list of subscribers?
There is a Newsletter subscription box on the top right (or bottom) of each blog post, depending on the device you use.
You can submit your e-mail address there, to be added to my mailing list.
Find Me On Social Media:
Facebook page: The Grateful Girl Cooks!
Pinterest: The Grateful Girl Cooks!
Instagram: jbatthegratefulgirlcooks
 Recipe Source: http://www.tasteofhome.com/recipes/easy-fresh-strawberry-pie
↓↓ PRINTABLE RECIPE BELOW ↓↓

- 1 unbaked pastry (pie) shell (9 inches)
- * a couple cups of dry beans (ONLY TO WEIGH DOWN THE CRUST DURING PRE-BAKE)
- 3/4 cup granulated sugar
- 2 Tablespoons cornstarch
- 1 cup water
- 1 package (3 ounces) strawberry gelatin
- 4 1/2 cups sliced fresh strawberries
- Fresh sprig of mint (optional)
- Whipping cream for garnish (optional)
- Line an unpricked and uncooked pie shell with heavy duty aluminum foil. Fill with dried beans to weigh down the shell (this helps keep the crust from puffing up full of air). Bake crust at 425 degrees for 8 minutes. Carefully lift out the aluminum foil and beans (**beans can be put back in the container you got them from and can still be used**). After beans and foil are out of the shell, put it back into the oven for an additional 5-6 minutes longer, then remove to a wire rack to cool.
- In a medium saucepan, whisk together the granulated sugar, cornstarch and water until it is fully combined and smooth. Bring mixture to a boil; stir and cook it for 2 minutes, until thickened. Remove the pan from the heat. Stir in the strawberry gelatin powder, until dissolved. Refrigerate the glaze mixture for 15-20 minutes, or until it has cooled down some.
- Slice the strawberries. Carefully place/arrange them into the baked pie crust. Pour the cooled strawberry glaze over the entire surface of the pie, even filling in the little nooks and crannies. Use all of the glaze mixture. When done, place pie in refrigerator for 2-3 hours, or until it is completely "set up" (the glaze will congeal and firm up).
- Garnish pie with mint and/or whipped cream, if desired.
- Cut into 8 pieces, serve... and enjoy!
Note: Prep time of 3 hours INCLUDES inactive prep time of 2 1/2 hours for refrigeration of pie. If using a pre-made crust, this recipe can be made in about 30 minutes.
Here’s one more to pin on your Pinterest boards!